
Moss Block Challenge- Player Guide
Taking on The Moss Block Challenge and looking to prepare for your next journey into “The Egg”? You’ve come to the right place!
We’ve got all the information you need to survive in the treacherous realm of The Egg and overcome any monster, trap or obstacle that comes your way!
Tips & Tricks
The world of The Egg can be a little strange sometimes and it can be hard to get your bearings. To help with that, we’ve gathered together a few useful tips that should help you on your way to completing the Moss Block Challenge!

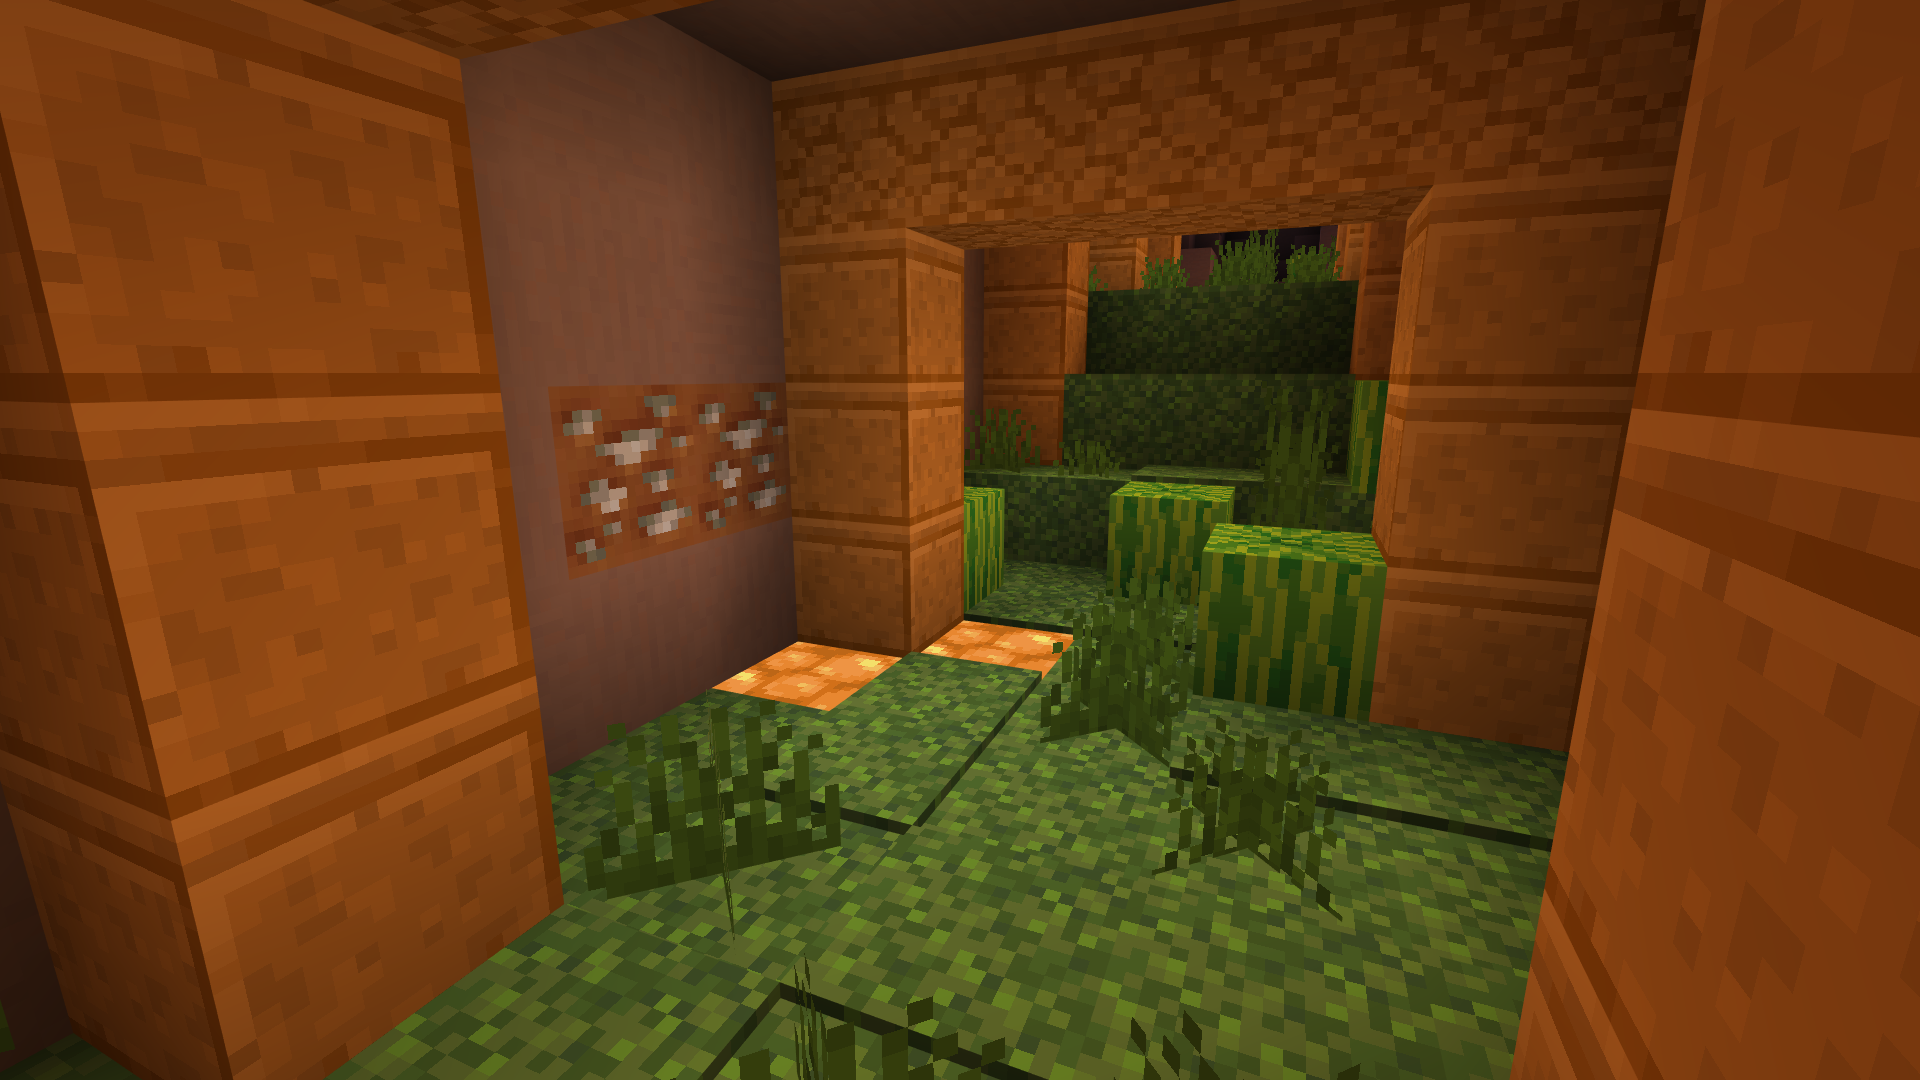
Exploring The Egg
Sometimes, when exploring in The Egg, finding the way can be difficult. If you’re ever unsure where to go next, look to the sky! There are cracks in the outer shell of the egg that let in light and lead the way to the Heart Flowers!

Finding Iron
Need iron? Follow the iron trail to the Mesa and their Iron Mines! To the right of the Moss Heart, there is a bunch of ruined stone buildings. Go in that direction and you’ll find patches of Terracotta with Iron Ore. Follow the patches through the Gatehouse, into the Mesa, and you’ll find the Iron Mines in the cliffs!

The Traders of the Flooded City
Looking for some food, seeds or potions? Try trading with the villagers of the Flooded City!
You can find the traders on the lone islands between the Amethyst Mines and the Flooded City Castle trading for Amethyst Shards, Prismarine Shards, or Emeralds.
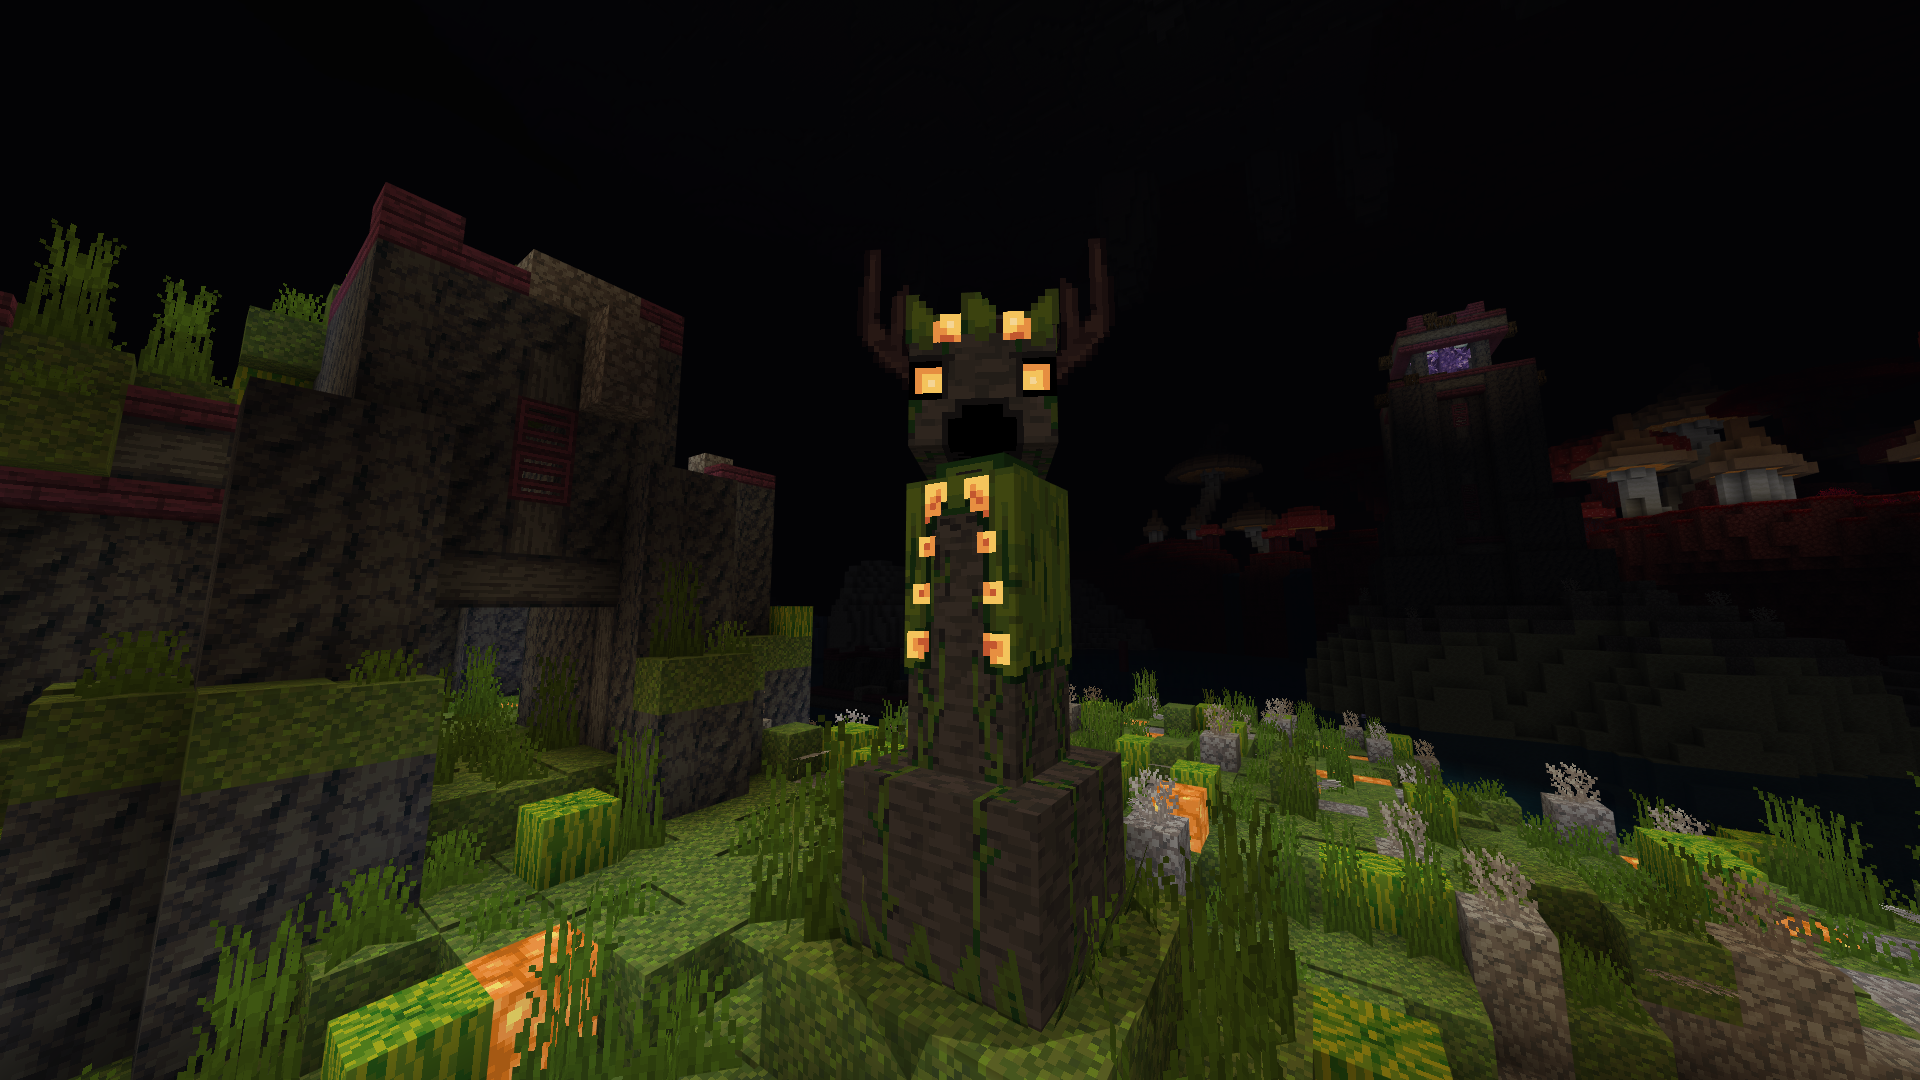
Moss Friends
There are a bunch of friendly creatures that can help you in the Moss Block Challenge, and, like you, all they need is Moss! These creatures can be reawakened from their statue state by mossing the area under them or will spawn from the moss after a period of time. But be careful! If they wander off of the moss, they’ll turn back to stone!
The Moss Moose is a fast ground mount that can travel over long distances
The Moss Golem is a great guard that will chase down and attack any monster they come across. Leash to posts in areas you want guarding, or bring them along with you on your adventure!
The Moss Tower is another great guard, but can’t move. Moss under these towers, so you always have a watchful eye watching over you.
The Moss Shepherd is a great grower of plants and trees with a natural aura that helps saplings or any planted crops grow.
Has your moss friend taken damage? You can heal them by using bonemeal on them!

Walking Off Moss
While you should never stay off Moss for too long, sometimes you might not want to bonemeal everything. Bring a bunch of Moss Carpets and walk on those instead to hold off the wither!
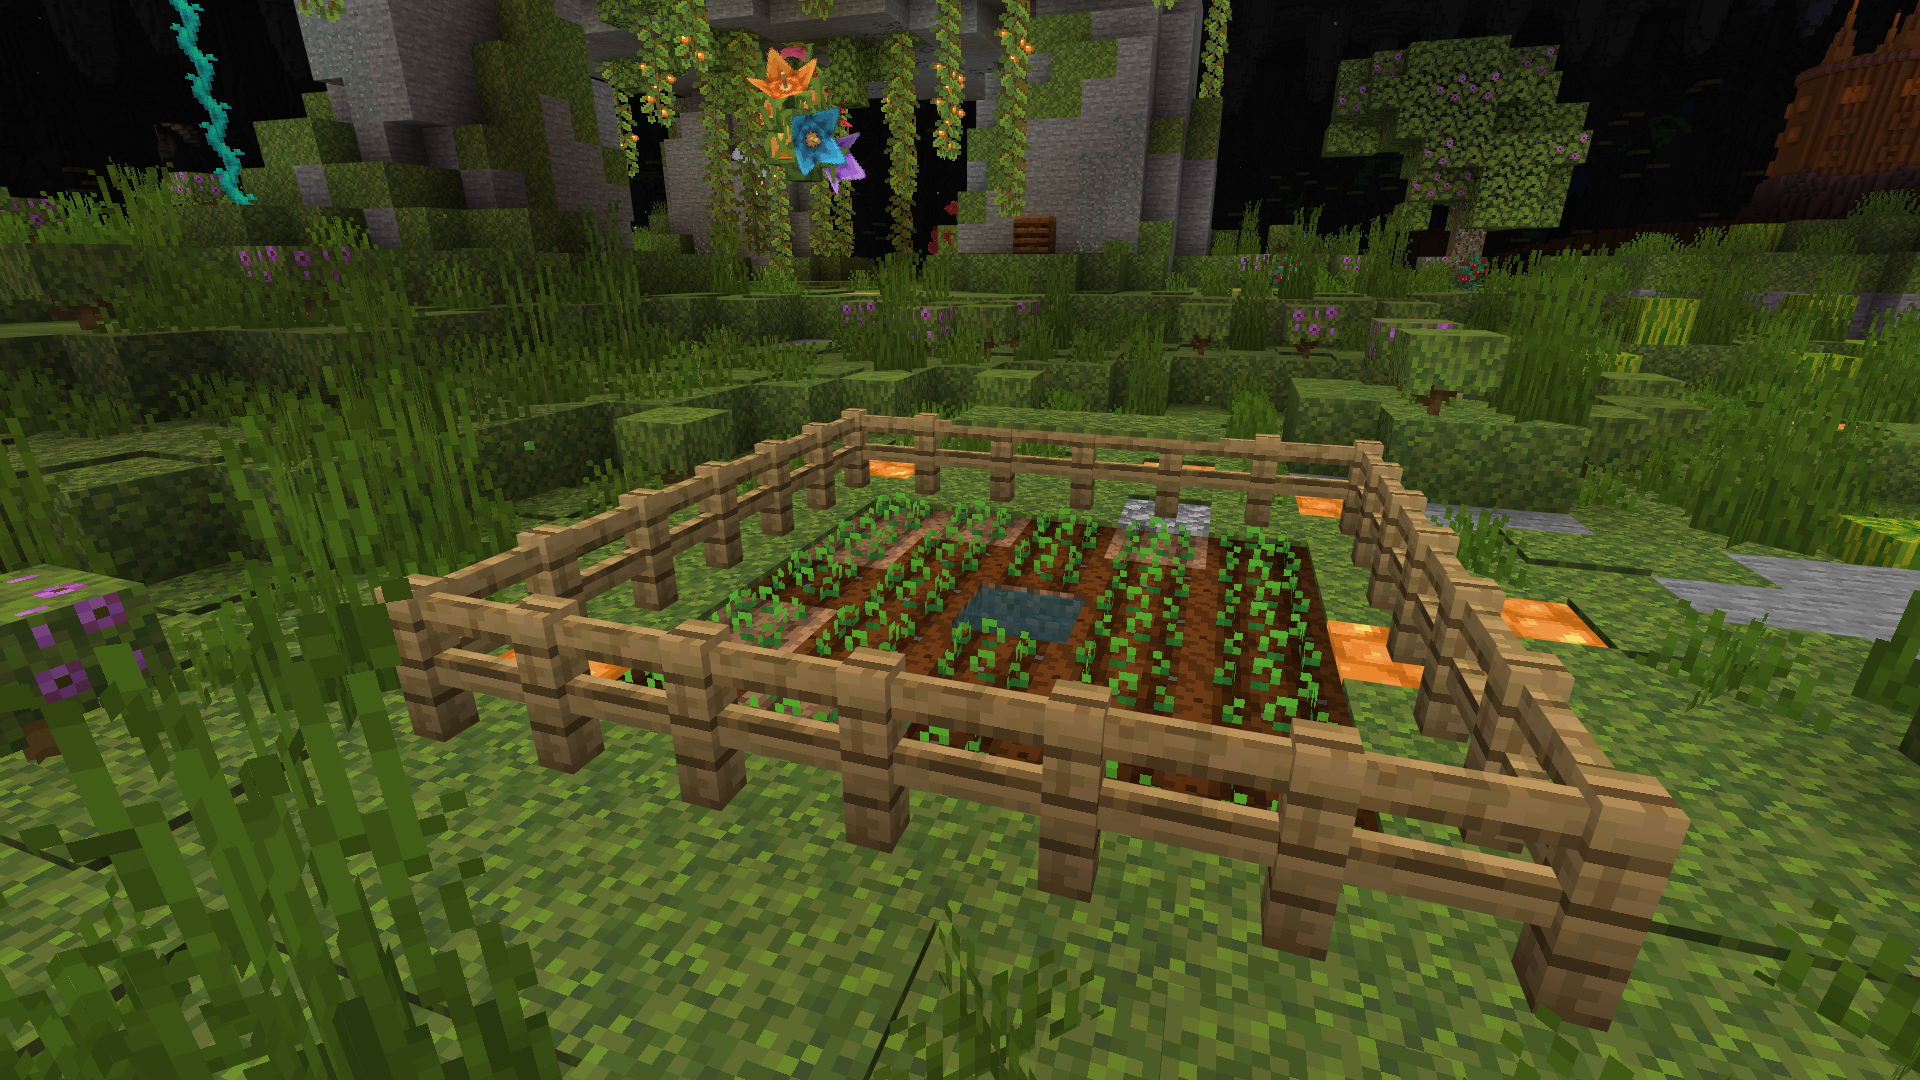
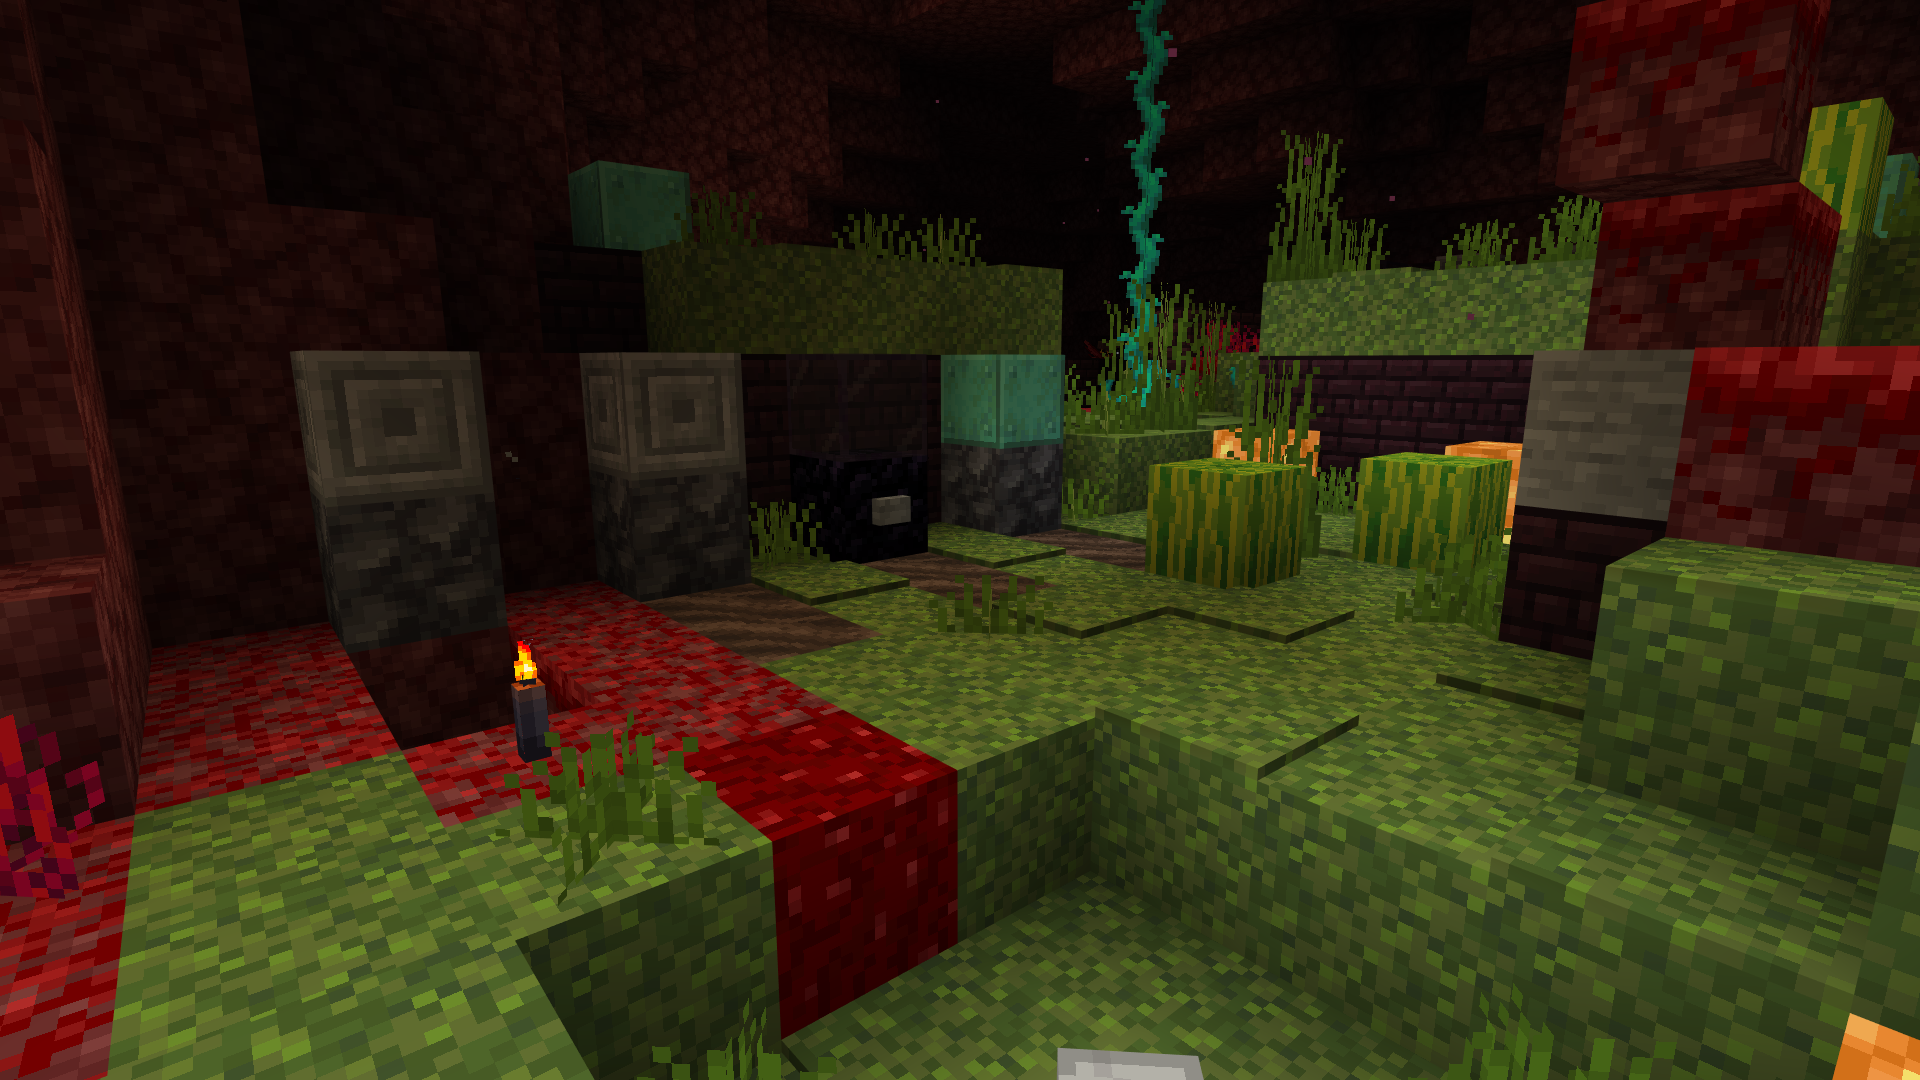
Farming and Using Moss
Farming can be difficult when neither you nor your moss creatures can walk on dirt but it’s not impossible!
Dirt for farming can be easily found in the Mesa. You’ll find a bunch of Coarse Dirt after following the Iron trail into the Mesa. This Coarse Dirt transforms into normal dirt once hoed all ready for farming! Remember, you can walk on Farmland but not on other types of dirt.
Now you’ve got your dirt, find a nice area to farm, preferably in the area around the Moss Heart and fence it off to stop any of your moss friends wandering in and turning to stone. Grab some water to keep the farmland hydrated and voila! You have a farm to grow some delicious crops on!
If you want to speed up plant growth, leash the shepherd near a farm to help grow your crops! But be careful to moss all the blocks around them or cover the top of any blocks that you can’t stand on (Furnace, Chests, Fences, etc) with Moss Carpet, as while the shepherd is fine with tilled earth, it’s not a fan of fences.
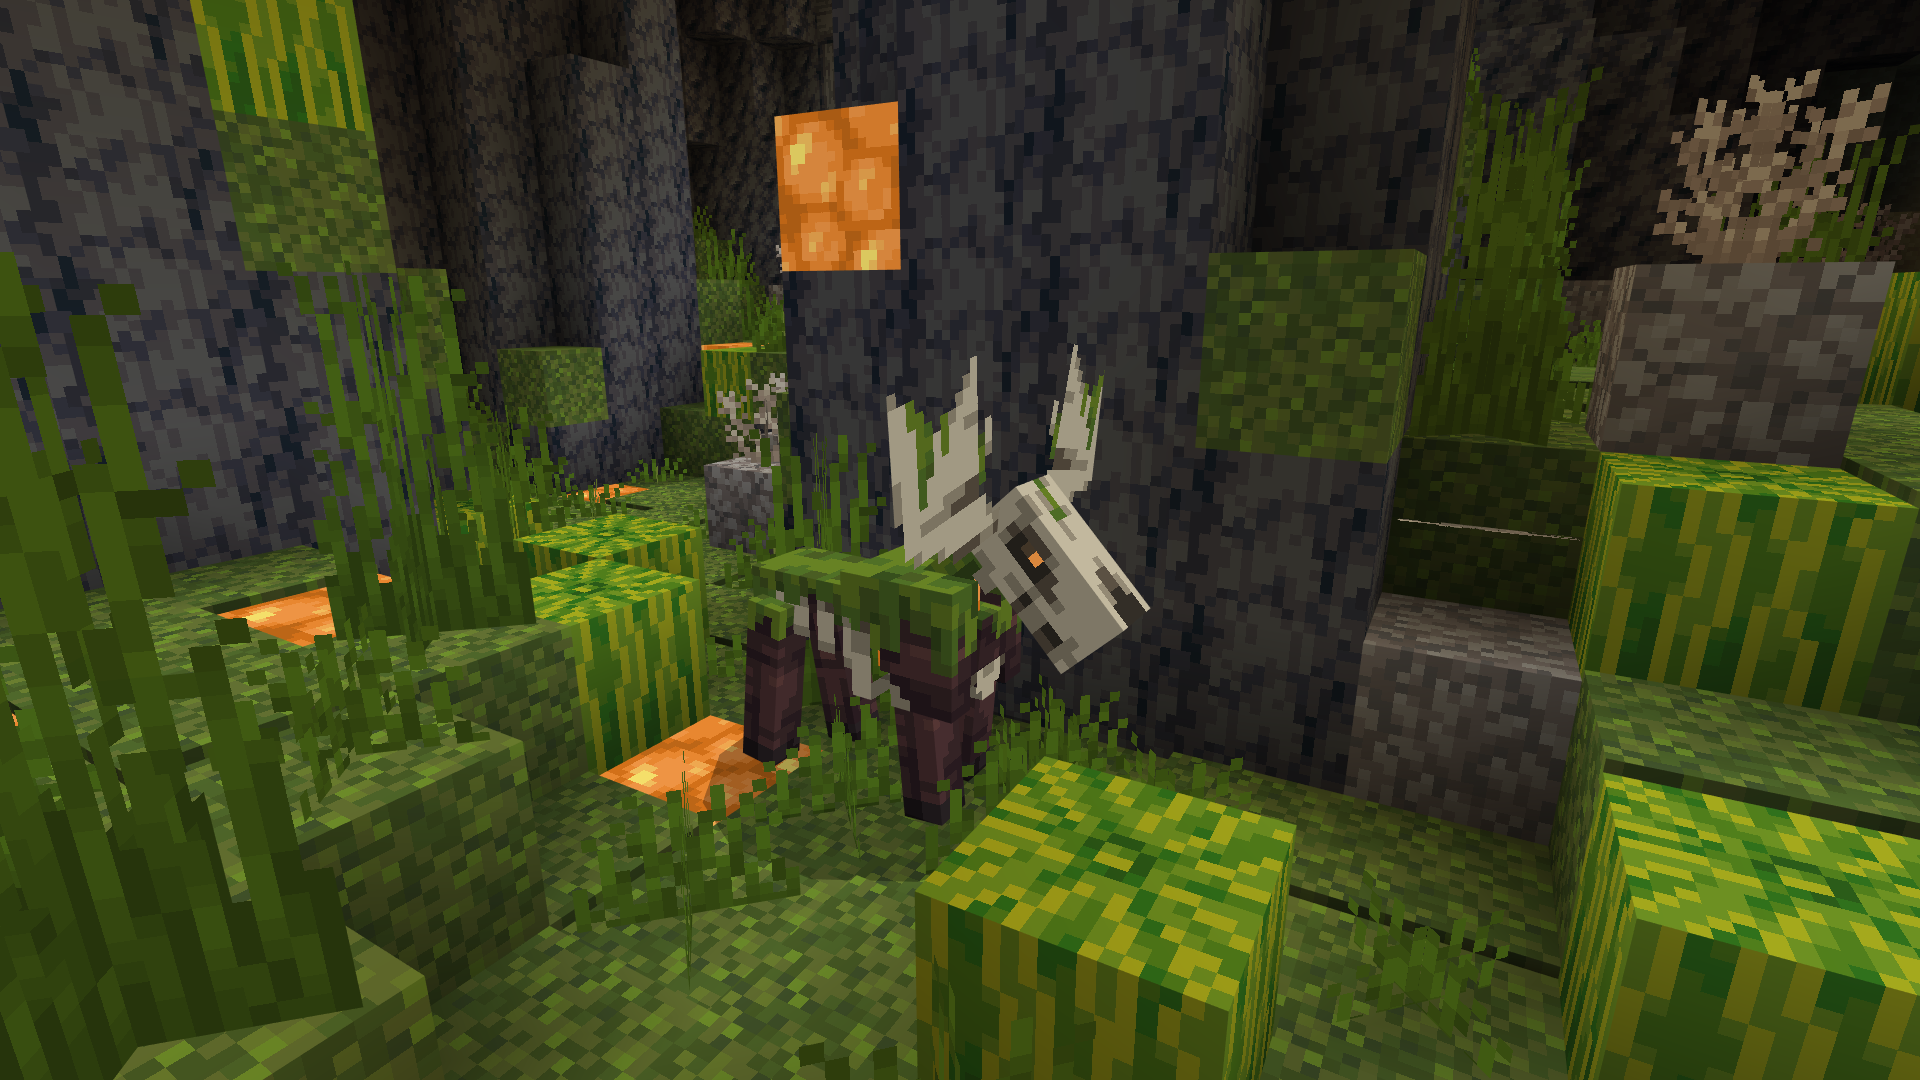
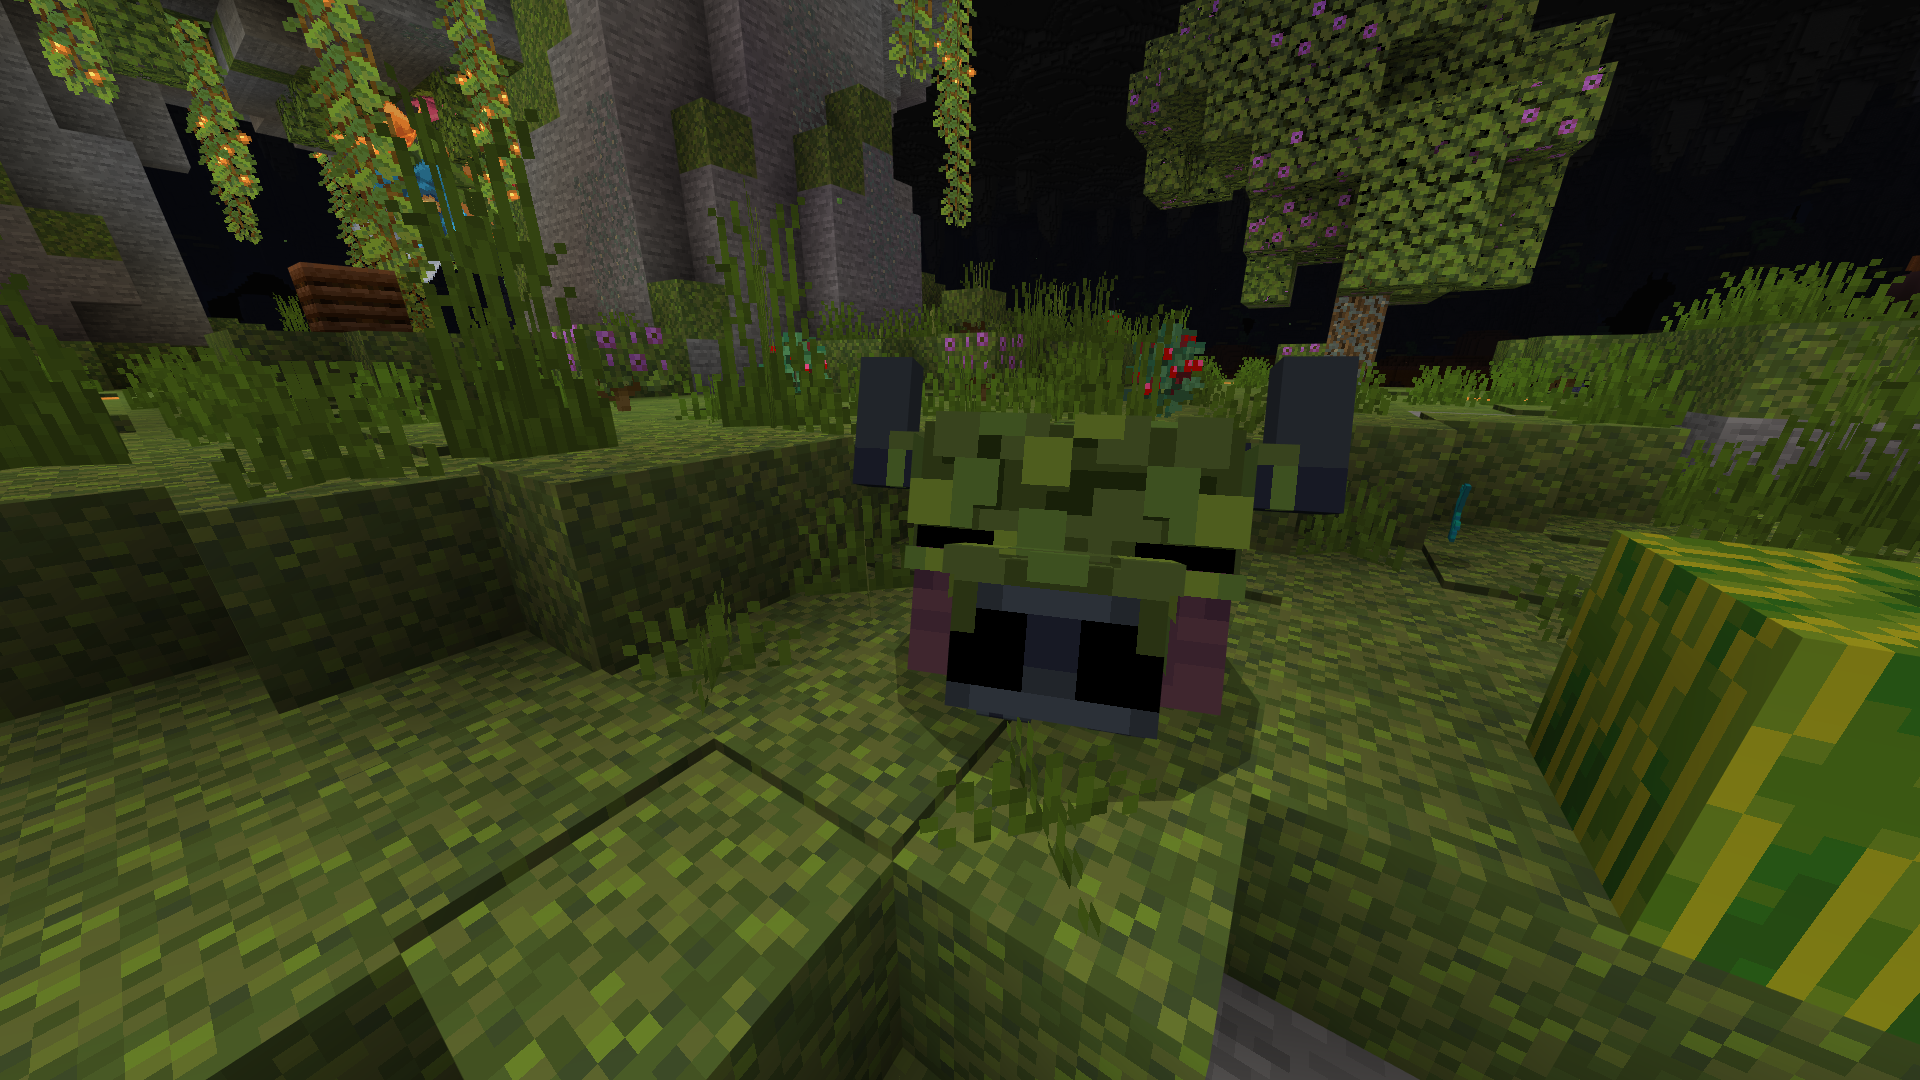
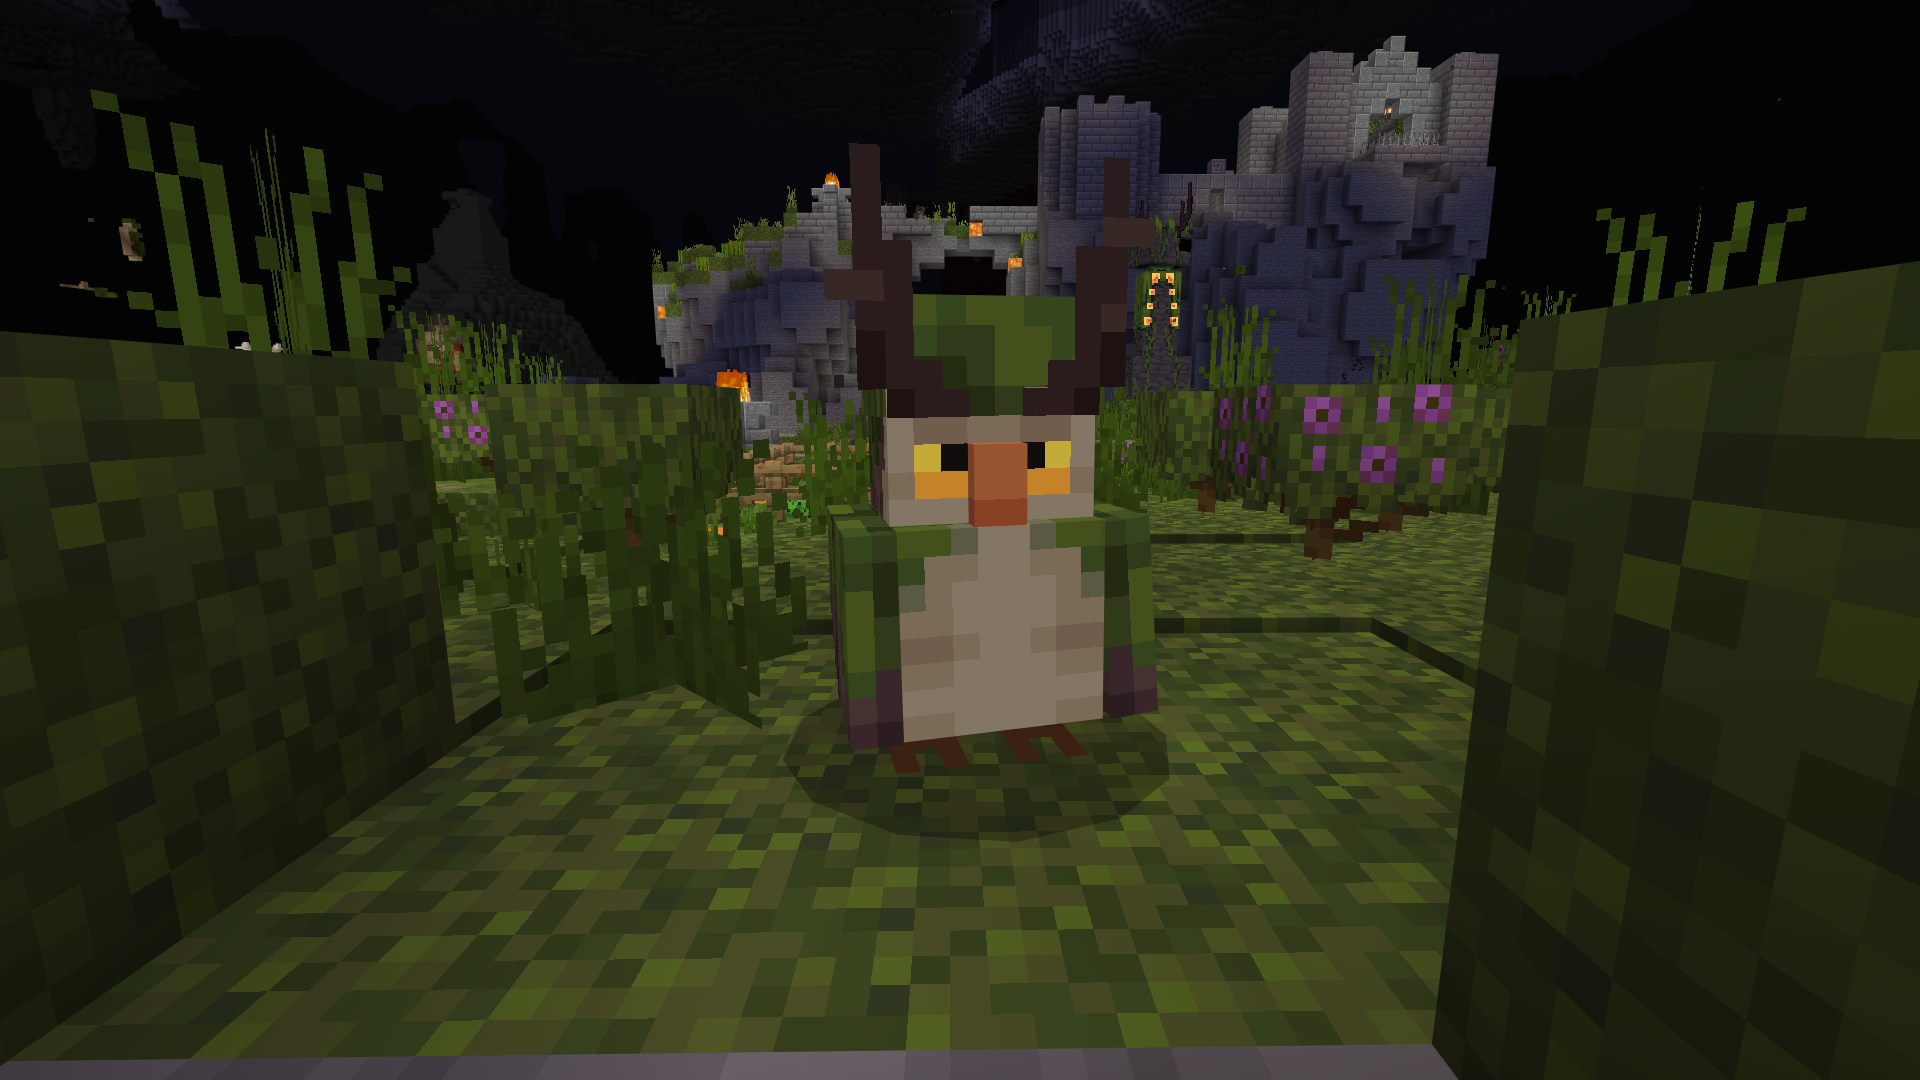
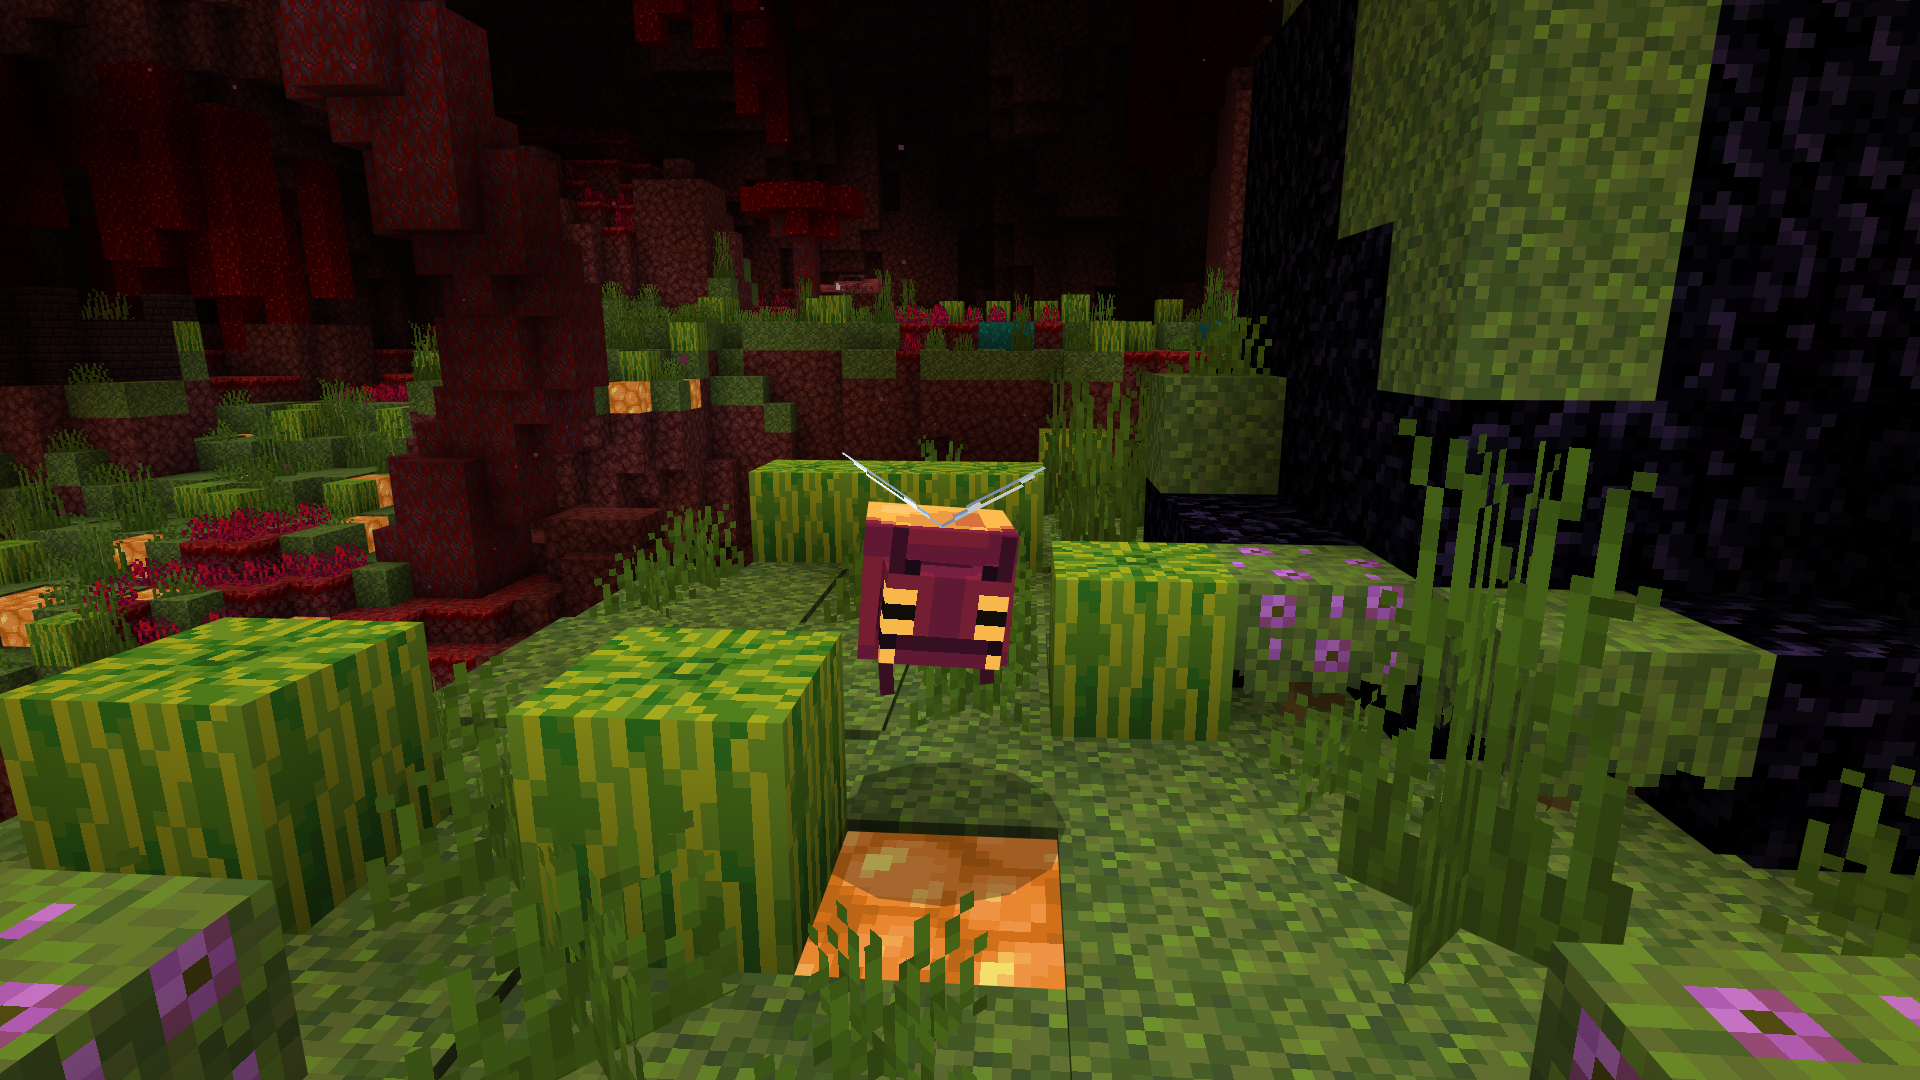
Moss Owls, Moss Cows, Silk Moths and Glowbugs are friendly animals that drop valuable items like Moss Clumps, Moss Nectar, Blaze Rods, Feathers and String. They can also be killed for meat and Leather and can be easily farmed.

Stopping Monster Spawns
Tired of monsters spawning near the Moss Shrine? Moss the nearby area! No monsters can spawn on Moss, but your friendly Moss Owl and Cows can!
Just keep an eye out for Devourer Grubs. They’re not so deadly when they’re small, they can quickly grow into adult Devourers who will destroy all that precious moss!
Moss Heart

At the heart of everything you do in the Moss Block Challenge is the Moss Heart!
Found in the Moss Heart Shrine, once awoken, it drops bonemeal for you to spread moss. You can upgrade it by collecting pollen from the Heart Flowers!
With each upgrade the Heart will drop more bonemeal, some with different effects! Standing close to the Heart will increase the rate at which Bonemeal is produced while getting further away will slow it down
Bonemeal
Moss Druids can only walk safely on moss; if they stand on anything else, like stone or water, they start to wither and petrify. To spread the moss across the land and reach the Heart Flowers, you’ll need to use bonemeal and lots of it.
Thankfully there are six new bonemeals to use, each with different effects to help you on your way!
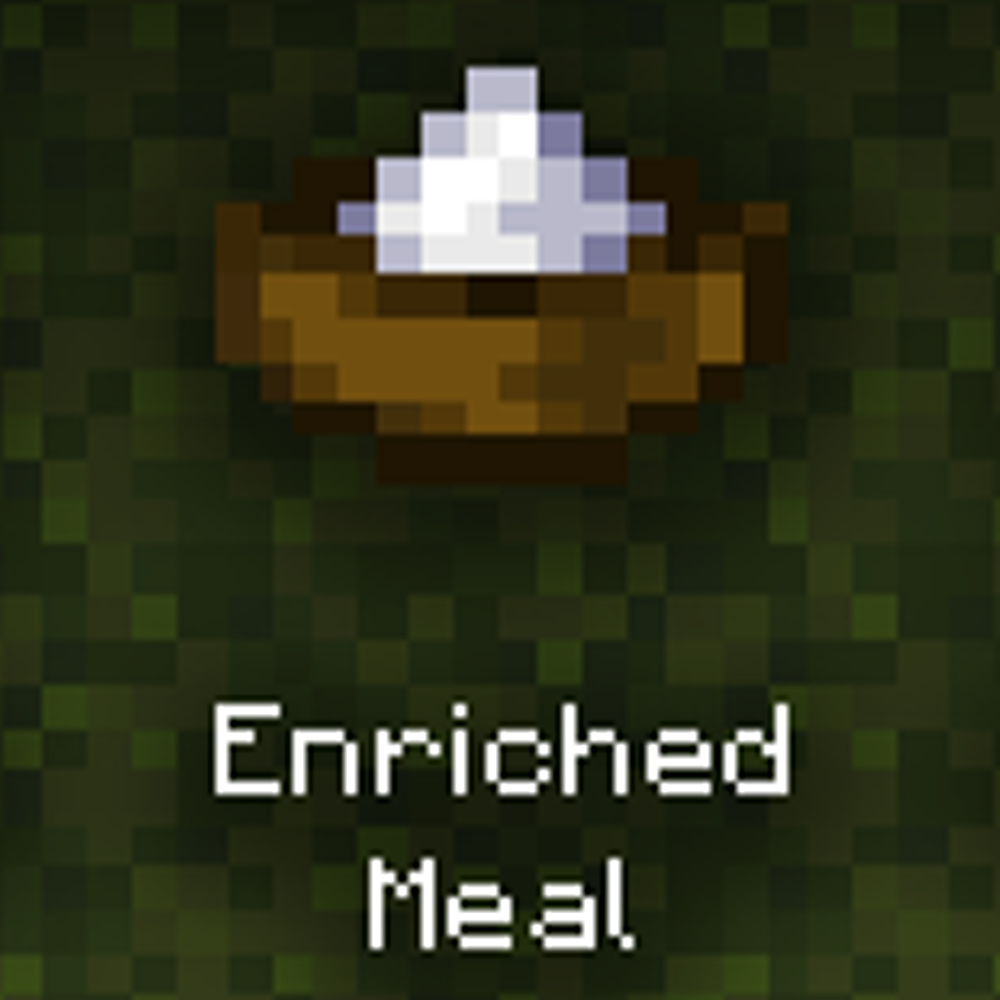
Enriched Bonemeal
Obtained: Crafted using 2 Bonemeal, The Moss Heart after collecting the White Heart Flower Pollen
Moss Spread: 7x7 blocks
The first and the easiest bonemeal to craft, Enriched Bonemeal spreads moss in a wider area, can be used through Moss Carpets and Grass, and places Shroomlights! Unfortunately, unlike normal Bonemeal, it can’t grow crops, but it’s still a must-have when adventuring in The Egg.
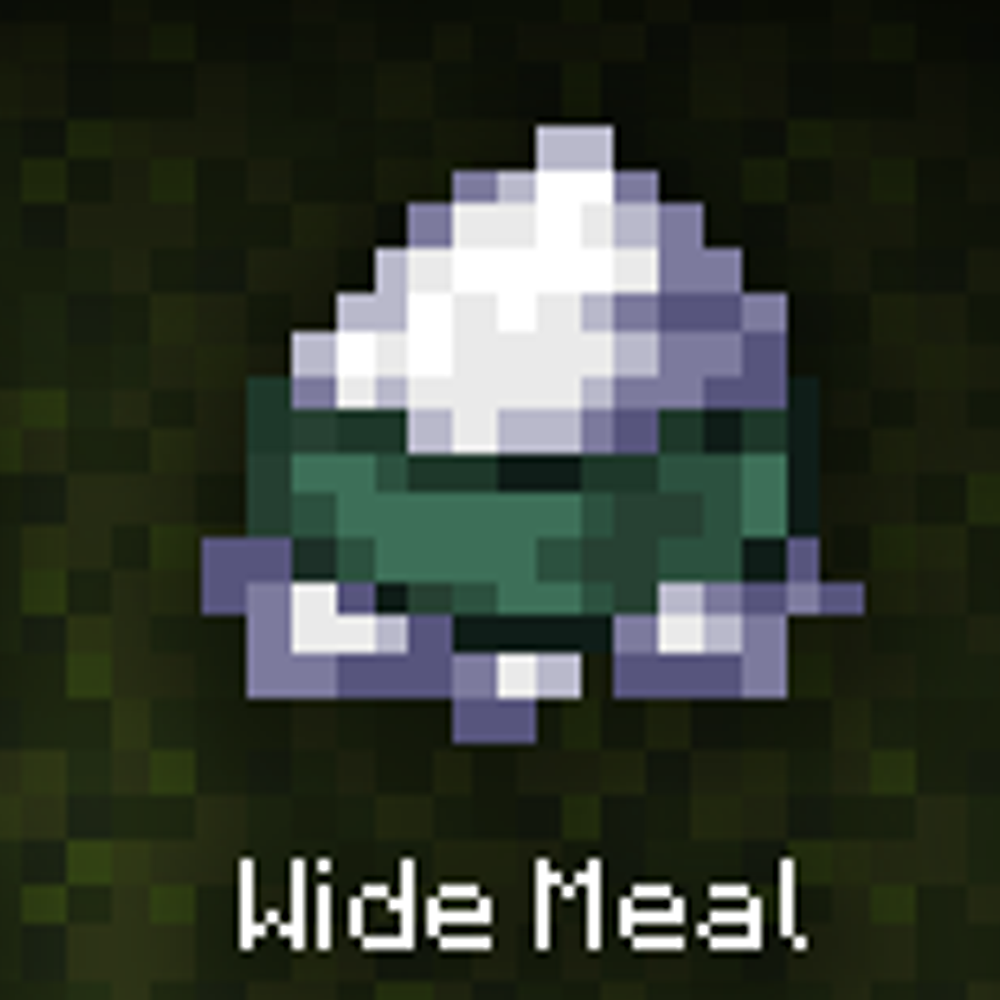
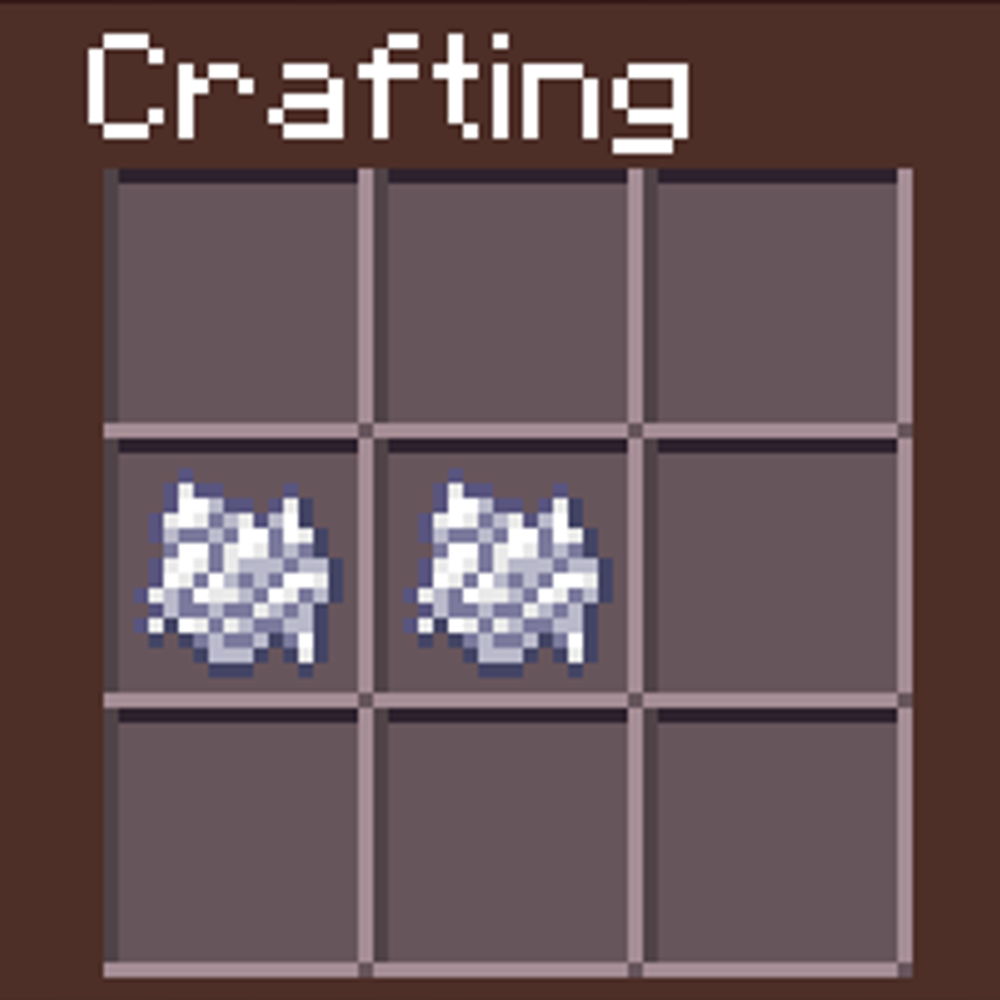
Wide Bonemeal
Obtained: Crafted using 2 Enriched Bonemeal
Moss Spread: 13x13 blocks
Another craftable bonemeal. It spreads slightly more moss than the Enriched Bonemeal, but also places down whole Melons, so you’ll always have a healthy and tasty snack close to hand when you’re saving the world!
So if you’re ever running low on food, consider crafting a couple of Wide Bonemeals.
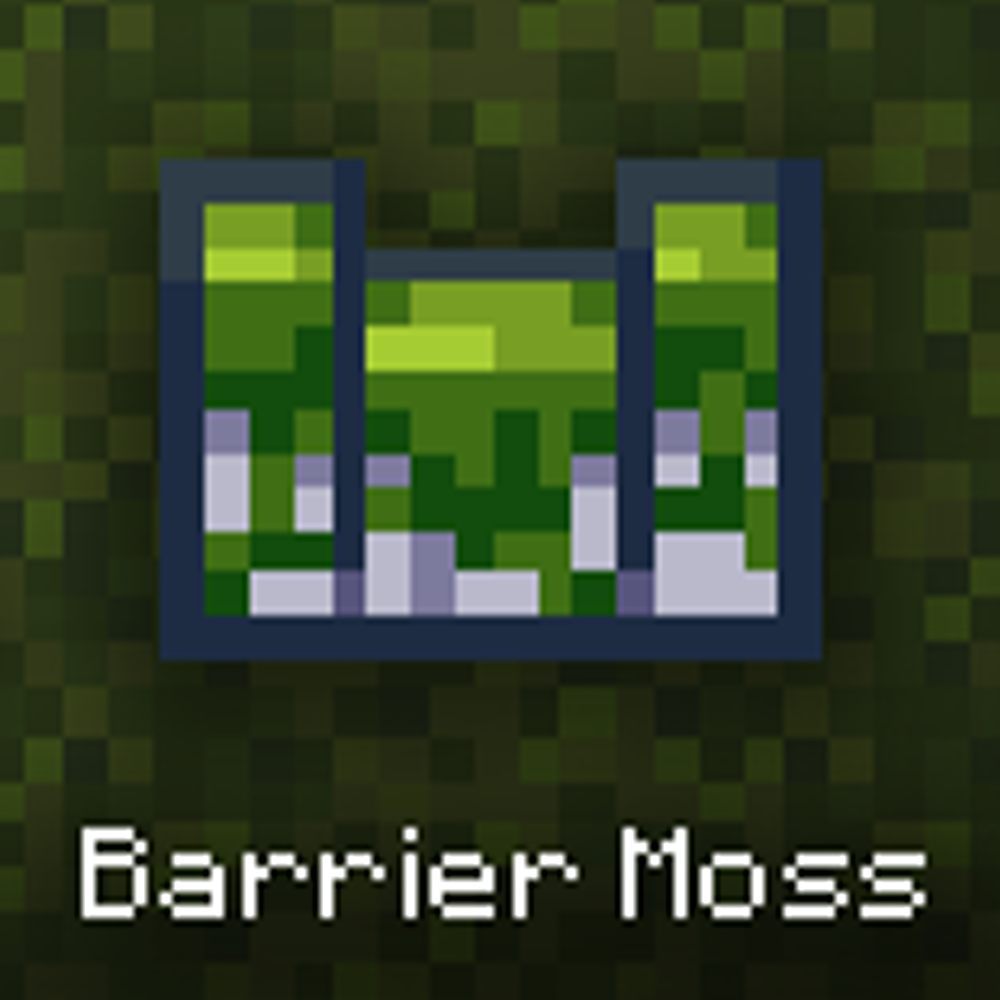
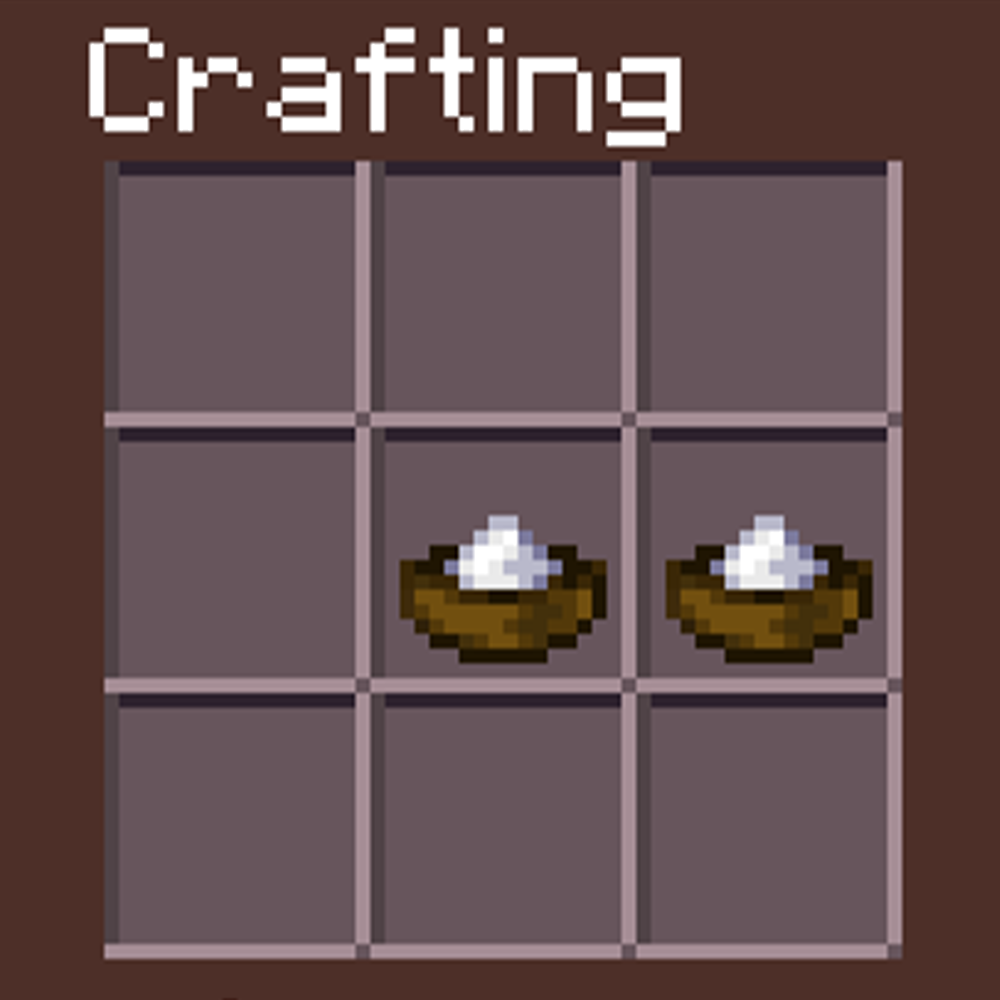
Barrier Bonemeal
Obtained: Crafted using 3x Cobblestone and 4x Enriched Bonemeal
Moss Spread: 4x7 wall
The third craftable bonemeal, this Barrier Bonemeal doesn’t spread moss. Instead, it grows a large wall of Azalea Leaves, perfect for when you’re getting swarmed by monsters and need some space.
These leaves will wilt and decay after a while, but it’ll give you enough time to think up a plan or take down your assailants.

Path Bonemeal
Obtained: The Moss Heart after obtaining the Light Blue Heart Flower Pollen
Moss Spread: 12x2 blocks
Path bonemeal grows long streaks of Moss, cutting through the land like a knife through butter, so you can quickly build paths to new areas! It creates Moss carpets, Grass, and Shroomlights and spreads even further as you upgrade the Moss Heart with Red Heart Flower Pollen!

Ladder Bonemeal
Obtained: The Moss Heart after obtaining the Orange Heart Flower Pollen
Moss Spread: 5x5 blocks also creates an 8-block tall vine
Over the hill and far away can be tricky to reach when you can only stand on moss; lucky Ladder Bonemeal exists. This bonemeal grows a thin streak of Twisted Vines reaching up to 8 blocks, and will moss blocks nearby, allowing you to grow even more vines to climb steep heights!
You can also upgrade this bonemeal to grow more than one streak of vines and grow up to 12 blocks, as you upgrade the Moss Heart with Dark Blue Heart Flower Pollen!
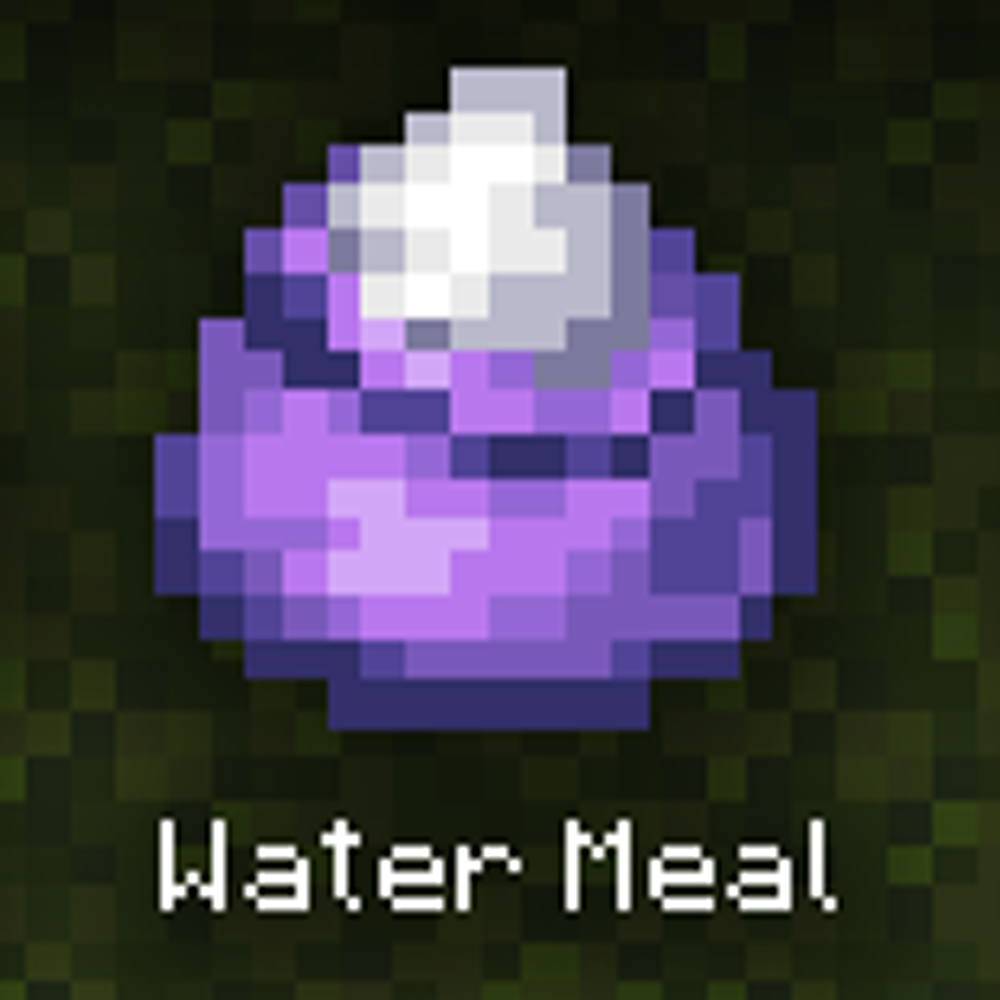
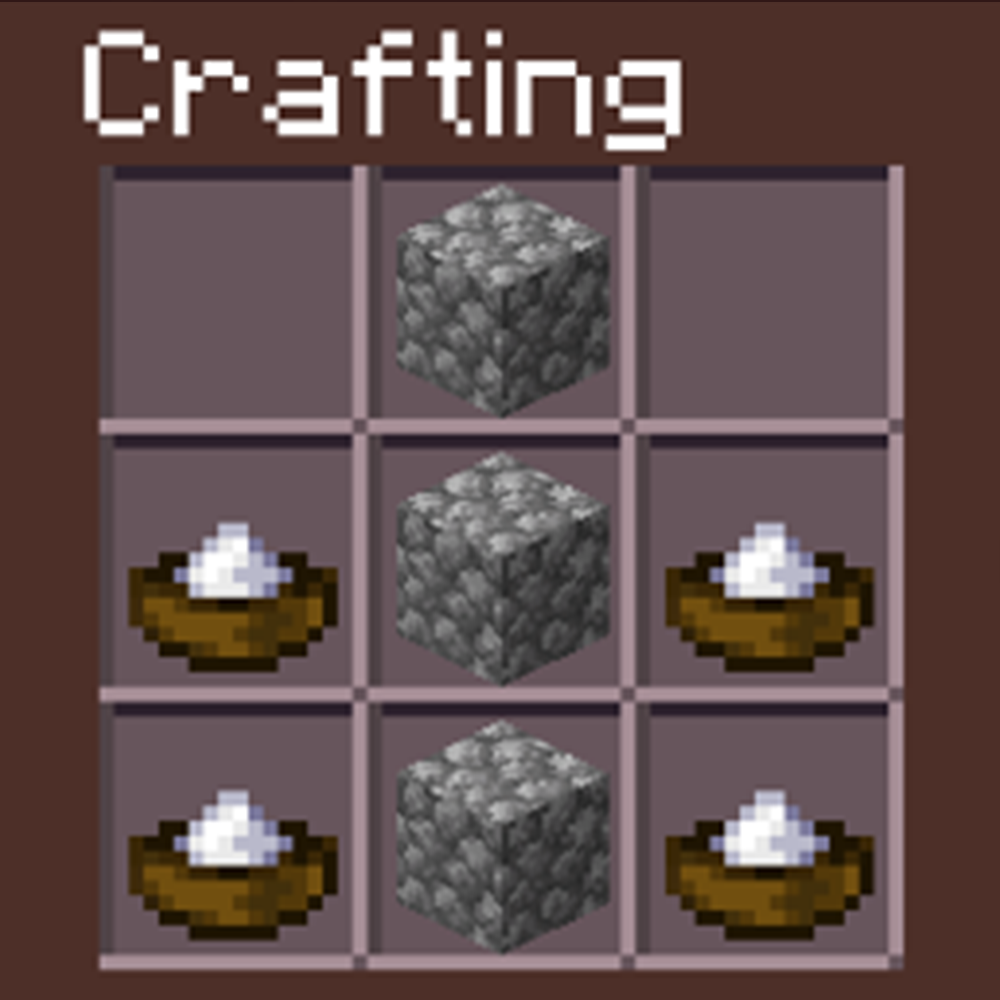
Water Bonemeal
Obtained: The Moss Heart after obtaining the Purple Heart Flower Pollen
Moss Spread: 7x7 blocks over water
Despite its nurturing properties to moss, Moss Druids can’t survive very long in the water before petrifying.
This bonemeal allows you to cross great amounts of water by growing Lily Pads! Use this bonemeal on moss near the water’s edge or on Lily Pads themselves to create a bridge over these troubling waters and spread the moss to the furthest islands.
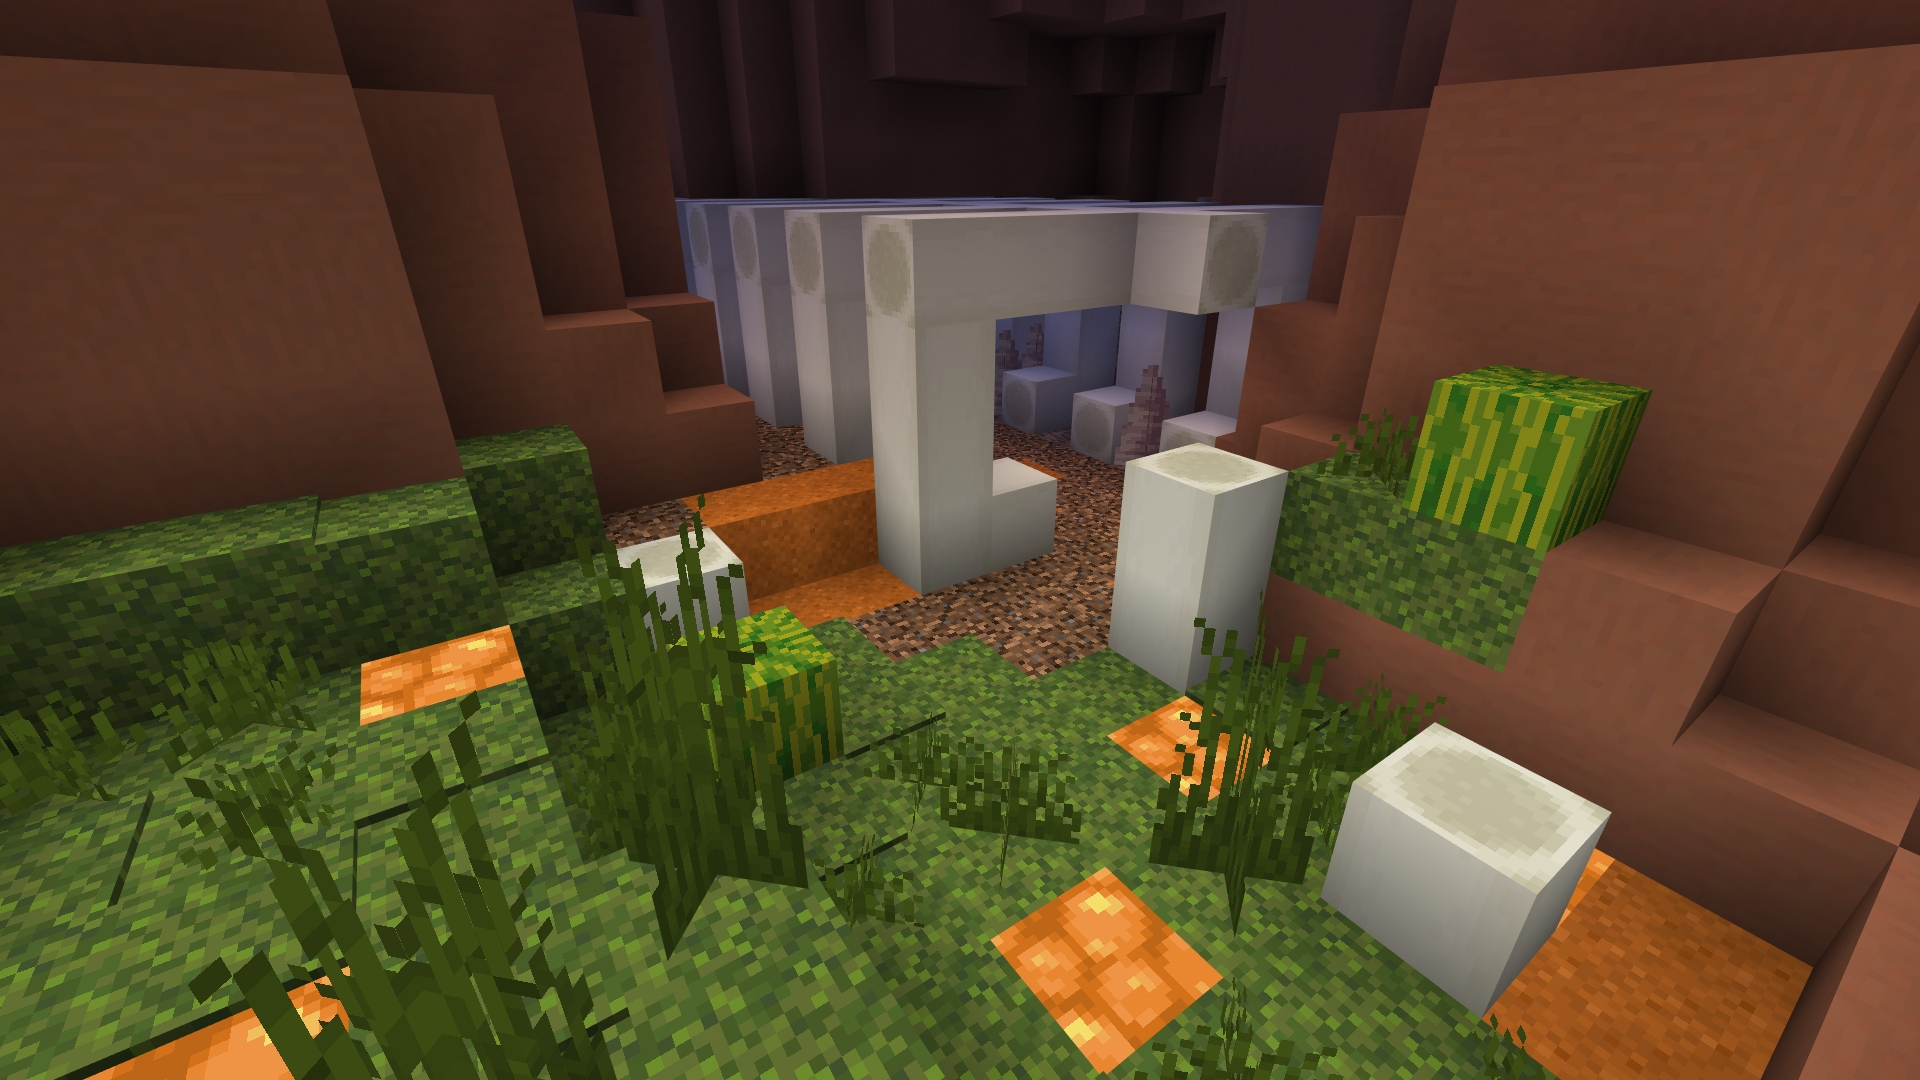
Heart Flowers
To restore the Moss Heart to its true power and become a Moss druid, you need to collect pollen from the six Heart Flowers hidden in the world and bring it to the heart itself. You’ll know you’re carrying pollen when you start emitting coloured particles. If you die while covered in pollen, you’ll need to regather it before returning to the heart.
Below is a list of all the Heart Flowers and where you can find them.

White Flower - Bouldertop Keep
Co-ordinates - 530 238 445
The closest flower to the Moss Heart, you can find the White Flower rooted in a room at the back of Bouldertop Keep. This human settlement was once a thriving civilisation, but now is little more than a series of broken ruins and gravestones.
To reach the keep, go to the left of Mossman in the Moss Heart Shrine towards a bridge and a petrified Moss Tower. Cross the bridge, then follow the path lit by pillars of fire to the top of the castle.

Light Blue Flower - Tower Of Light
Co-ordinates - 312 257 317
Found in the heart of the Snowy Valley, the Tower of Light stands out like a beacon, with the Heart Flower rooted at the top.
From the Moss Shrine, take a left after crossing the bridge to Bouldertop keep. Wind down through the valleys until you reach the village. Head through the village and look for the Sea Lantern on top of Quartz Bricks, then follow that path upwards and into the tower. After going through the tower, you will find the stairs that will take you up to the Heart Flower.

Orange Flower - The Old Prison
Co-ordinates - 327 252 725
An immense sandstone keep, the Heart Flower is locked away in its highest cell in a lone tower of this crumbling prison.
From the Moss Heart, go right through the town ruins to the Red Sandstone Gatehouse. Follow the Iron Ore that paths into the Mesa, then head towards the keep passing through a second Red Sandstone Gatehouse. From there, follow the path up into the keep. Once in the keep, you will need to climb each floor to reach the cell at the top

Purple Flower - Flooded City Castle
Co-ordinates - 738 200 512
To the south of the Moss Heart, past the Green Heart Flower, stands an old broken bridge. At the end of this bridge lies the Flooded City Castle. Inside the castle is the Purple Heart Flower encased in glass by the villagers, who won’t open it unless you complete a trade for a Prismarine Statue.
To complete this trade, you must find the two traders to the left and right of the Purple Heart Flower and trade Prismarine and Amethyst Blocks with them. You can harvest the Amethyst and Prismarine Shards from monsters in the Flooded City or mine them from the Amethyst Mines and The Prismarine Keep.

The Amethyst Mines
Co-ordinates - 703 201 616
An old crystal mine sits forgotten, creeping water and collapsing tunnels rendering it unusable by all except the most persistent adventurer and crystalline monsters.
Go right from the Purple Heart Flower, making your way across some small islands. The entrance is marked with a sign.

The Prismarine Keep
Co-ordinates - 705 198 73
A once glorious stronghold peaks through the brackish mire, overrun by abominations of the deep glittering with prismarine.
Go left from the Purple Heart Flower, making your way across some small islands. Cross the Dripleaf path towards the sunken pillar with a Sea Lantern, and you will find the sign marking the entrance.

Dark Blue Flower - Altar of the First Seed
Co-ordinates - 806 194 817
In the deep tunnels of the outer range, an ancient building stands ravaged by time and the webs of the spiders. The Heart Flower is found in the lower floor of the temple, on the edge of a pool of lava.
Climb the cliffs at the edge of the Amethyst Mines, then follow the Blackstone path lit by Glowstone to the Altar, the path will curve and be broken at parts, but the light will guide the way. You will know the Altar by the large cave filled with lava and the pyramidic temple made of Blackstone.
Climb the edge of the pyramid stairs, then cross the bridge into the temple. You will find the Heart Flower in one of the paths that lead downwards into the depths.

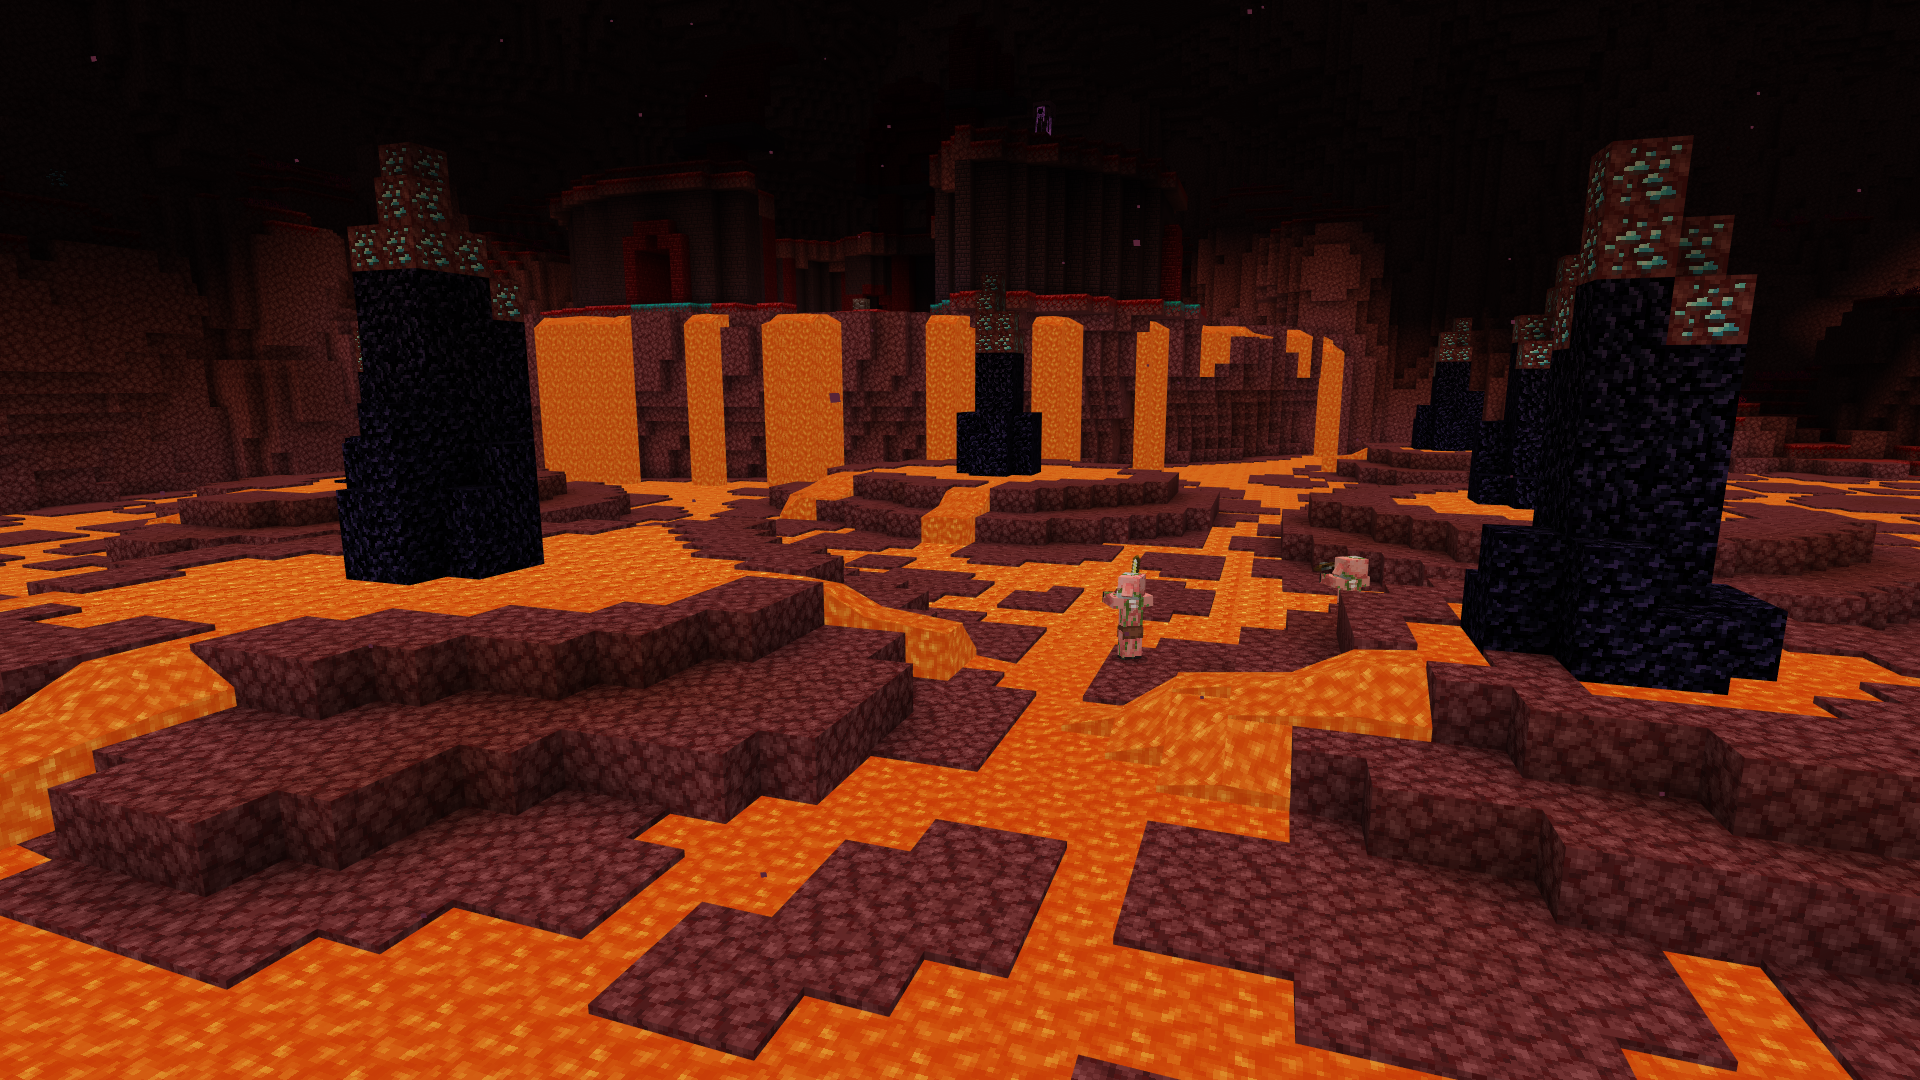
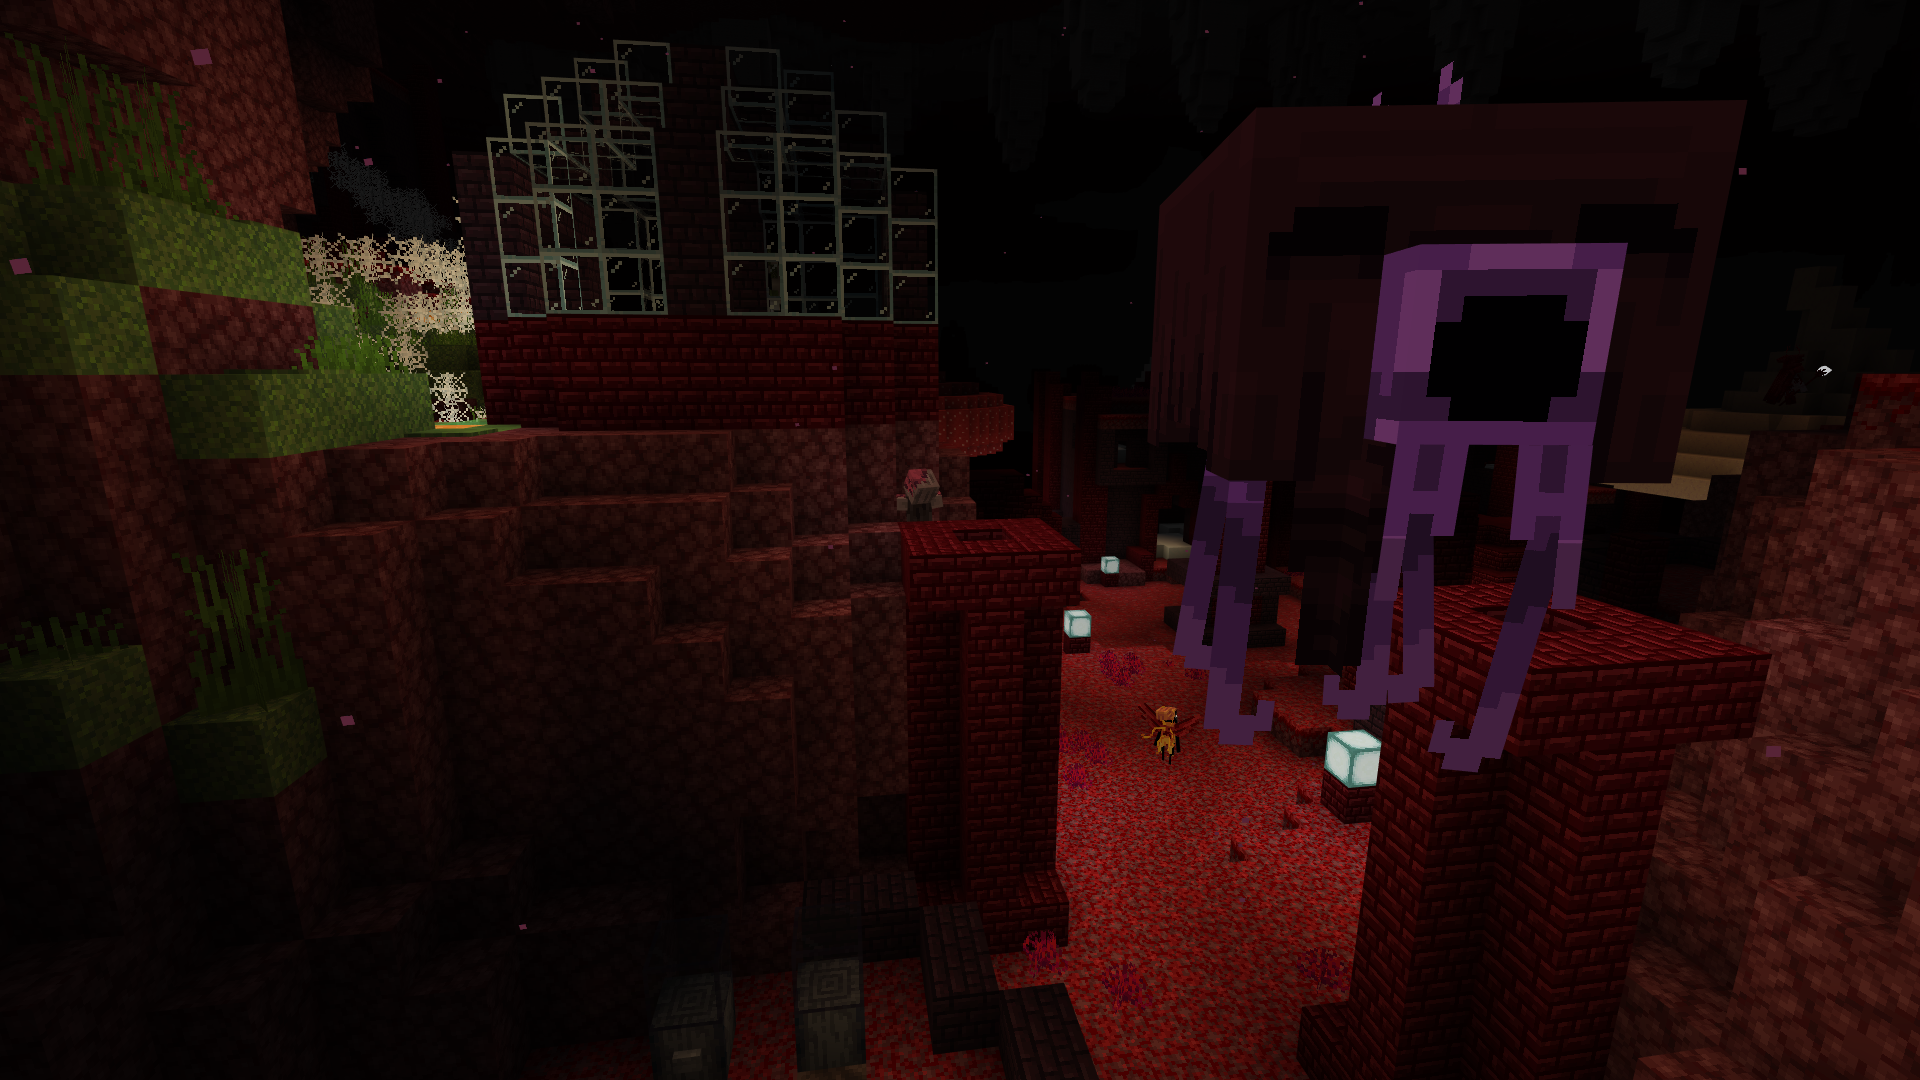
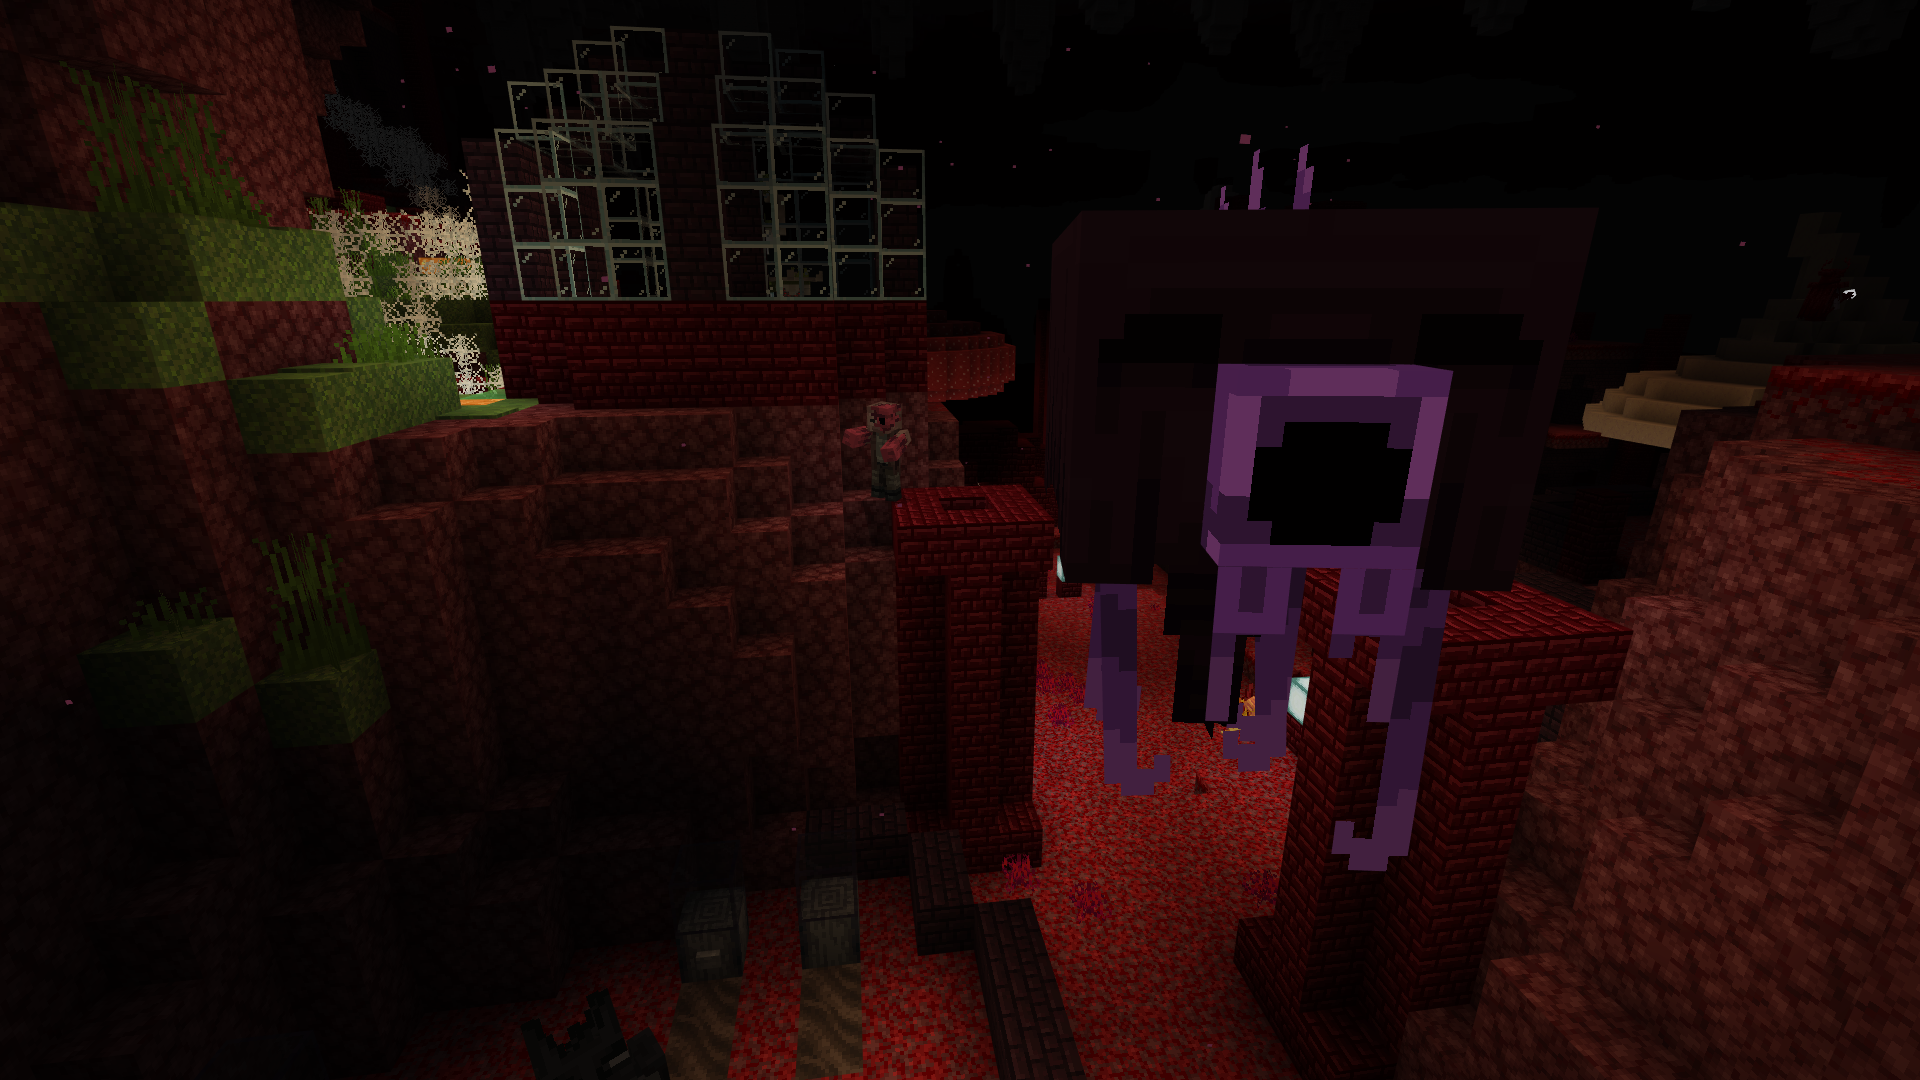
Red Flower - Crimson Moss Stronghold
Co-ordinates - 531 191 170
The Red Heart Flower sits deep within the caves once inhabited by the largest creatures ever seen in The Egg, now home to the Crimson Moss Druids’ mighty Stronghold.
Whichever route you take into the Crimson Moss lands, you’ll find the Stronghold in the centre of the biome, after passing through the Nether Brick gates, sitting in the middle of a great skull.
Enter through the skull into the caves and descend down to the Obsidian shrine where the Heart Flower is rooted.
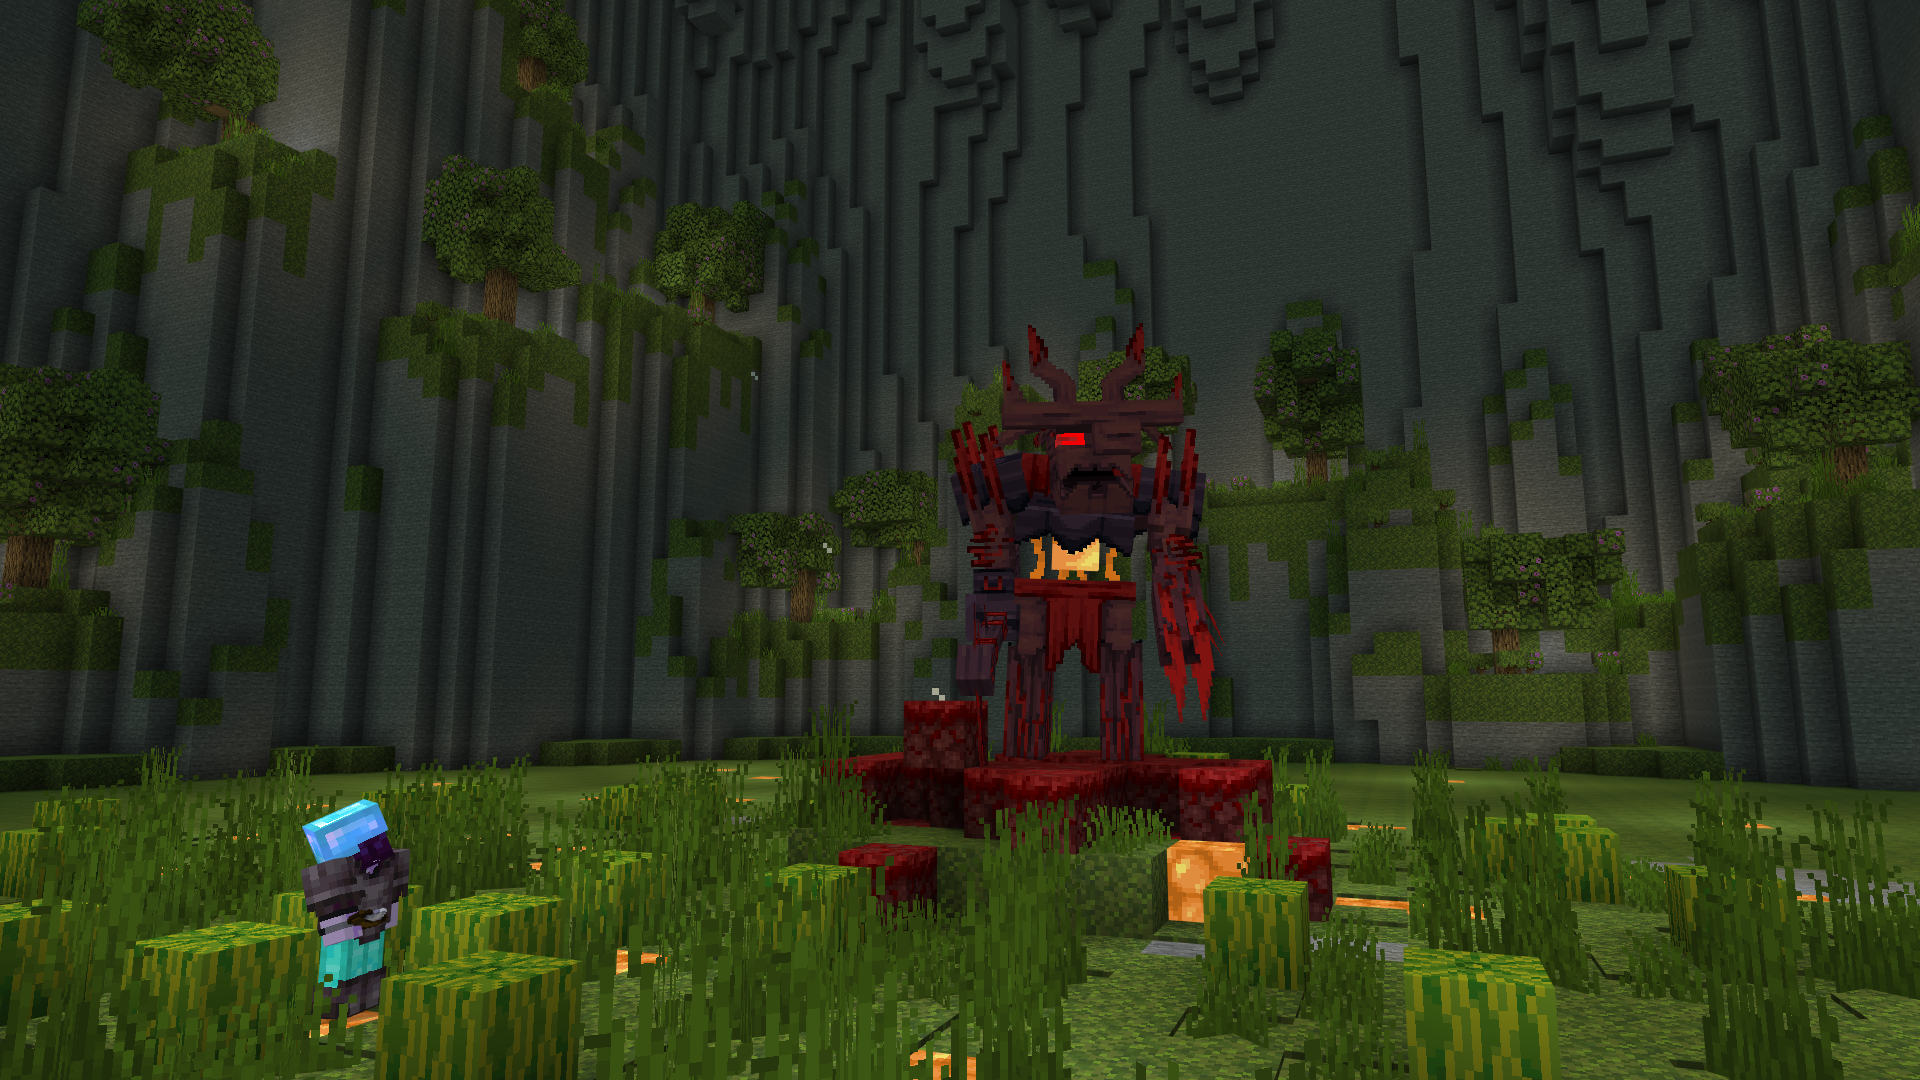
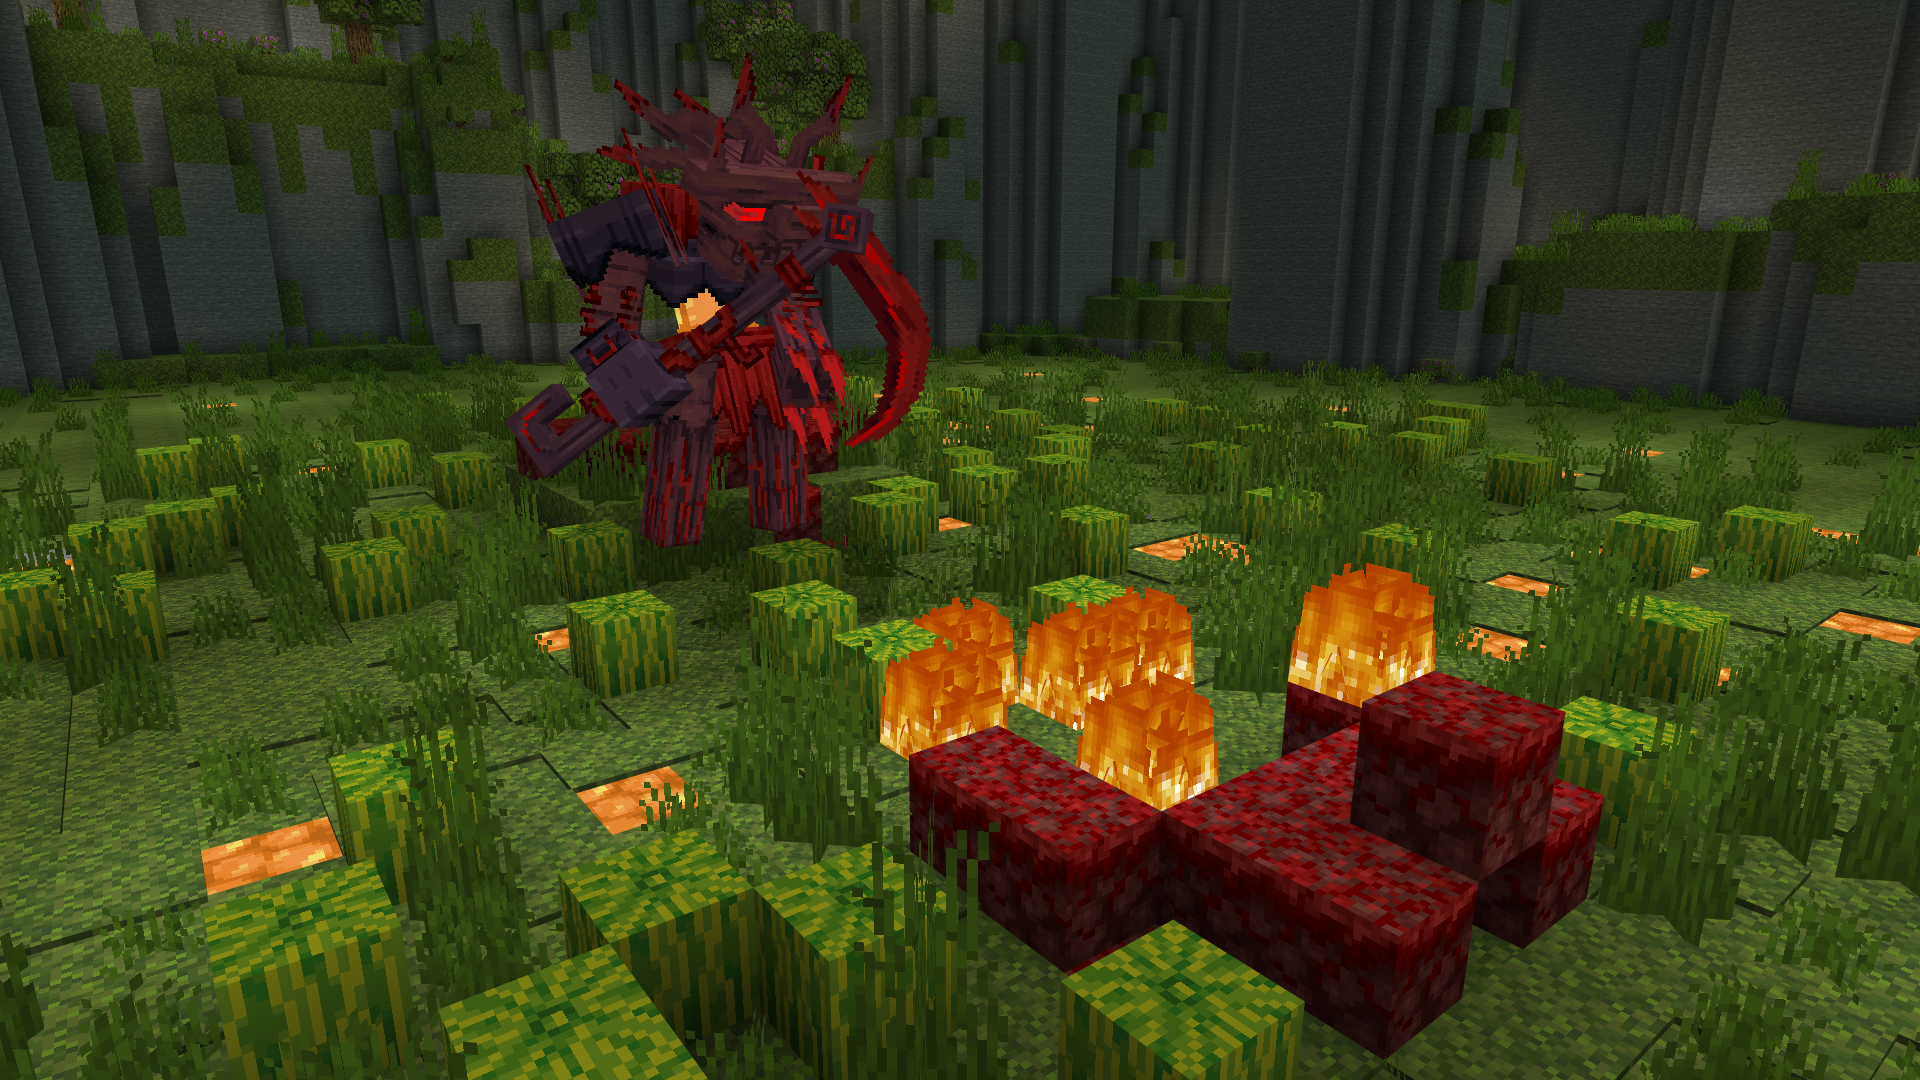
The Boss - The Crimson Mossman
The Crimson Mossman is the final boss of The Egg and the last monster you need to defeat to complete the Moss Block Challenge.
Once you’ve collected all the Heart Flower pollens, the Mossman will fix the End Portal below the Moss Shrine that will take you to the lair of the Crimson Mossman, but you’ll still need to activate it.
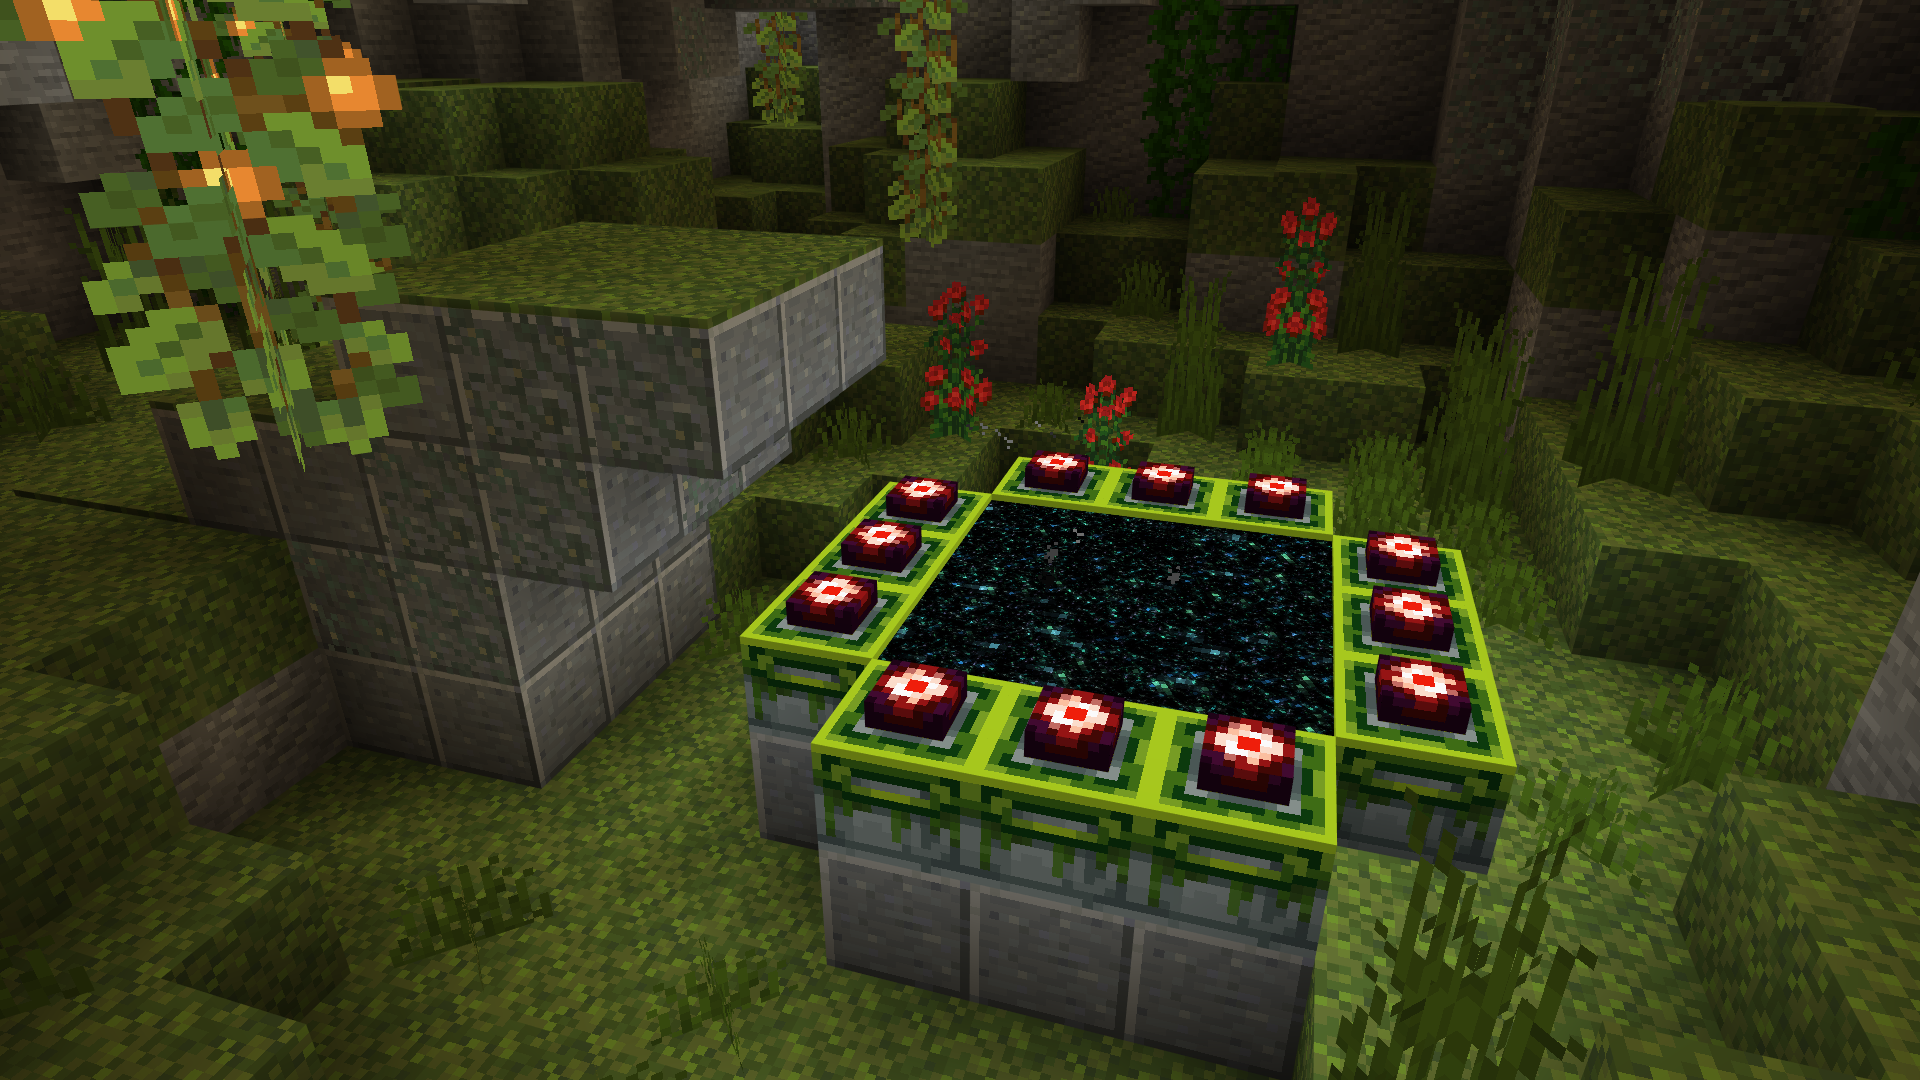

Collecting Eyes of Ender
Portal Co-ordinates: 512 208 512
Trader Co-ordinates: 392 226 240
To activate the portal to the Crimson Mossman’s Lair, you’ll need to collect 12 Eye of Enders. These can be crafted using Ender Pearls and Blaze Powder.
You can find Ender Pearls and Blaze Powder in chests in the Crimson Moss Lands, or you can trade with the Crimson Trader who offers one Ender Pearl for 4 Emeralds. You can find them on a small hill on the border between the Snowy Valley and the Crimson Moss Lands
You can also collect Blaze Rods from Glowbugs who drop them over time! You can then turn these Blaze Rods into Blaze Powder.
Getting Prepared
Lava Lakes Co-ordinates: 316 208 236
Three Manors Co-ordinates: 229 229 355
Three Manors Graveyard Co-ordinates: 186 232 336
To get ready for the final fight, you’ll need to craft yourself armour, weapons, and potions!
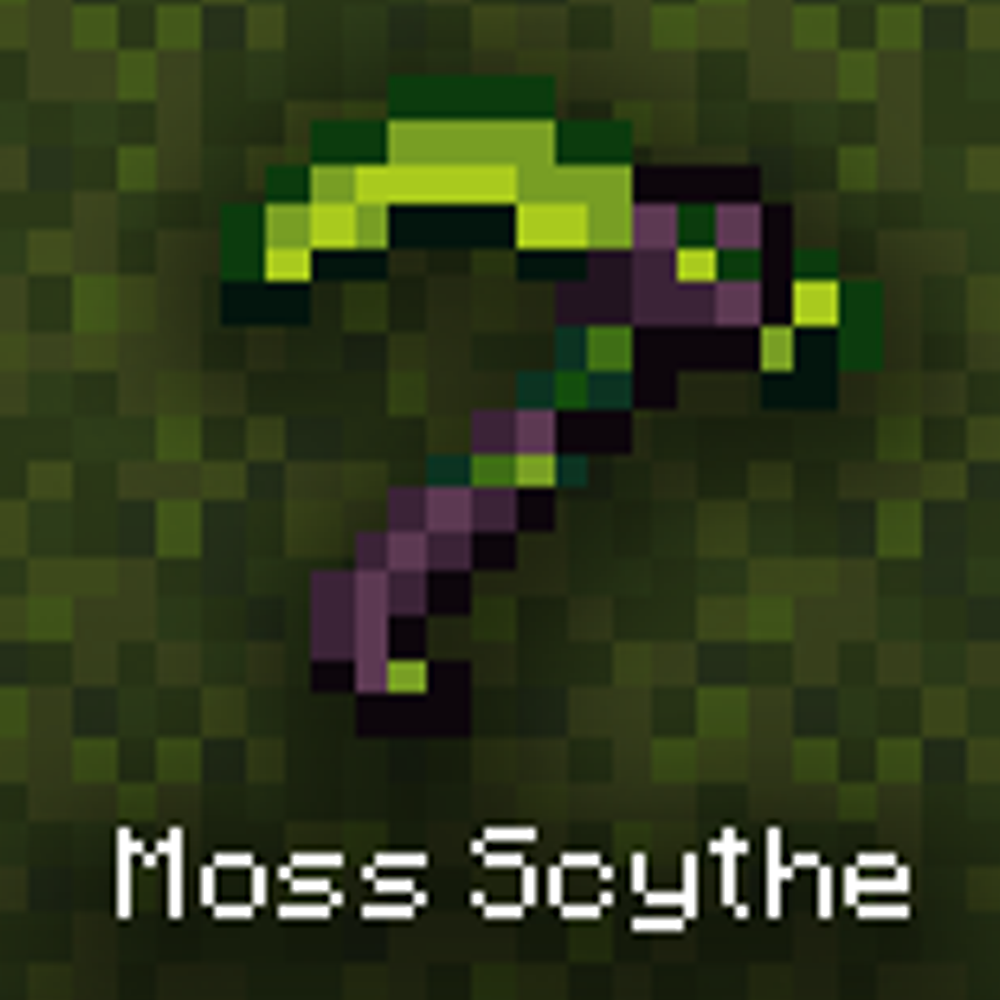
We recommend going into this final fight with at least full diamond armour, a diamond sword or druid scythe and a bow with plenty of arrows or moss darts.
To craft Diamond armour and weaponry, head to the Lava Lakes in the Crimson Moss Lands, where you can find several pillars topped with diamond ore. Once mined, there should be enough for a full set of diamond armour and a weapon.
To be extra prepared, you can turn your Diamond armour into Netherite. To do so, visit the Three Manors in the Crimson Moss Lands and look for the smith’s house. In the basement, you’ll find a Blacksmith Table, a Blast Furnace, hidden treasures, and some deposits of Ancient Debris in the surrounding area.
There’s also buried treasure in the graveyard of the Three Manors, but you’ll need to solve the puzzle found in the open grave near the pit that’s on fire.
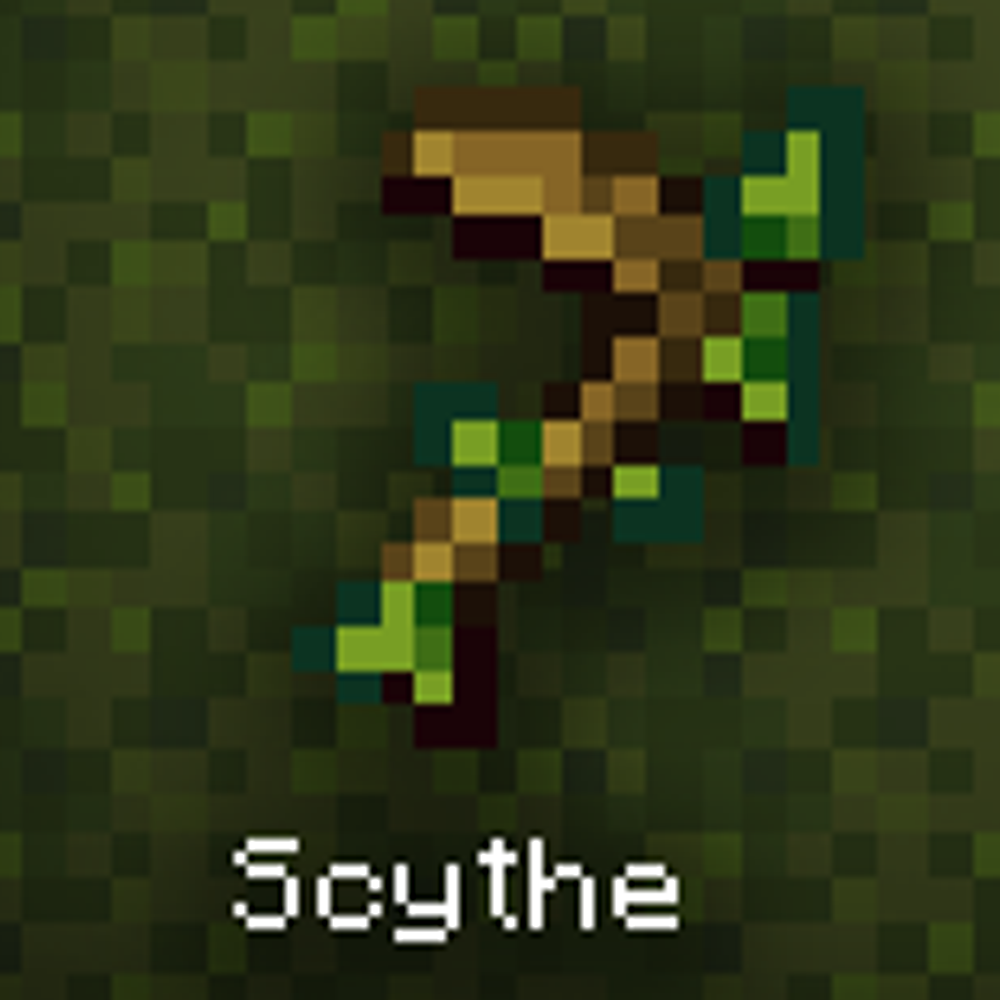
Craftable Weapons
As an aspiring Moss Druid, you have access to three new craftable weapons, perfect for taking down The Crimson Mossman, as well as any monster in your way!
The Druid Scythe is a great weapon that does the same amount of damage as an iron sword, and you can charge it to make a sweep attack. The sweep also gets rid of grass, snow, and spider webs!
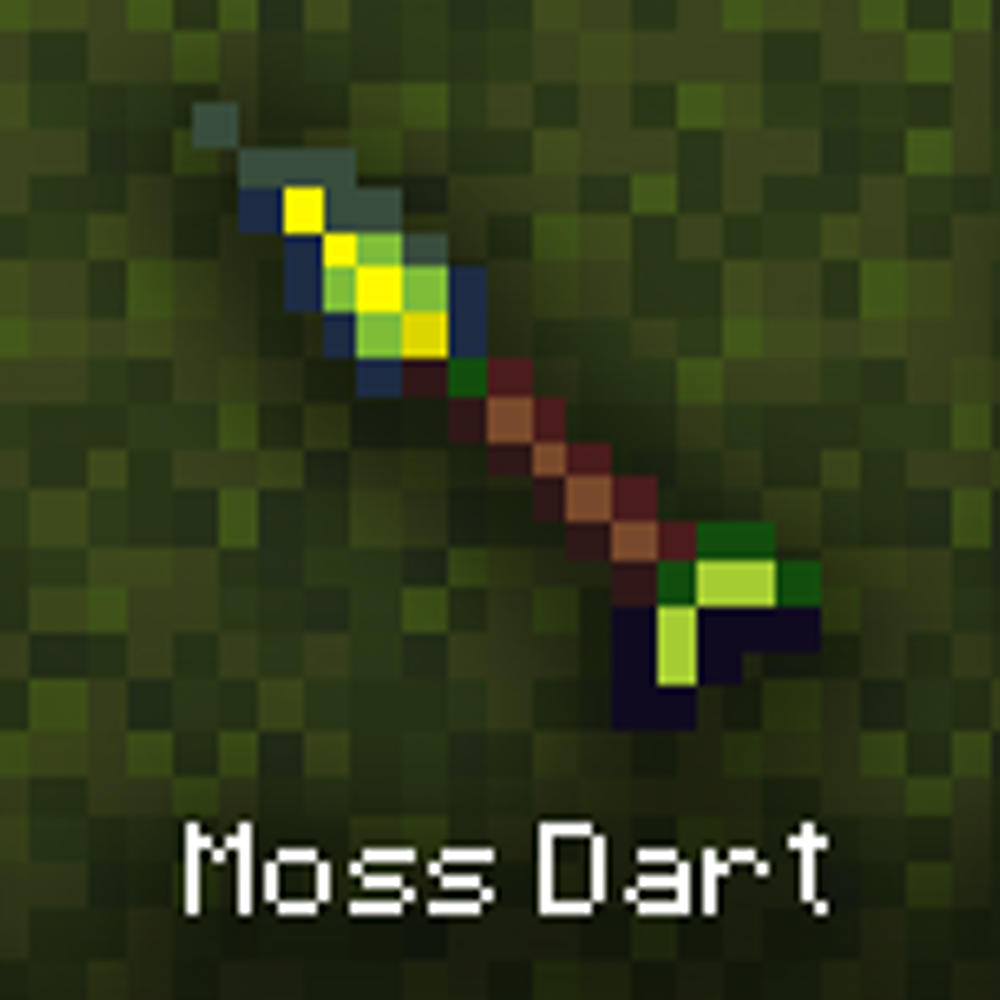
The Moss Dart is really useful for quick ranged attacks. Throw a dart at your enemies, and leave them to wither. Enemies that die from this wither will also burst into Moss Carpets!
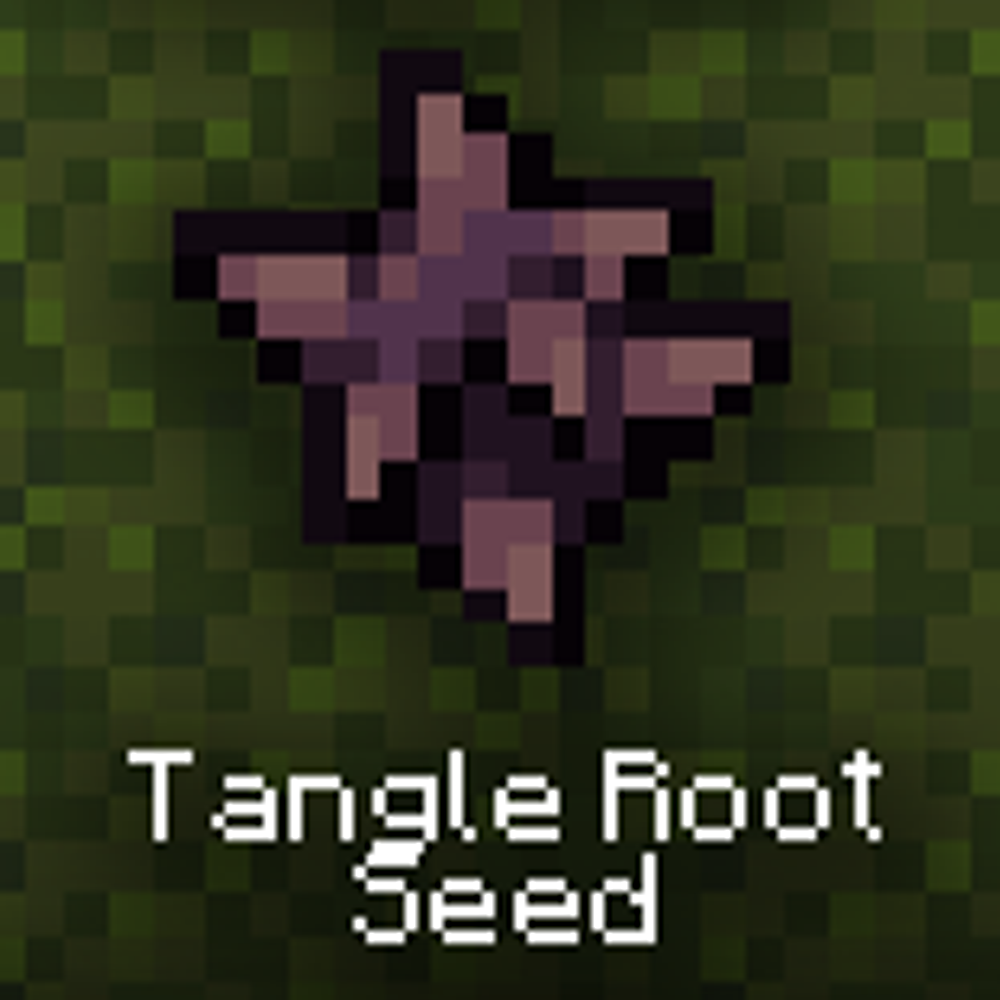
The Tangle Root Seed is great for rooting enemies that just won’t stop chasing you. It’ll also damage them a bit, but its main use is for singling out the monsters you’re fighting.
Crafting Potions
Nether Wart Co-ordinates: 208 232 335
Old Well Co-ordinates: 525 198 576
It can be a quest in itself to gather potion ingredients in The Egg, but if you’re going up again the Crimson Mossman, bringing along a few Potions of Regeneration is never a bad call.
These can be crafted in a Brewing Stand using Water Bottles, Nether Wart and Ghast Tears
Nether Wart can only be found in the old Three Family Manor. Don’t worry about accidentally mossing over Nether Warts. you can’t moss over Soul Sand.
If you want to smelt Sand into Glass to craft into Glass Bottles, you can mine it from the water around the Flooded City, though bring some Moss Carpets with you so you don’t wither away while underwater. You can also trade for potions with the villagers of the Flooded City and then re-use the bottles.
Ghast Tears can be collected by killing Crimson Weepers, the ghast-like creatures in the Crimson Moss Lands.
Water can be found in the Flooded City, or at the Old Well to the right of the Moss Heart.
Fighting the Crimson Mossman
Now that you’re all prepared, it’s time to face the Crimson Mossman.
A good idea, before waking him up and starting the fight, is to prepare your arena. Moss around the whole circle, so you have plenty of space to move. Then moss over his platform to wake him up and start the final fight!
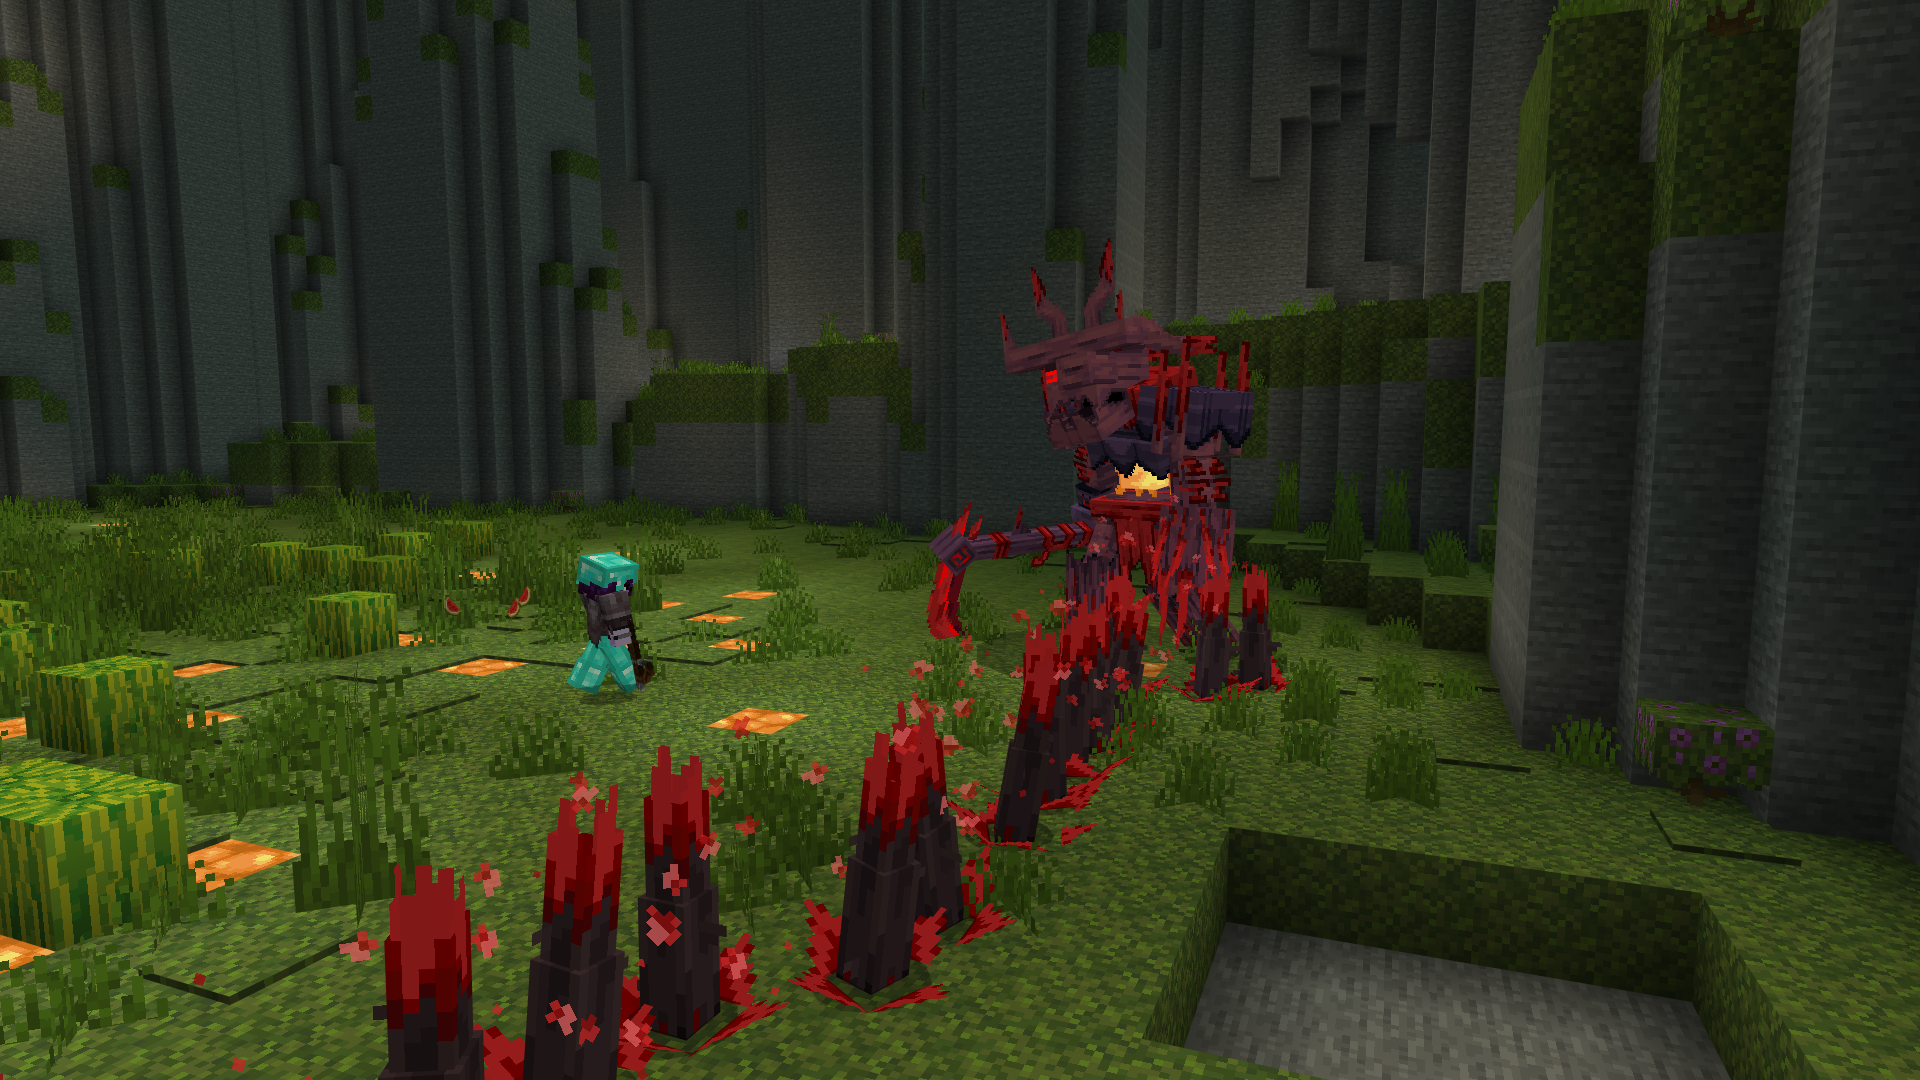
The Crimson Mossman can attack you in both melee and at range through various different attacks.
The Slash: Too close to the Mossman? He’ll use his spiked root fist and scythe to slash the area in front of him, so don’t stick around!
The Spiked Roots: Mossman plunges his fist or staff into the ground, creating spiked roots that surround him in a circle or in a line towards you
The Roar: Mossman roars, sending any nearby players flying back and dealing a bunch of damage.
The Explosive Moss: Stray too far from the Mossman? He’ll raise his arms to the sky and fire a fast spore cloud at you! It’ll explode and set the nearby away on fire, so stay on your toes!
So knowing all these attacks, what’s the best way to defeat the Crimson Mossman?
We’ve found that running in, attacking with a melee weapon, then taking a step back really does the trick. If you’re running low on health, attack from range while glugging down a health potion!