
Batman - Riddler Puzzles
The Riddler is up to his usual tricks and has stolen some of the Bat-Family’s more flamboyant Batsuits.
He’s locked them away in secret locations throughout Gotham City, with only puzzles to show where they are, their pieces scattered to the wind. There are nine puzzle pieces hidden in each of the five districts of Gotham City, locked behind puzzles or fiendish traps.
In this guide, we’ll one up that rhyming rascal and show you where he’s hidden the puzzle pieces so you can reclaim the suits and wear them in your quest for justice!
Central Gotham
Monarch Theatre
Co-ordinates: 571, 1, 617
Tools required: Detective Vision, Batman Pickaxe
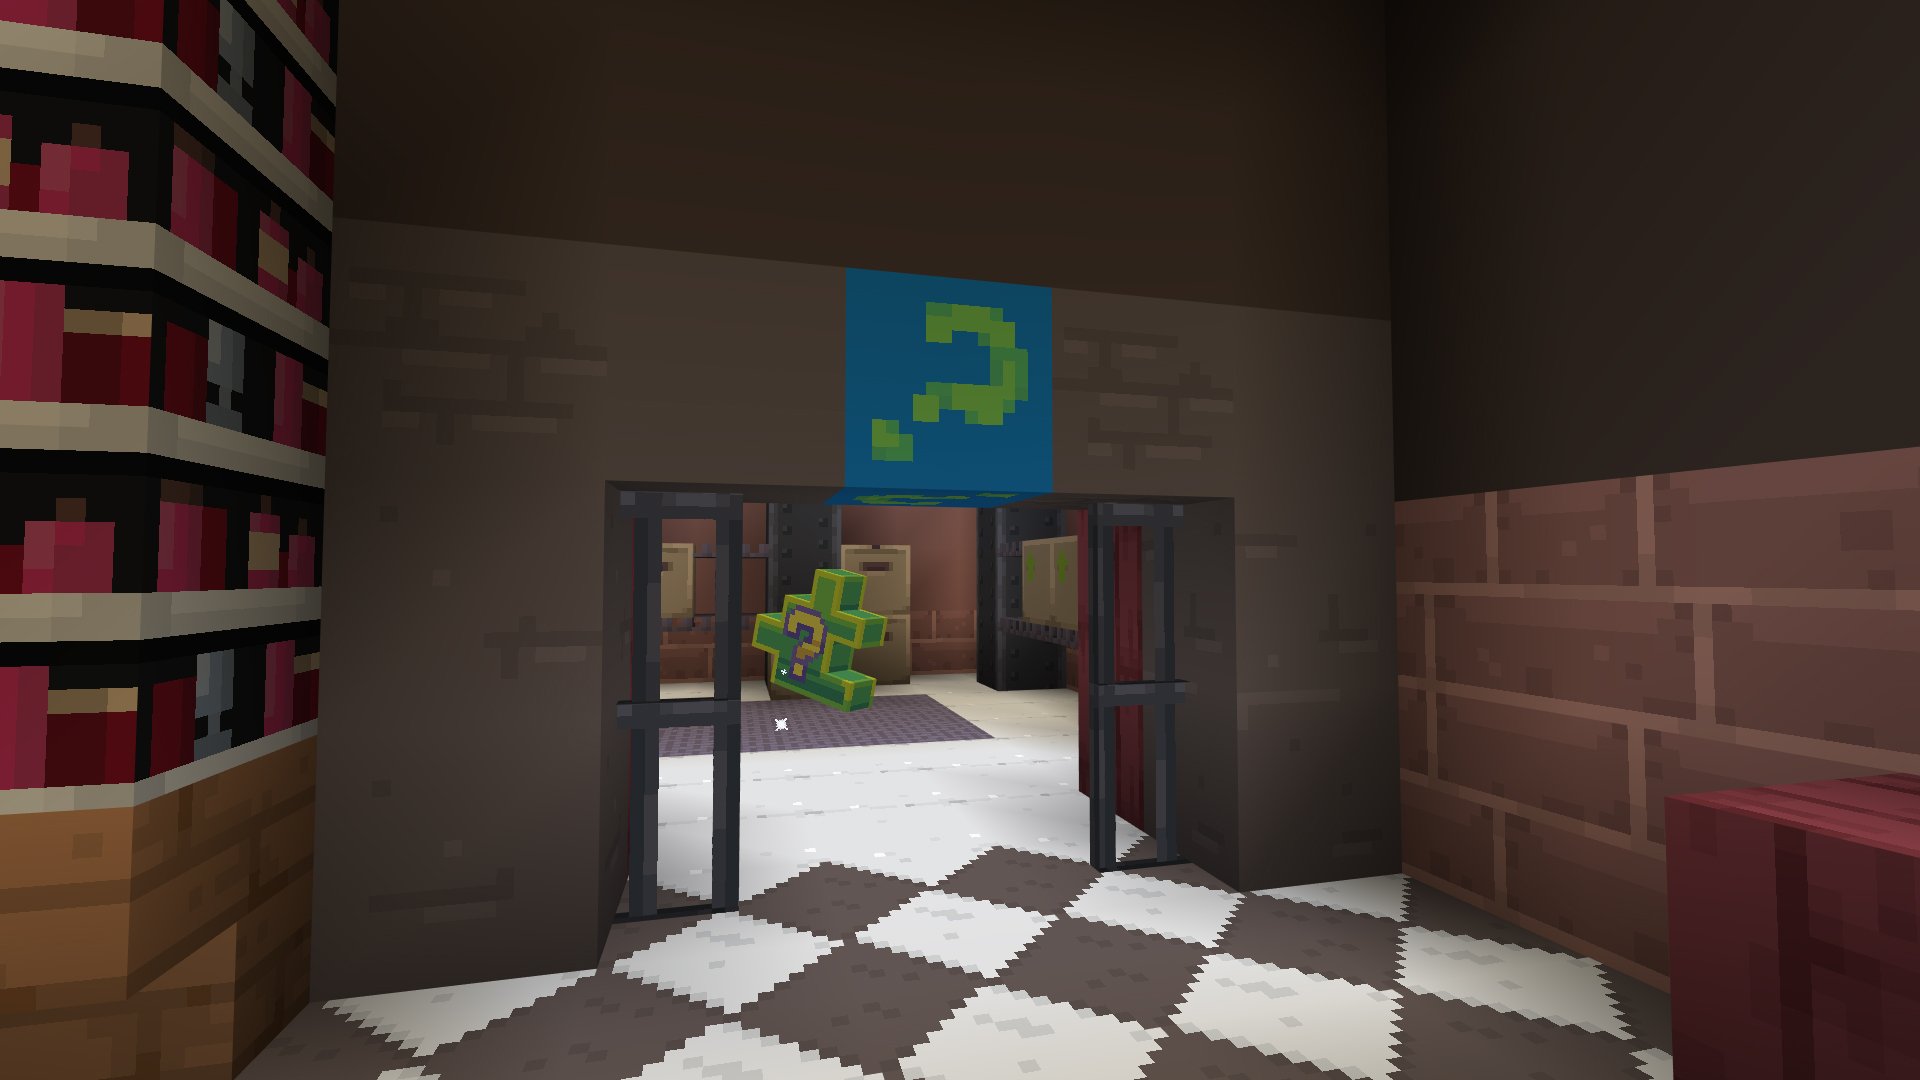
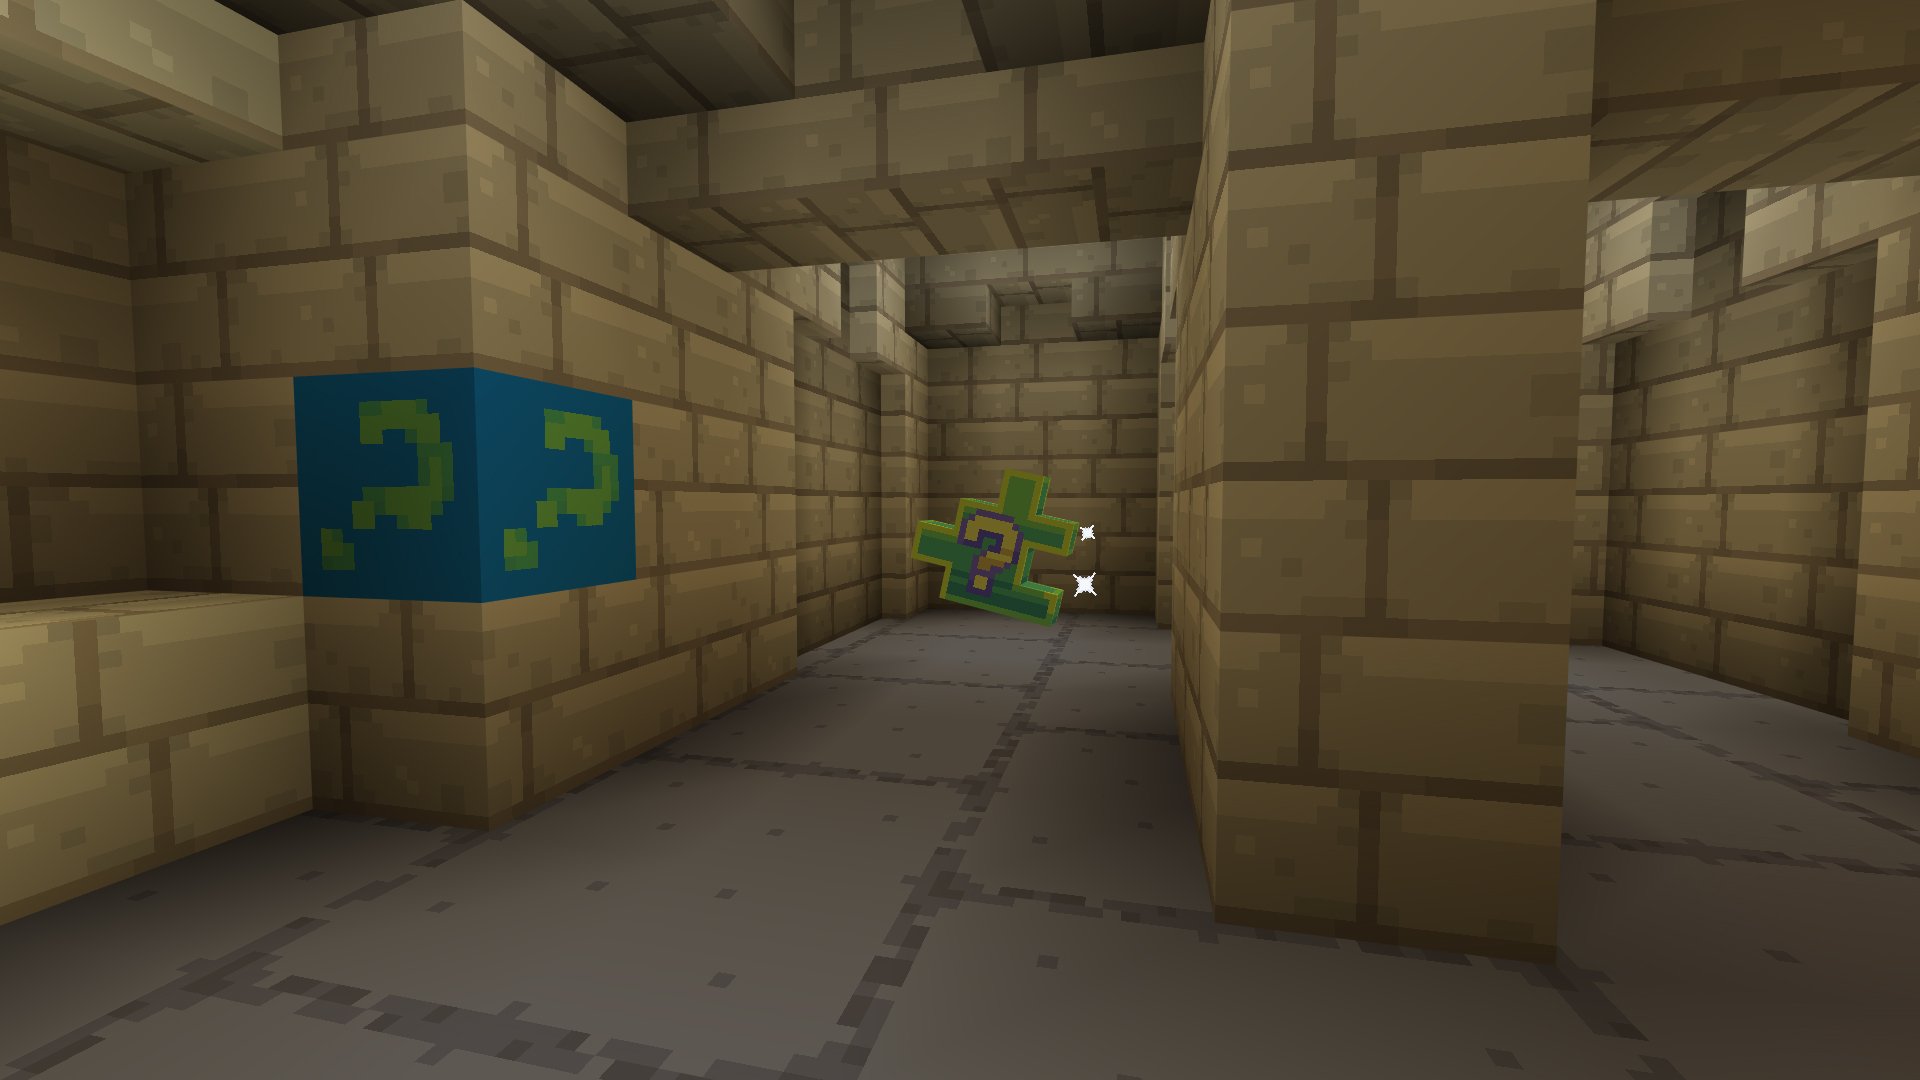
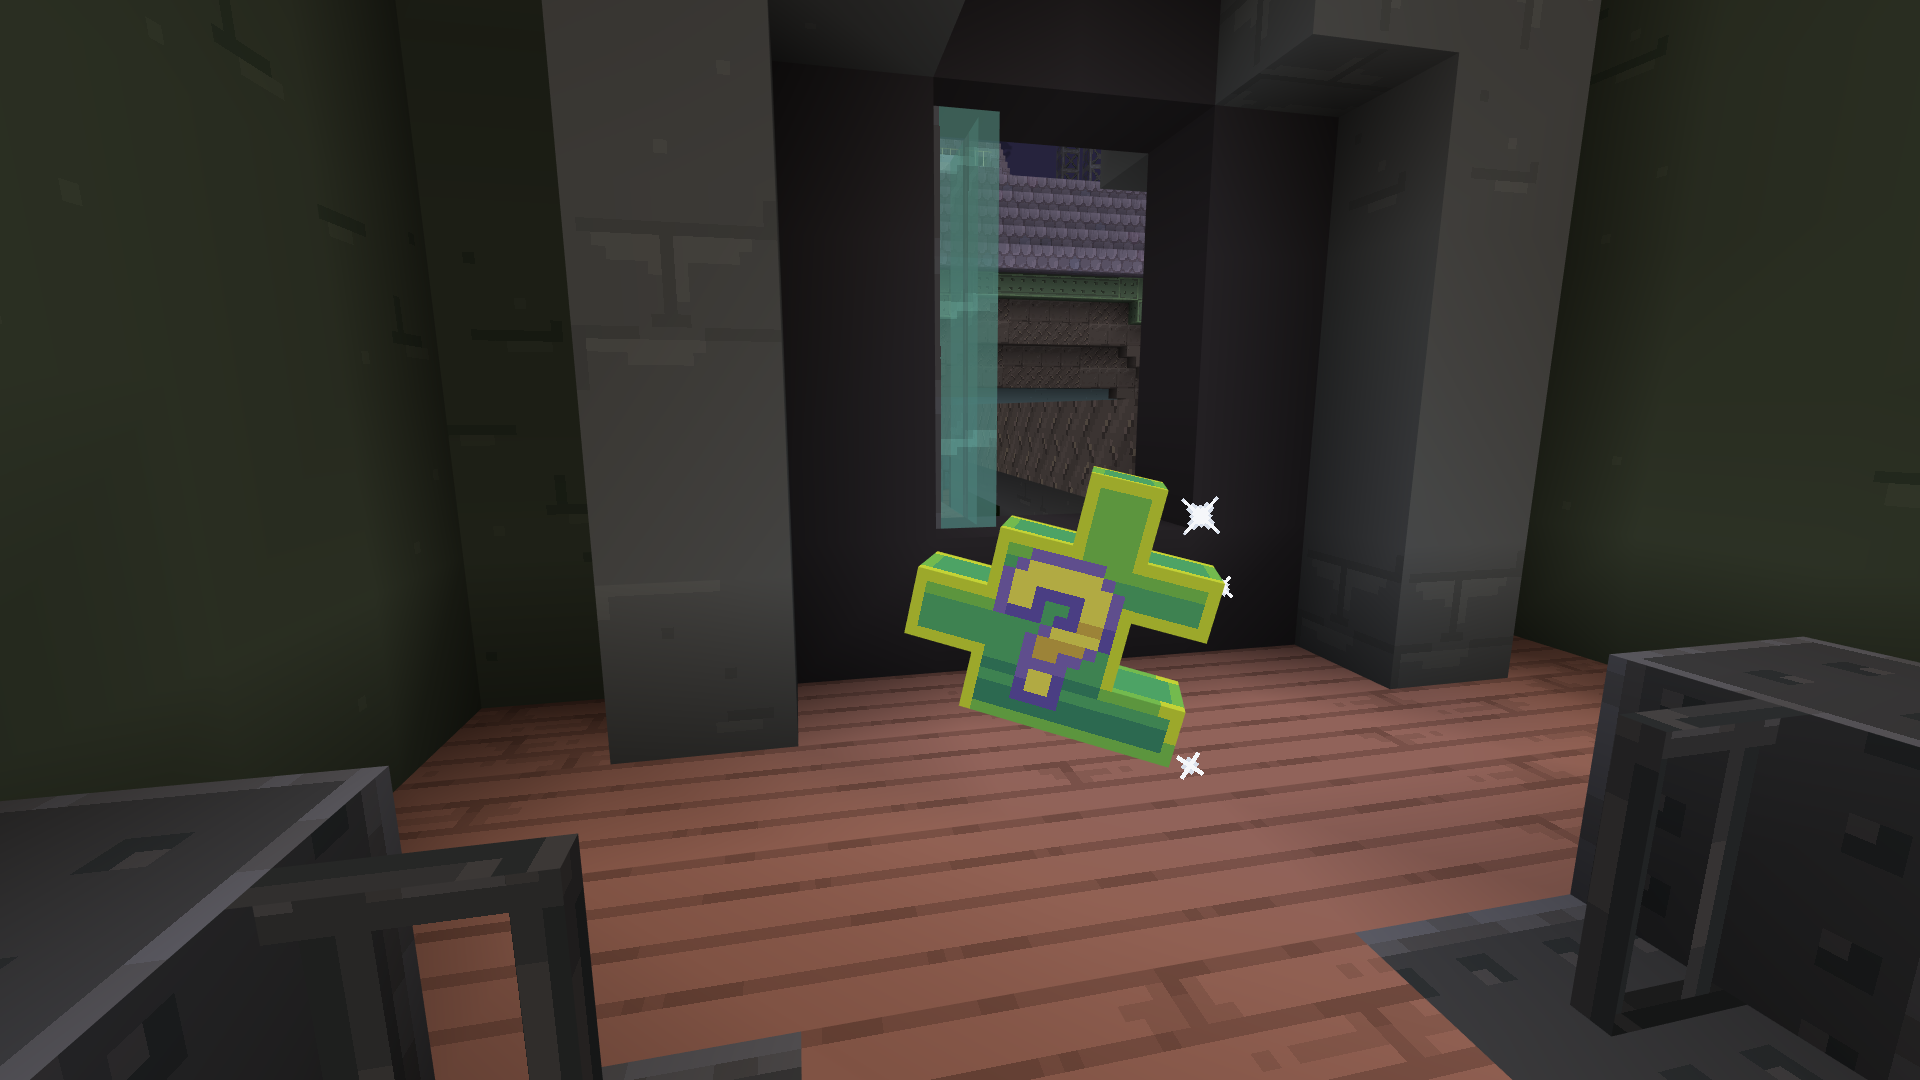
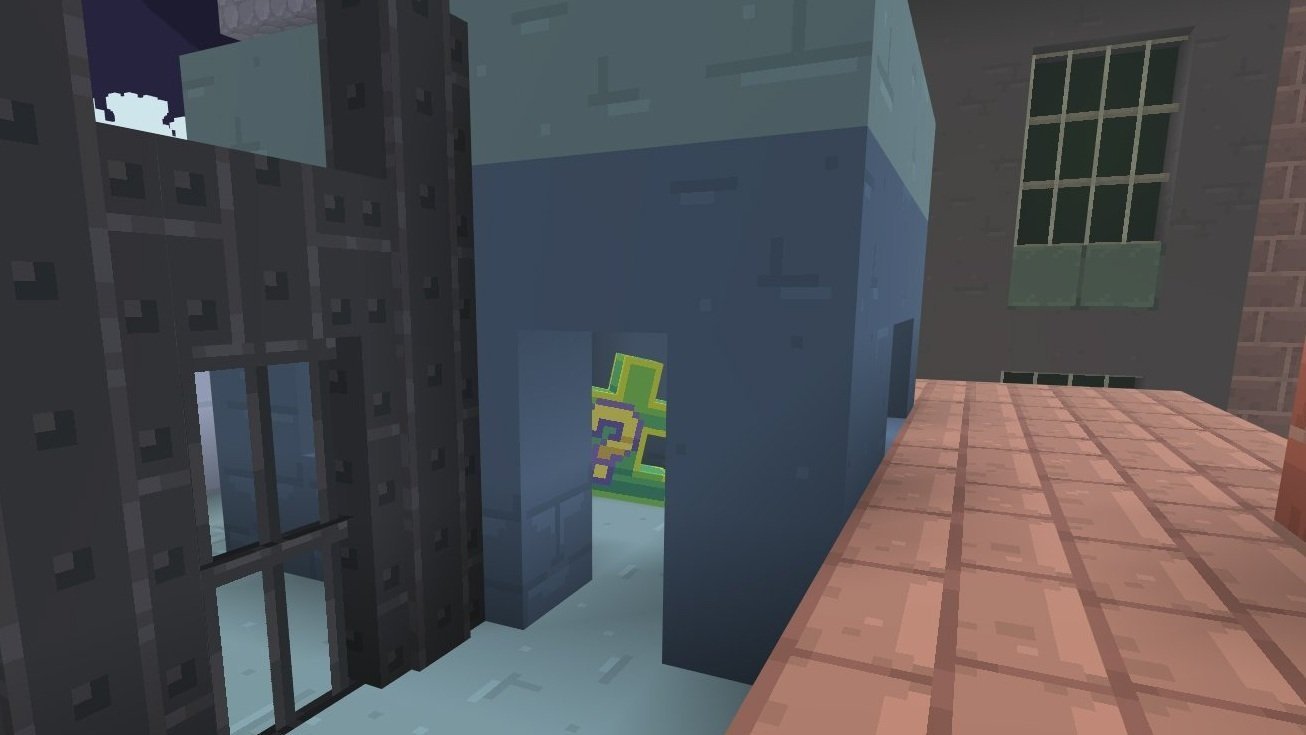
The Monarch Theatre is where Batman was born in the mind of young Bruce Wayne so it's only fitting a piece of his present should be found there too. Using Batman’s detective vision, make your way through the theatre, taking on the goons that now infest it, into the infamous alleyway. Break through the weakened wall, and you’ll find the puzzle piece.
Apartment Building
Co-ordinates: 577, 1, 660
Tools required: Detective Vision, Batarang
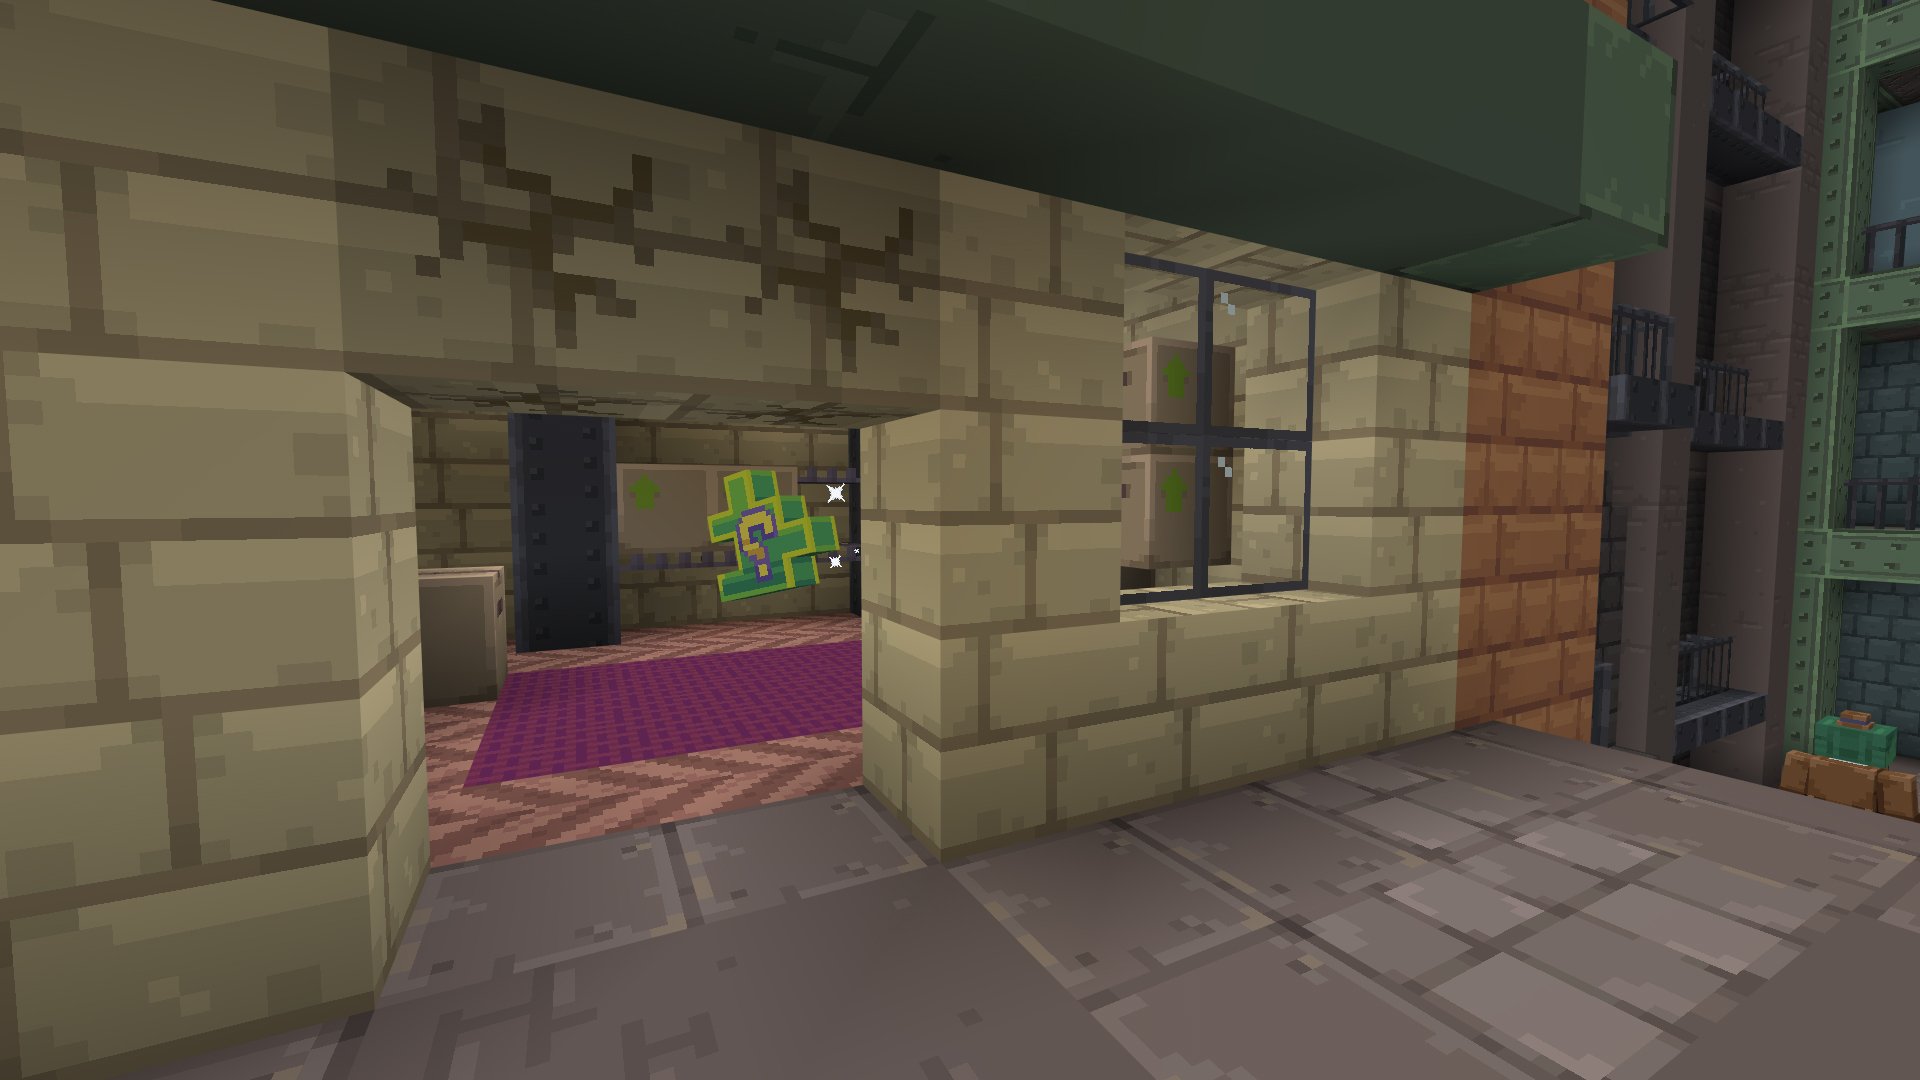
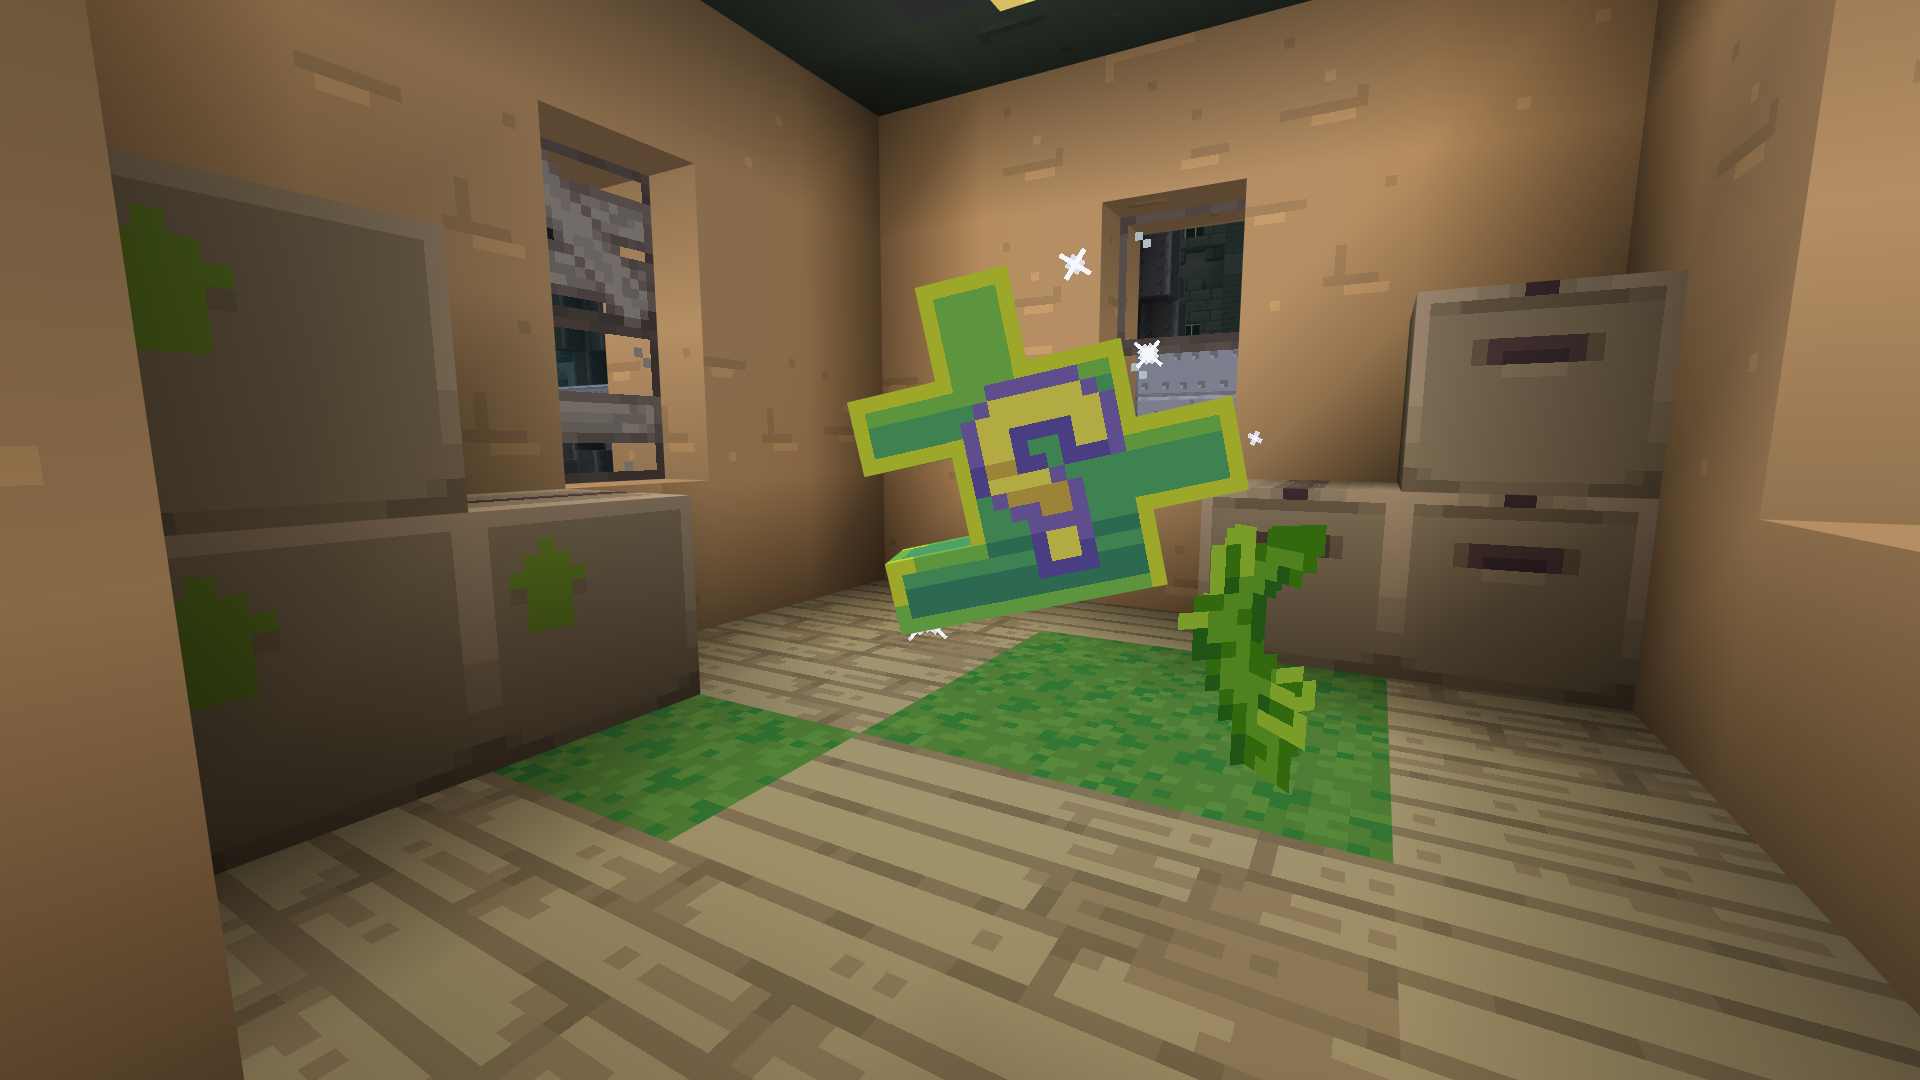
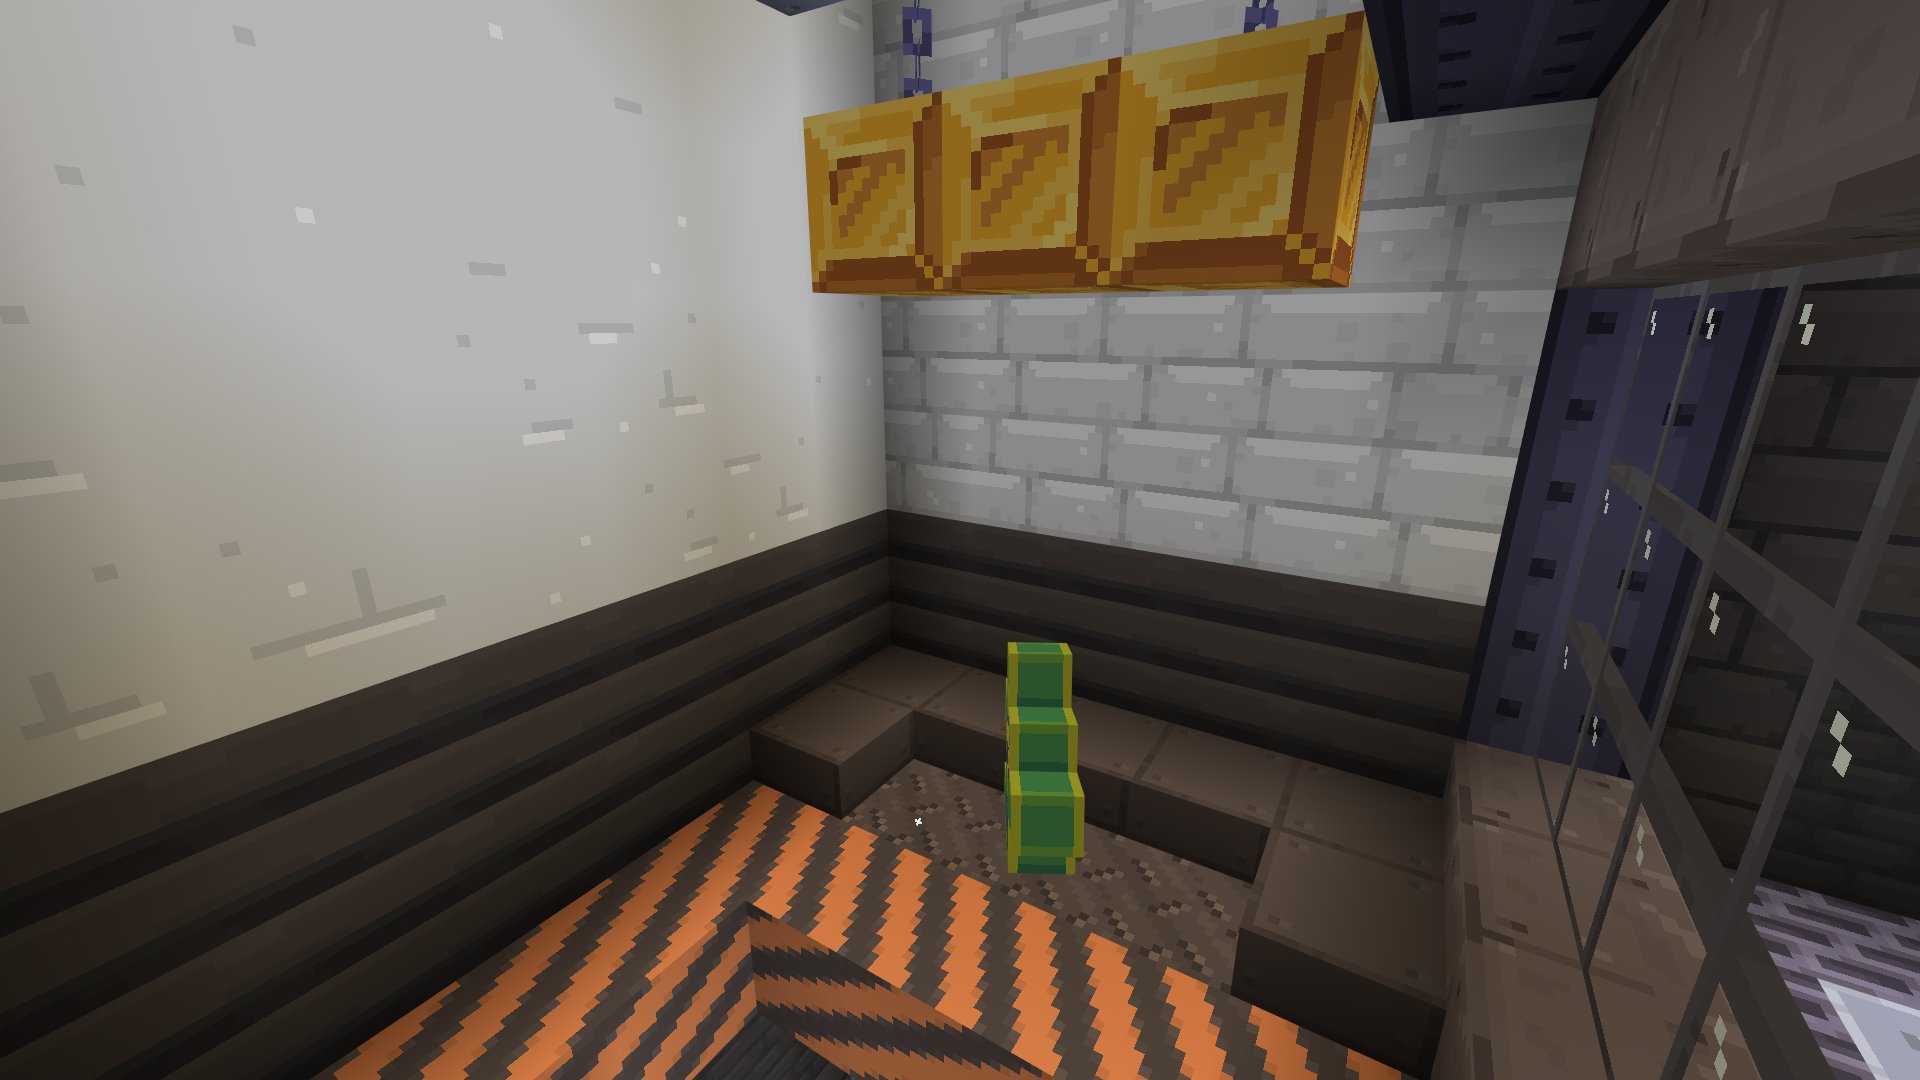
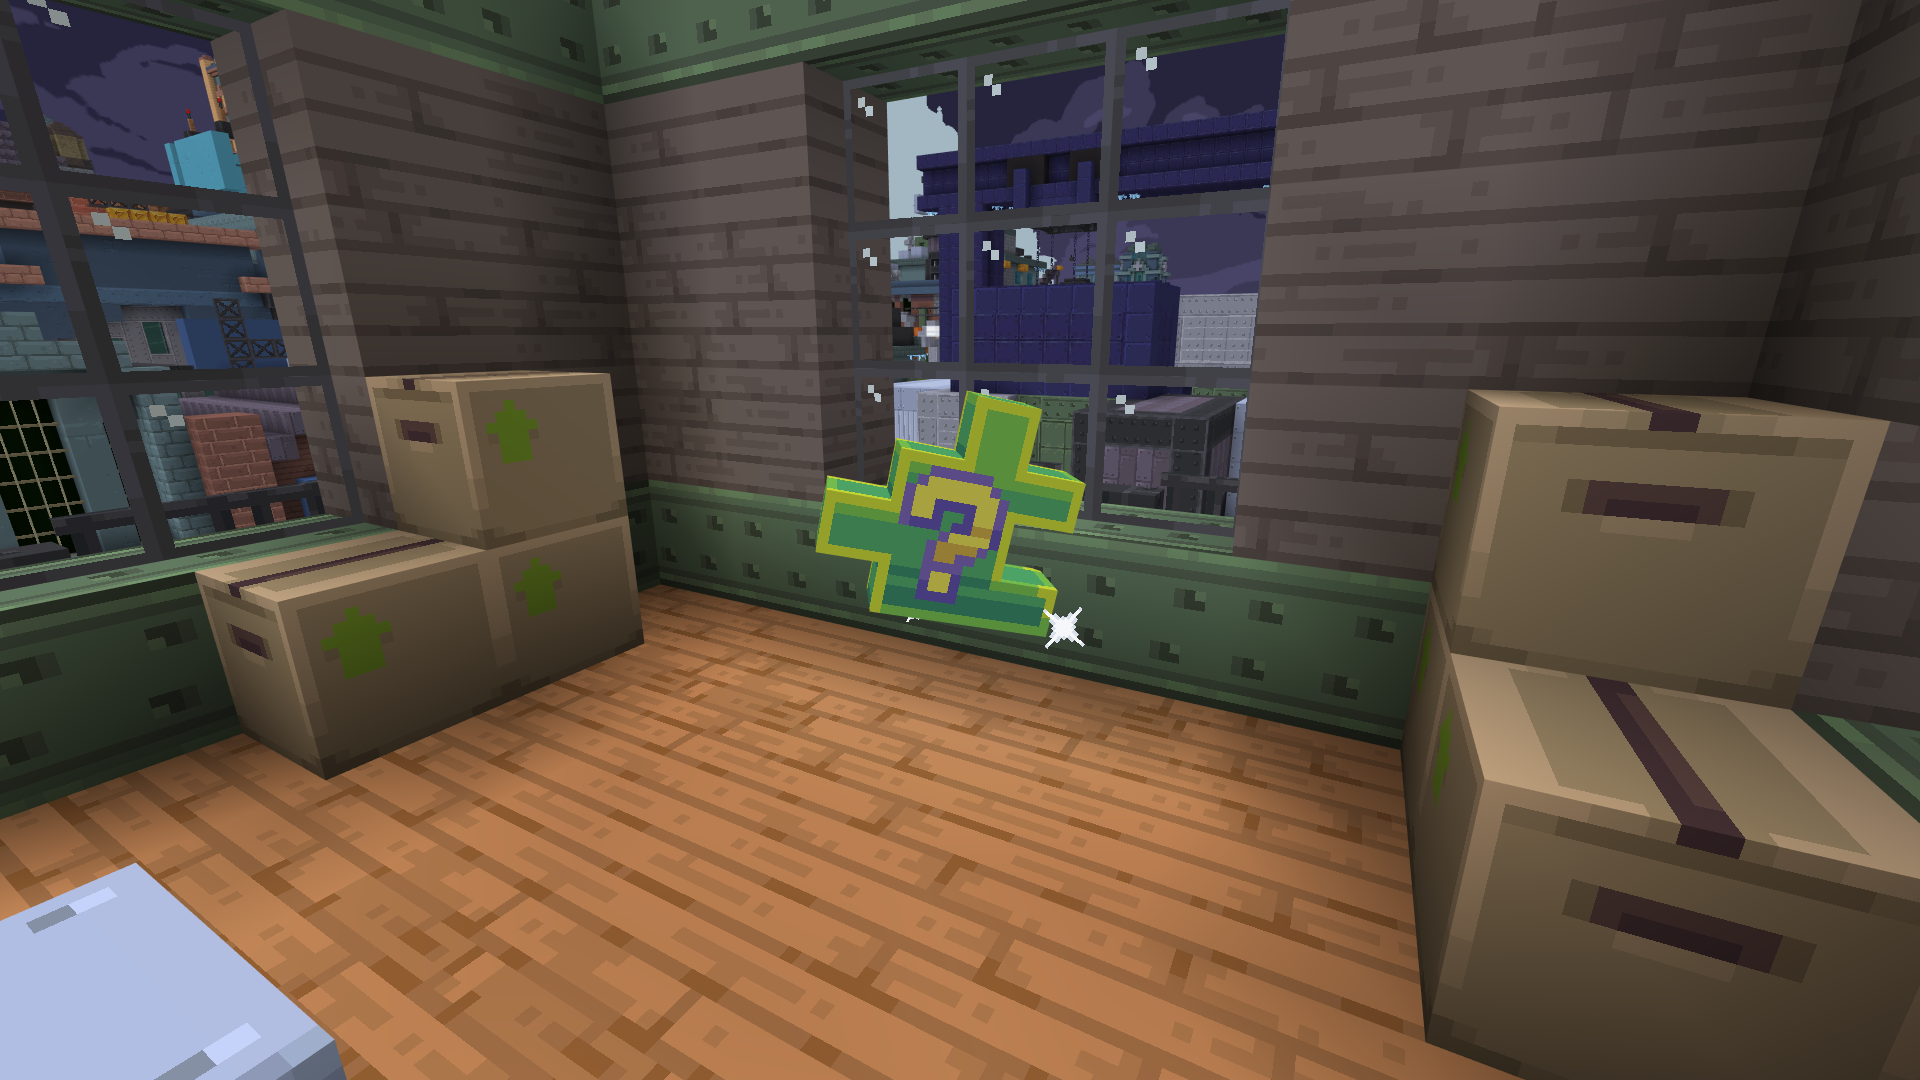
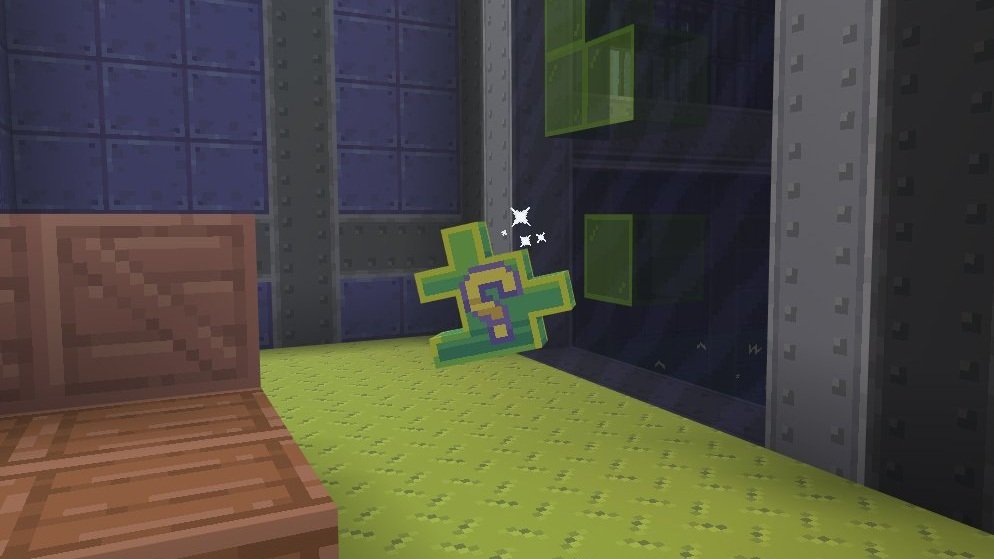
One of the many abandoned buildings in Gotham City, follow the clues up to the roof of the building, dealing with any pesky boxes or criminals in your way. Enter the building through the broken skylight, deal with even more boxes then claim the puzzle piece hiding in the kitchen. Use the broken window to get out into the streets, keeping an eye out for even more bad guys in your way
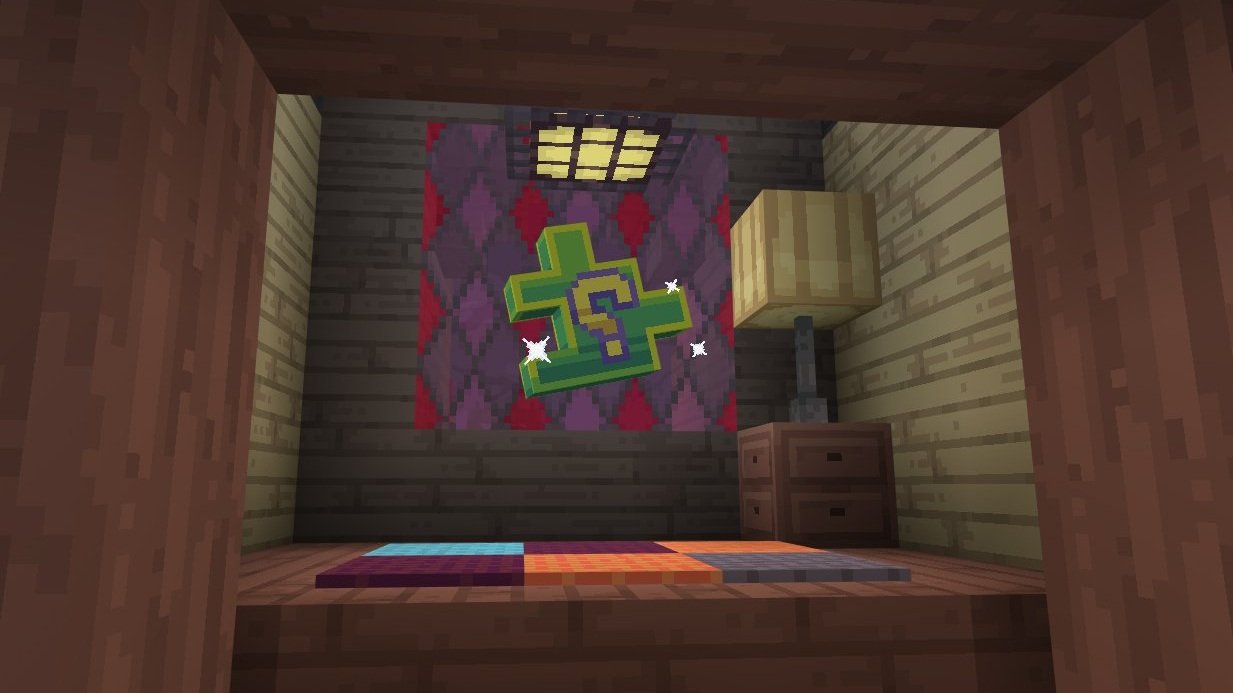
Clock Tower
Co-ordinates: 589, 1, 509
Tools required: Detective Vision, Batclaw
A towering monument to punctuality, The Gotham Clock Tower keeps the city on time, and it's time for justice!
Using your Batclaw, scale the crates to the left of the tower until you reach the building’s roof then grapple up to the tower’s balcony above. Take out any lurking villains and claim the puzzle piece next to the stained glass window.
Bank
Co-ordinates: 483, 4, 534
Tools required: Detective Vision, Batman Pickaxe, Hacker Pad
Possibly the most besieged building in all of Gotham City, there isn’t a supervillain in the City who hasn’t tried to rob Gotham Bank at one time or another, so its no wonder The Riddler’s hidden one of the puzzle pieces here.
Follow the clues and unlock the door with your hacker pad to move deeper into the bank. Once you’re at the vault, break down the wall to reclaim the puzzle piece.
It’s not stealing; who knows what else is hidden in that puzzle piece!
The Narrows
Co-ordinates: 628, 0, 429
Tools required: Detective Vision, Plant Stimulant, Bat Pickaxe
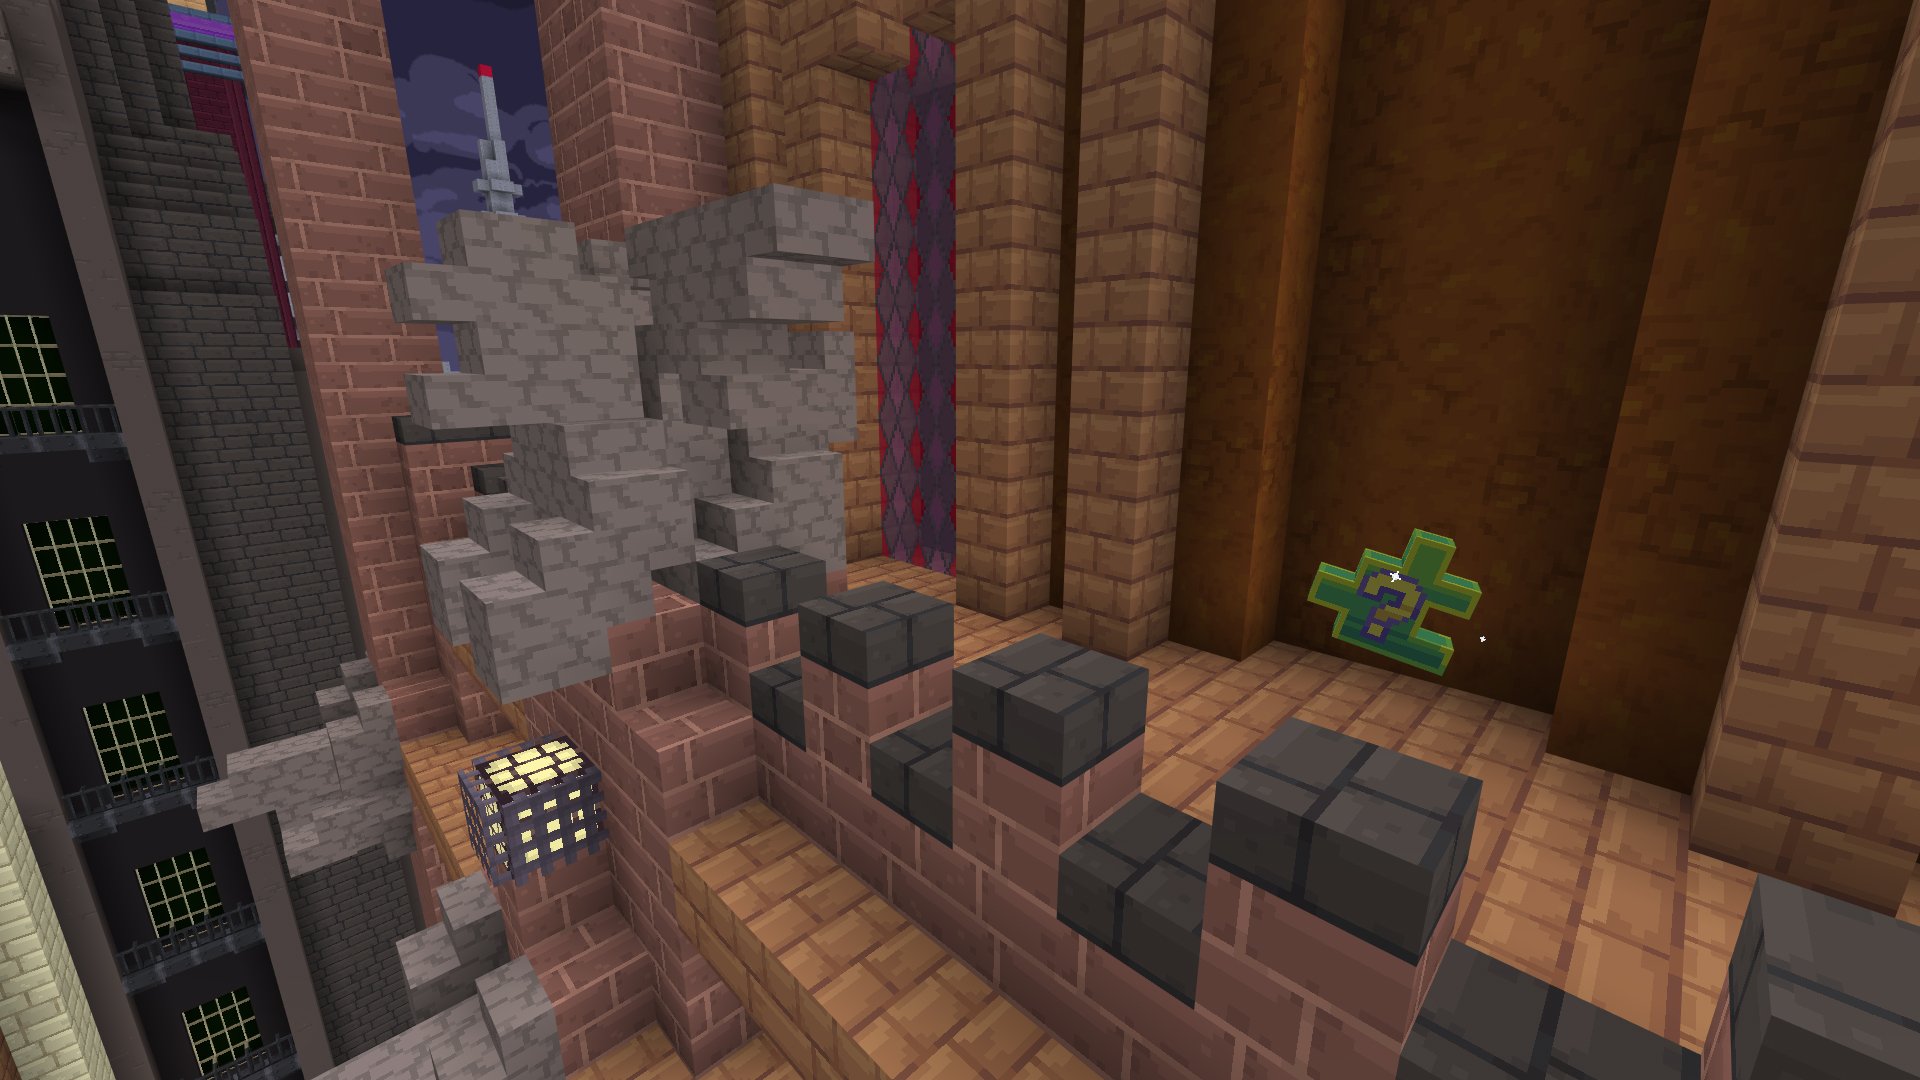
A set of dark and dangerous alleys under the tram tracks, The Narrows is not a safe place to visit and those who enter better have their wits about them.
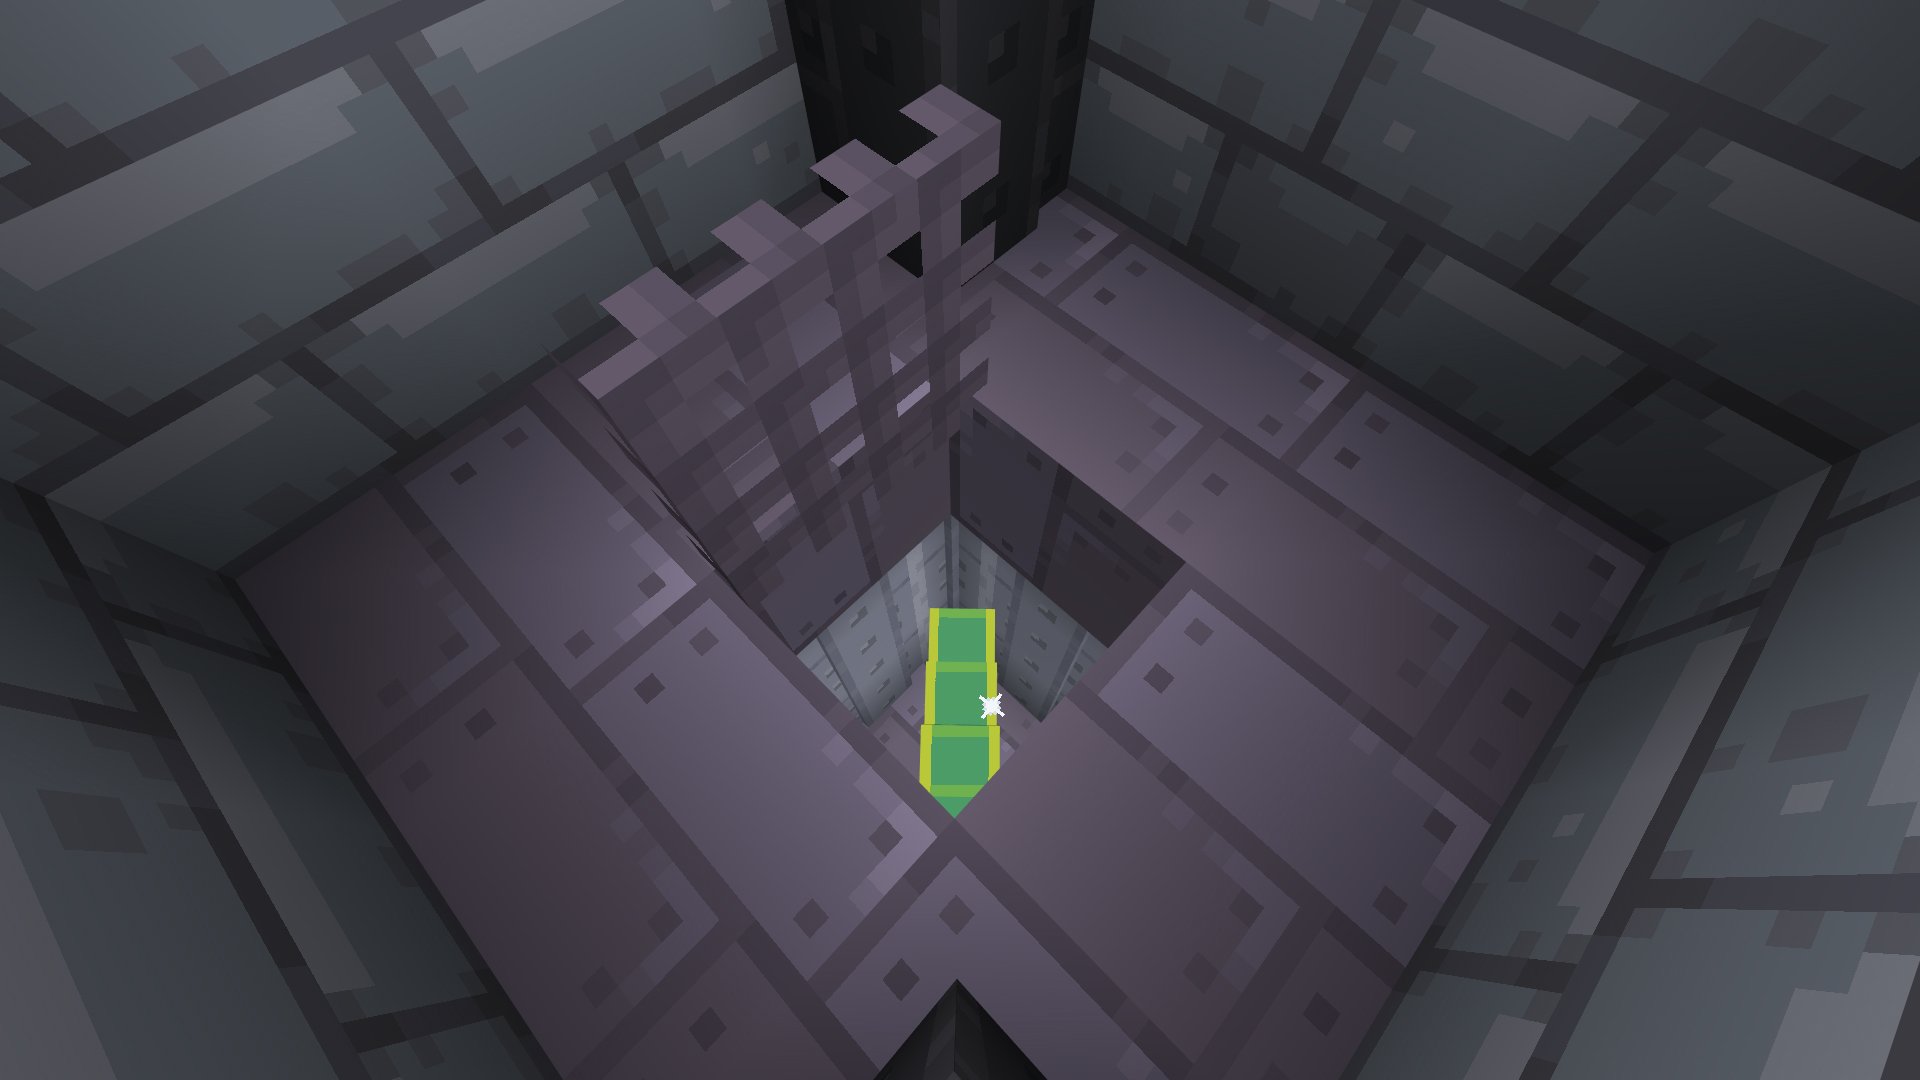
Following the clues, navigate this treacherous part of town until you reach an overgrown tower. Break down the crumbling walls then use Poison Ivy’s plant stimulant to climb the broken floors and find the puzzle piece at the very top.
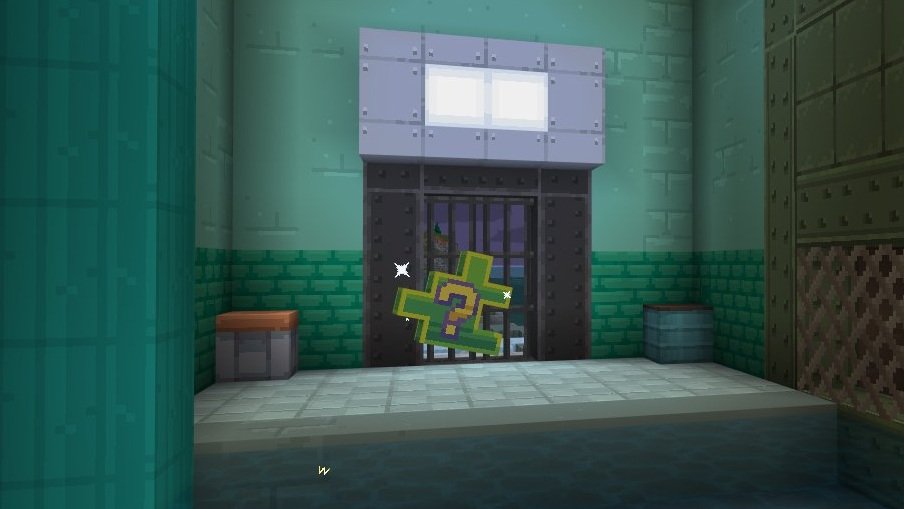
Gotham PD
Co-ordinates: 474, -2, 633
Tools required: Detective Vision, Freeze Ray, Batclaw
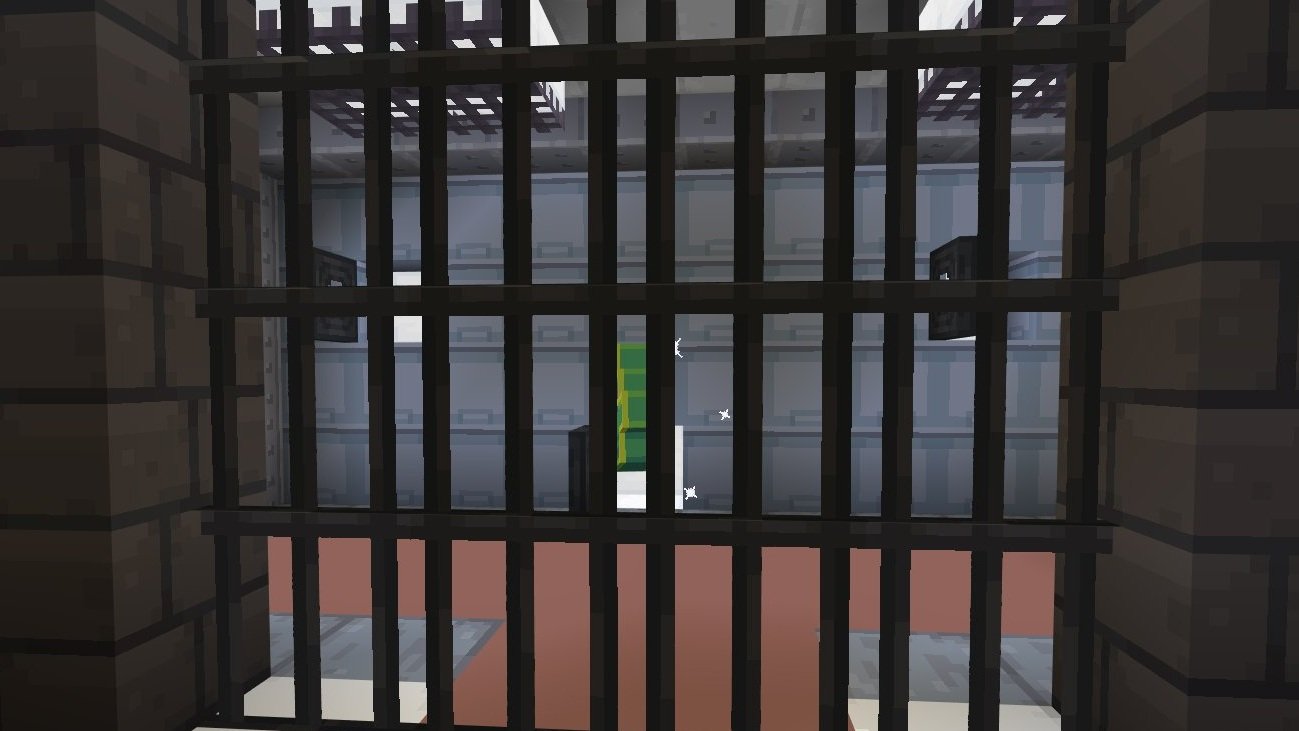
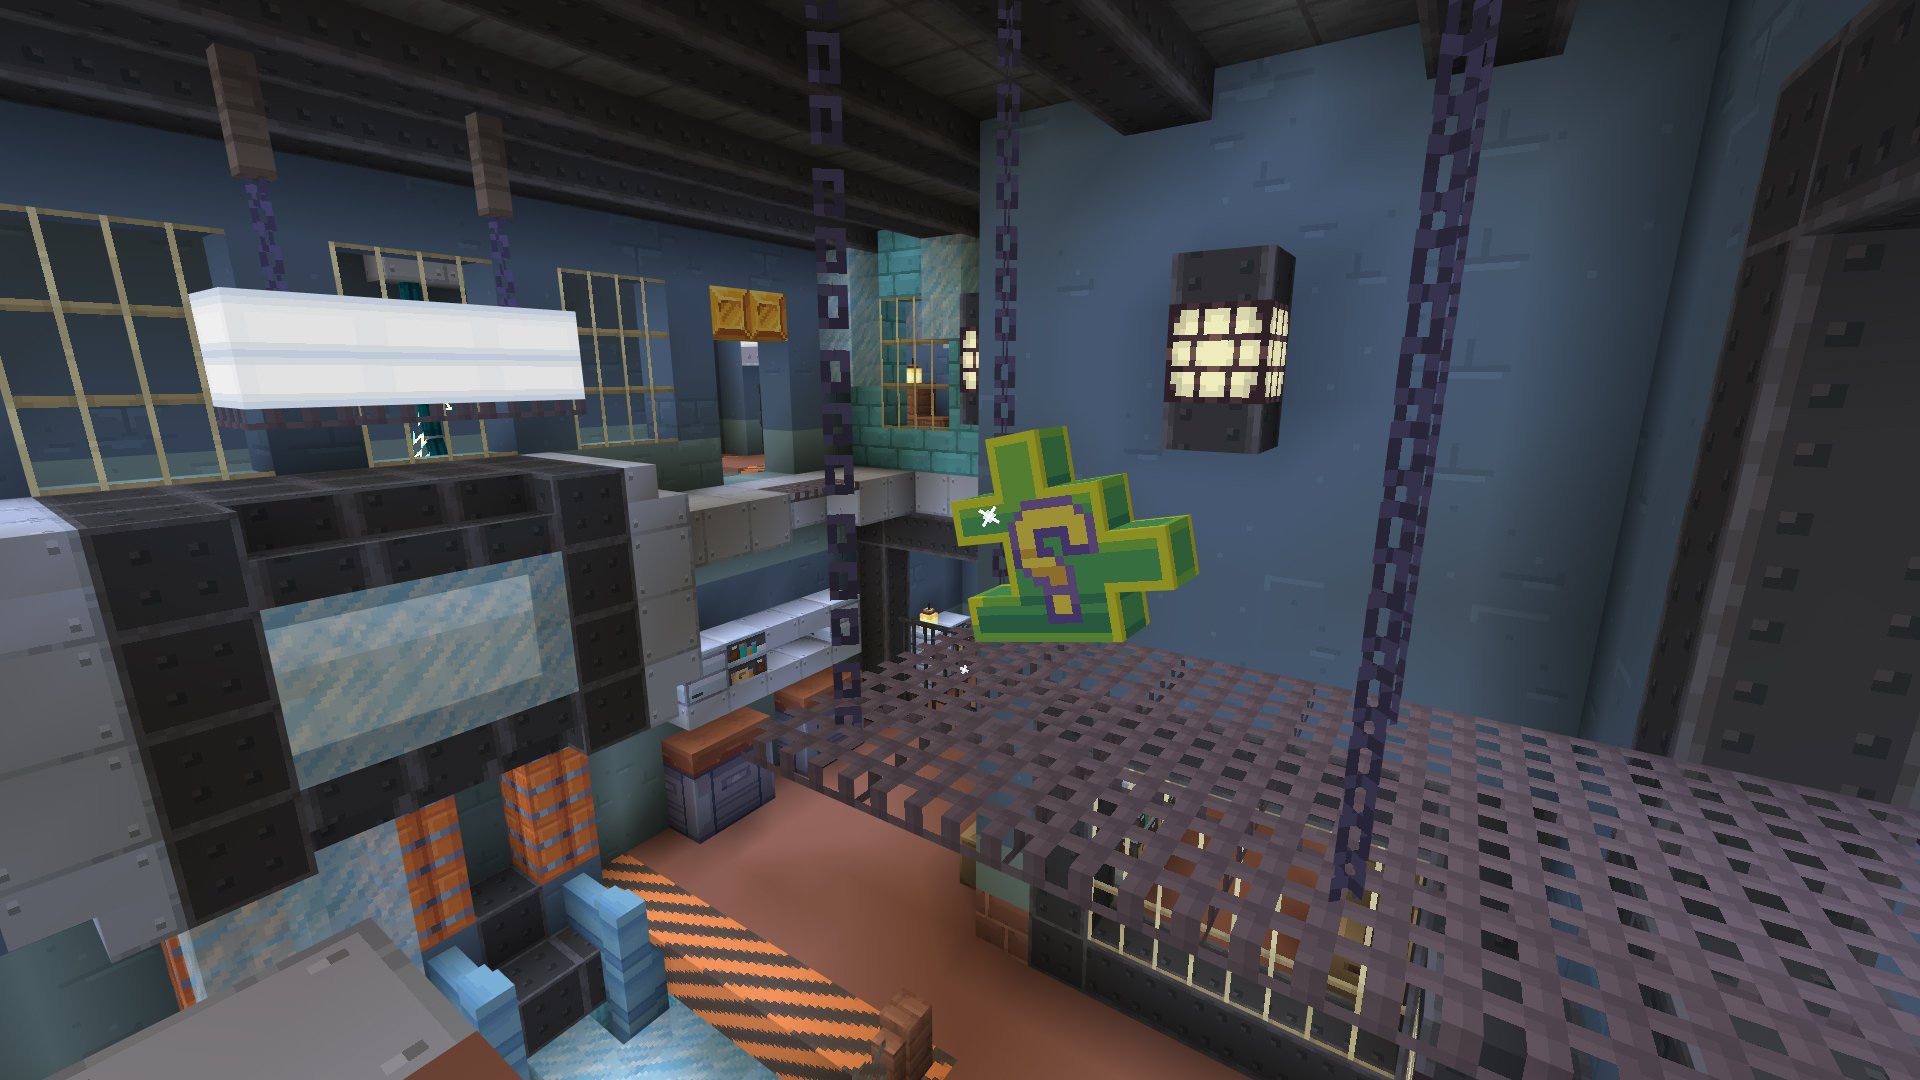
Behind the Gotham City Police Department station, there is a boat floating in the river. From there, jump to a hole in the basement that leads to the flooded basement of the police station. Using the freeze ray, freeze the live wire that's electrifying the water and grapple up into the broken jail cell where The Riddler’s hidden the puzzle piece.
Not sure why Commissioner Gordan couldn’t get it out for you, but he’s a busy man. I’m sure he’s got a lot going on
Church
Co-ordinates: 463, 1, 471
Tools required: Detective Vision, BNT Cart
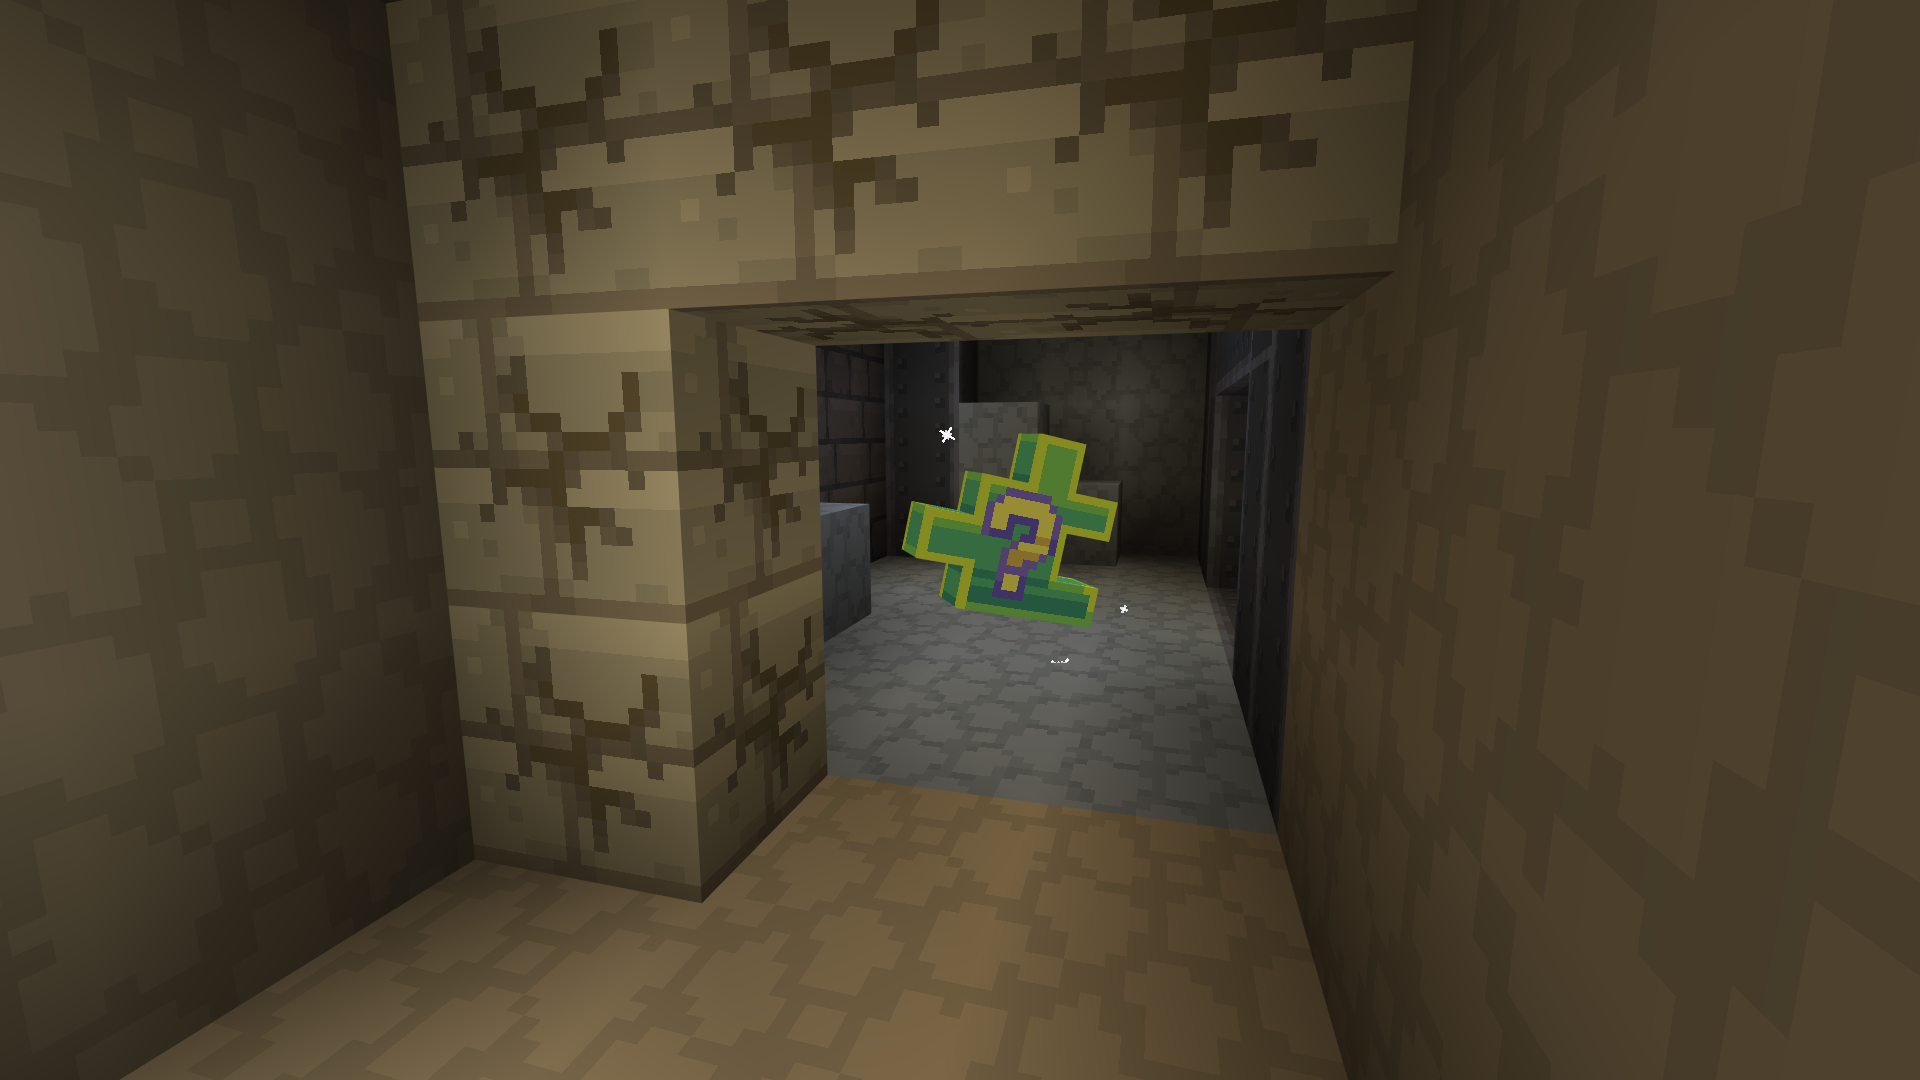
Descend into the crypts to find this next puzzle. Follow the clues to a boarded-up catacomb. Blow up the barricade with your BNT Cart, then make your way to the last barricade in the tunnel. Blow that up as well to reveal the puzzle piece.
Watch out for any villainous creatures lurking in the depths.
Wayne Manor Gardens
Co-ordinates: 617, 0, 649
Tools required: Detective Vision, Plant Stimulant, Bat Pickaxe
Starting at the gates of the ancestral Wayne Manor, follow the clues up the grand driveway until you reach the bend overlooking the bay. Jump down and use Poison Ivy’s Plant Stimulant to climb up to a hidden cave under the manor. Break down the crumbling wall and find the puzzle piece, just in view of the Batcave.
Abandoned Building
Co-ordinates: 653, 1, 629
Tools required: Detective Vision, Batclaw
Yet another victim of Gotham’s economic woes, follow the clues to the scaffolding outside of this once-majestic building and use your Batclaw to get inside. Traverse through the floors and find the puzzle piece by an open window

Suit Location - Wayne Tower
Co-ordinates: 482, 1, 440 [Locked until the Puzzle is solved]
Tools required: Bat Gauntlets
The suit was hiding in Bruce Wayne’s Office all along! Once the elevator has been unlocked, ride the fan all the way to the top, where an army of The Riddler’s henchmen are waiting to ambush Batman. Take them down and reclaim The Silver Age suit.
Warehouse District
Apartment building
Co-ordinates: 703, 1, 634
Tools required: Detective Vision, Batclaw, Batarang
Jumping on the crates in front of the alley, Batarang the AC unit to get over the fence into the alleyway. Then grapple up to the top of the building, taking down boxes and crooks as you go.
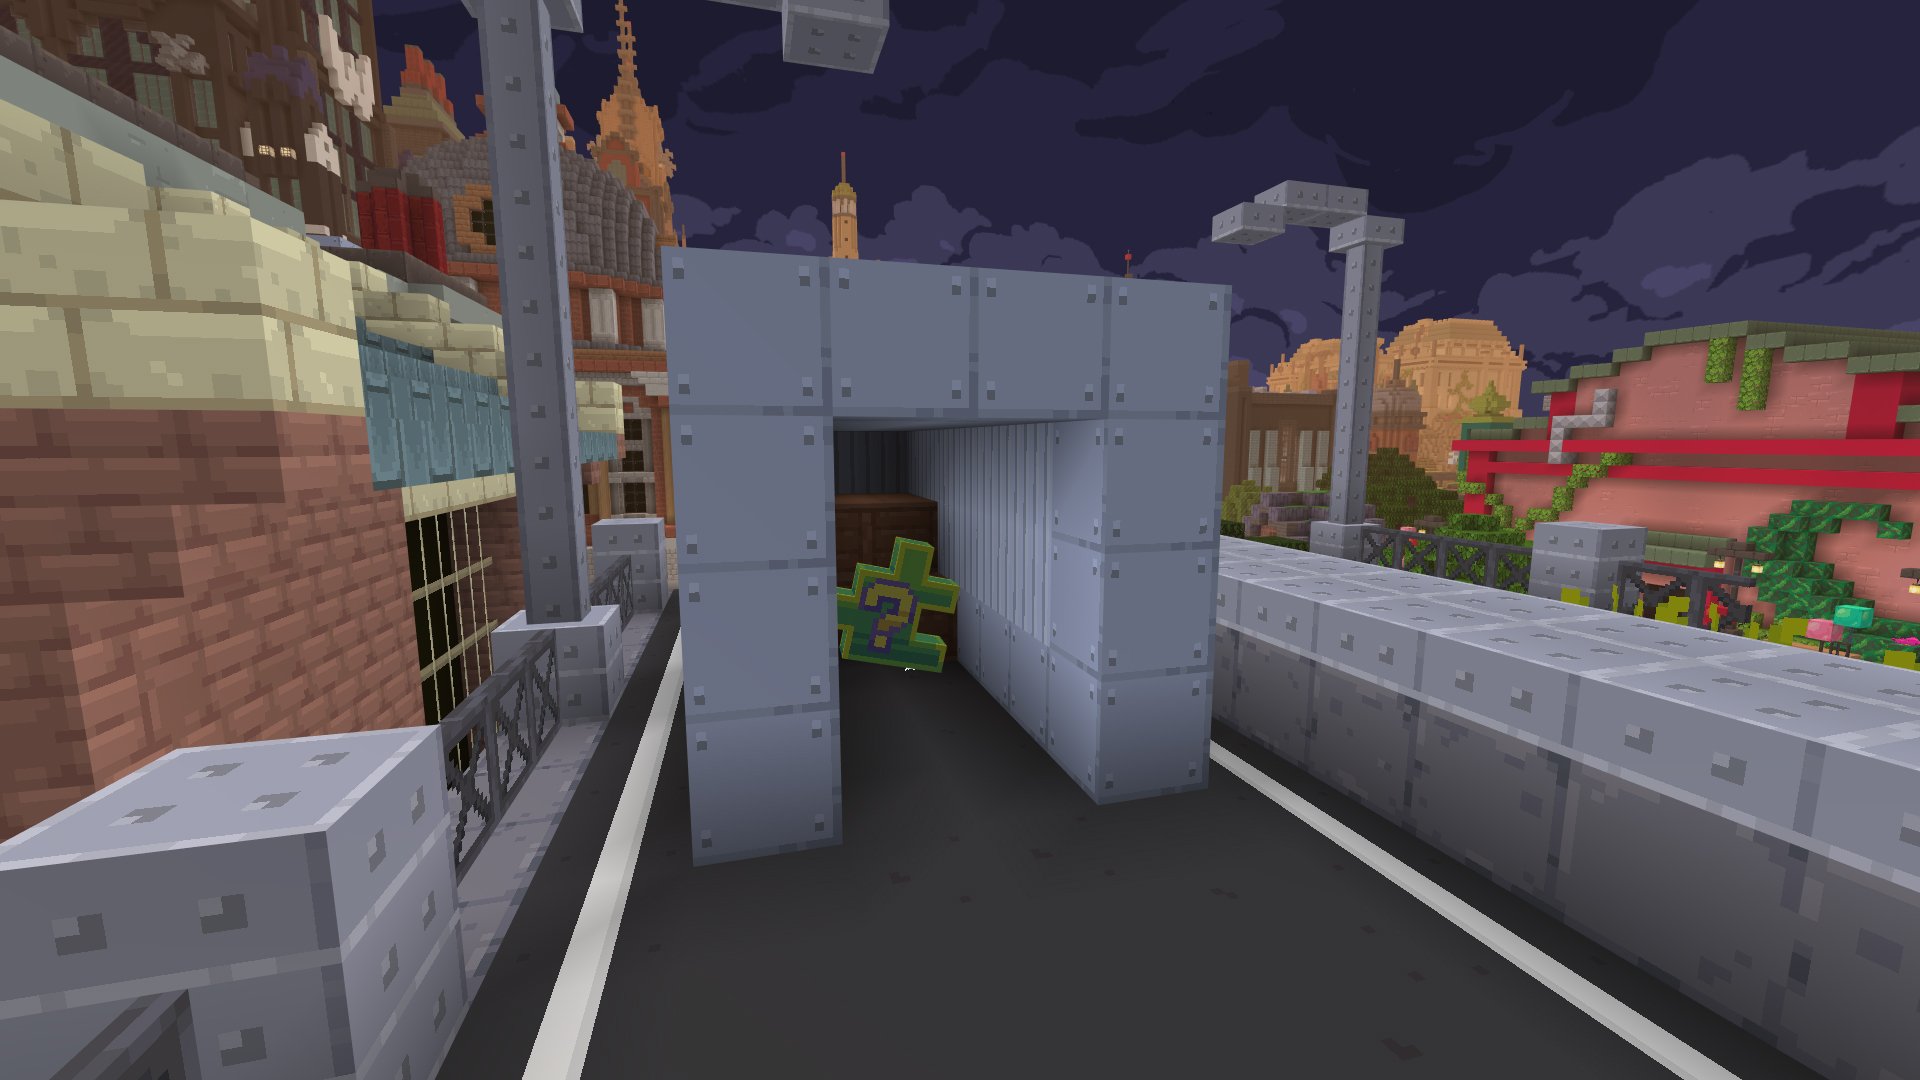
Cranes and Containers
Co-ordinates: 757, 0, 572
Tools required: Detective Vision, Batclaw
Full of precious goods for the citizens of Gotham City, The Dockyards are another hot spot for criminal activity, with plenty of ill-gotten goods to be found. Follow the clues and parkour across the shipping containers towards the shipping office. Defeat the goons camping out there and claim the puzzle!
Ice Wall
Co-ordinates: 727, 1, 497
Tools required: Detective Vision, Batclaw, Plant Stimulant
Next to the giant frozen wall created by Mr. Freeze’s experiments, head into the building and use Poison Ivy’s Plant Stimulant to follow the clues and climb the building to the topmost corridor.
Jump out a second-floor window, parkouring up AC units again with your Batclaw. Once on the lower roof, walk under the water tower, then parkour up the ventilation pipes until you reach the top of the roof. From there. follow the clue trail to the elevator shaft, drop down and claim the puzzle piece, exiting into the corridor using the pressure plate to open the elevator door.
Ice Cream factory
Co-ordinates: 684, 1, 377
Tools required: Detective Vision, Batclaw, Hacker Pad, Freeze Ray
Once a place that served joy to the city, now encased in icy sorrows. The Riddler has hidden your prize deep within this factory, and there are many traps to traverse if you wish to reclaim it.
Follow the clues into the factory, using a hacker pad to open a door. Then grapple up through a pipe and use the hacker pad again on a fan to rise up to the second level. Once there, head to the hallway flooded with electrified water. Use the Freeze ray to create a safe path across it, walk through the corridors and earn your prize.
Sewer
Co-ordinates: 710, 1, 343
Tools required: Detective Vision, Batclaw, Freeze Ray
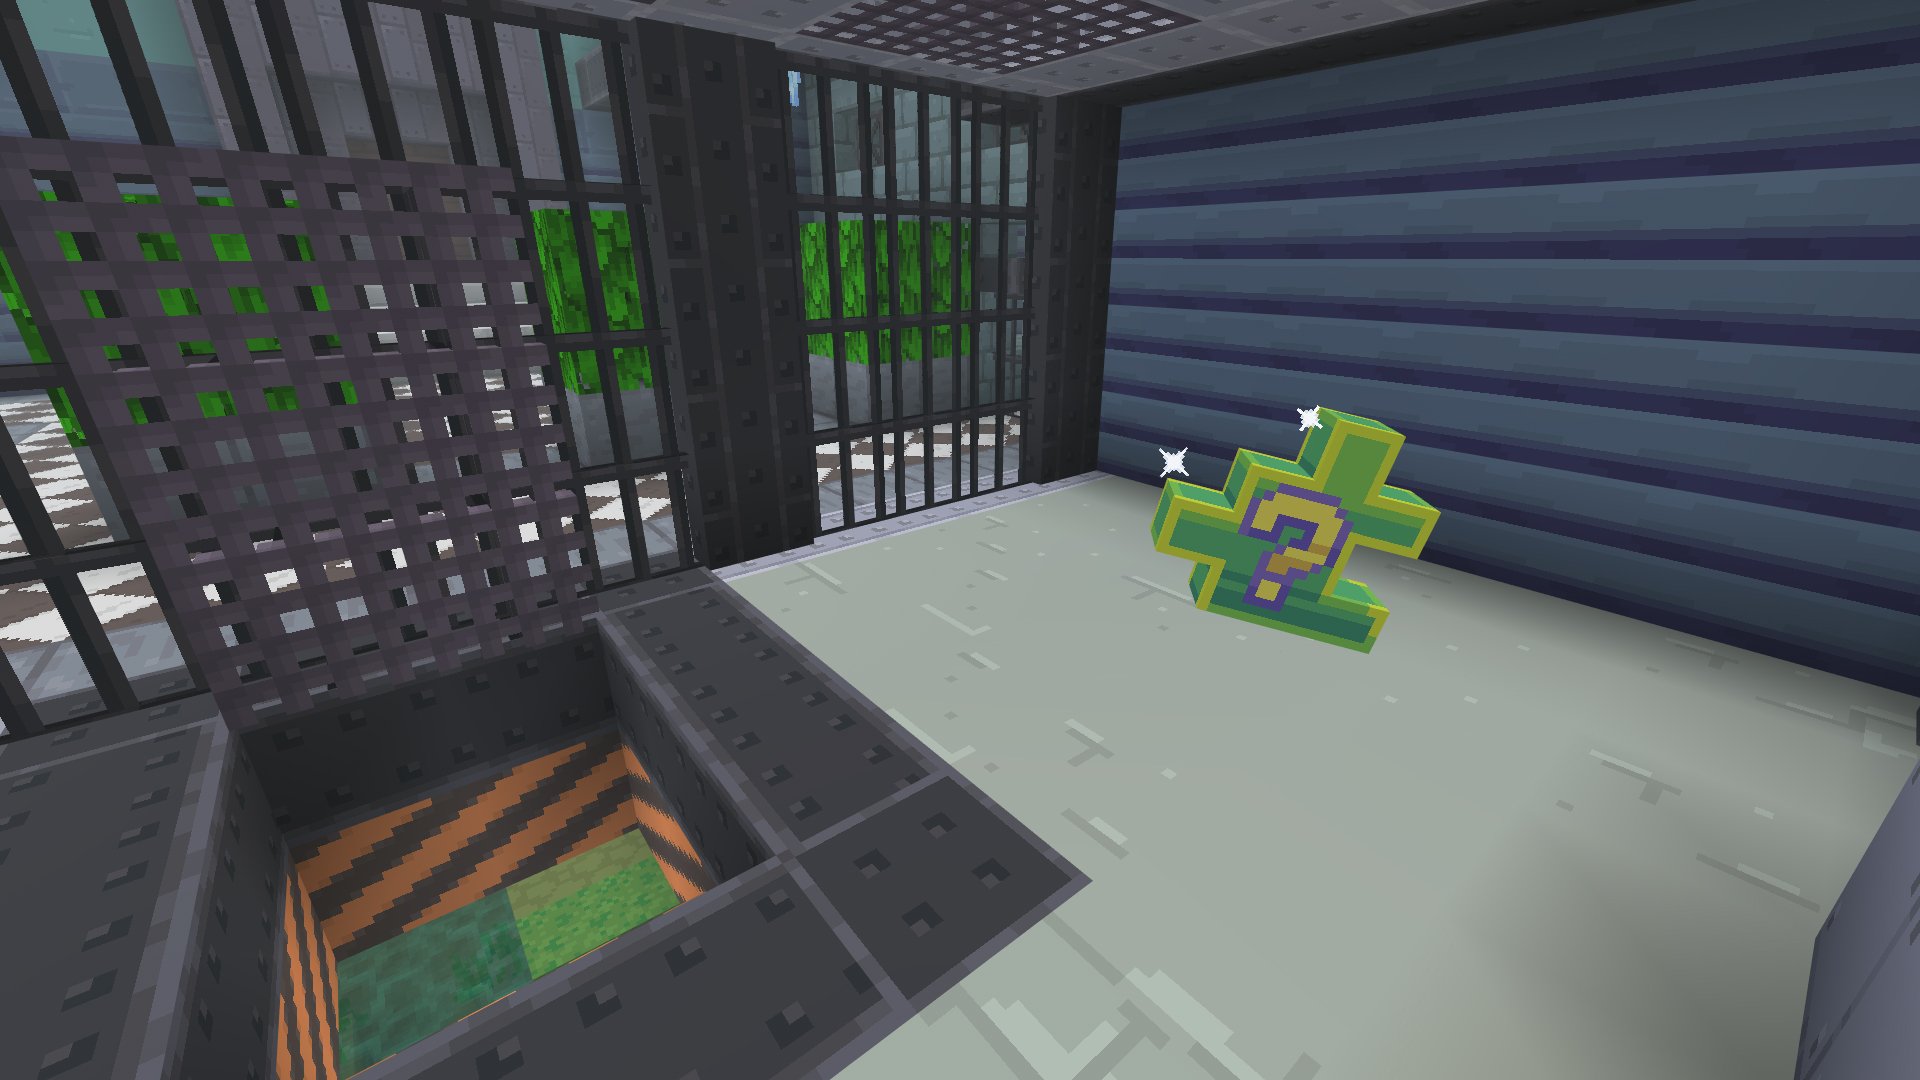
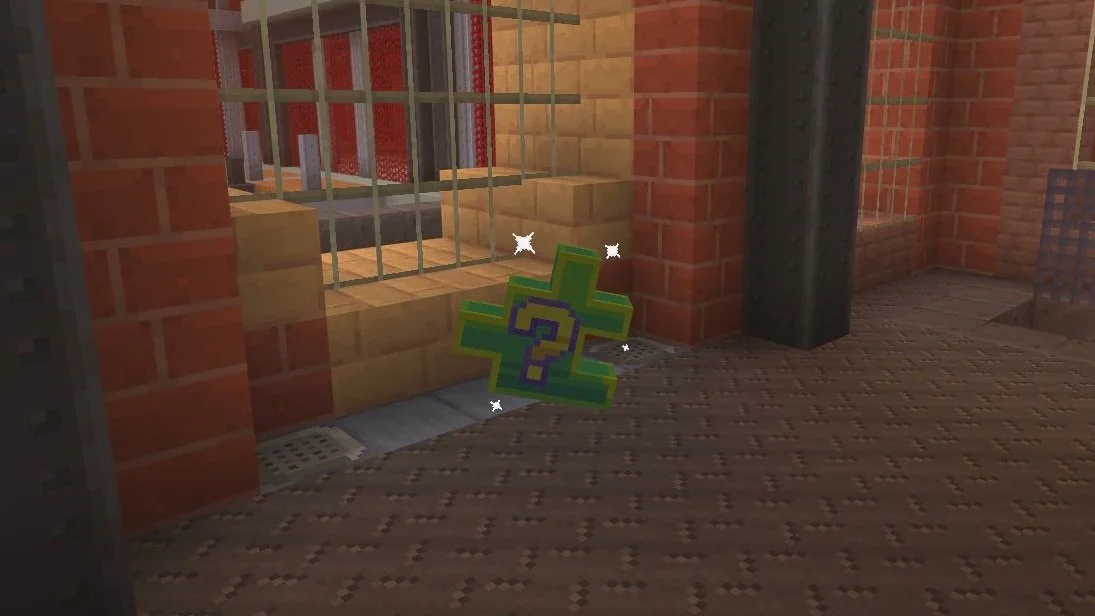
Following the clues, you’ll find yourself in a courtyard. Go to the fountain in the centre and jump down into a sewer, where there is a lot of electrified water. Freeze the water with the Freeze Ray to make a safe path to the hole to the right. Grapple up and reach the puzzle piece, using the lever to leave the cage.
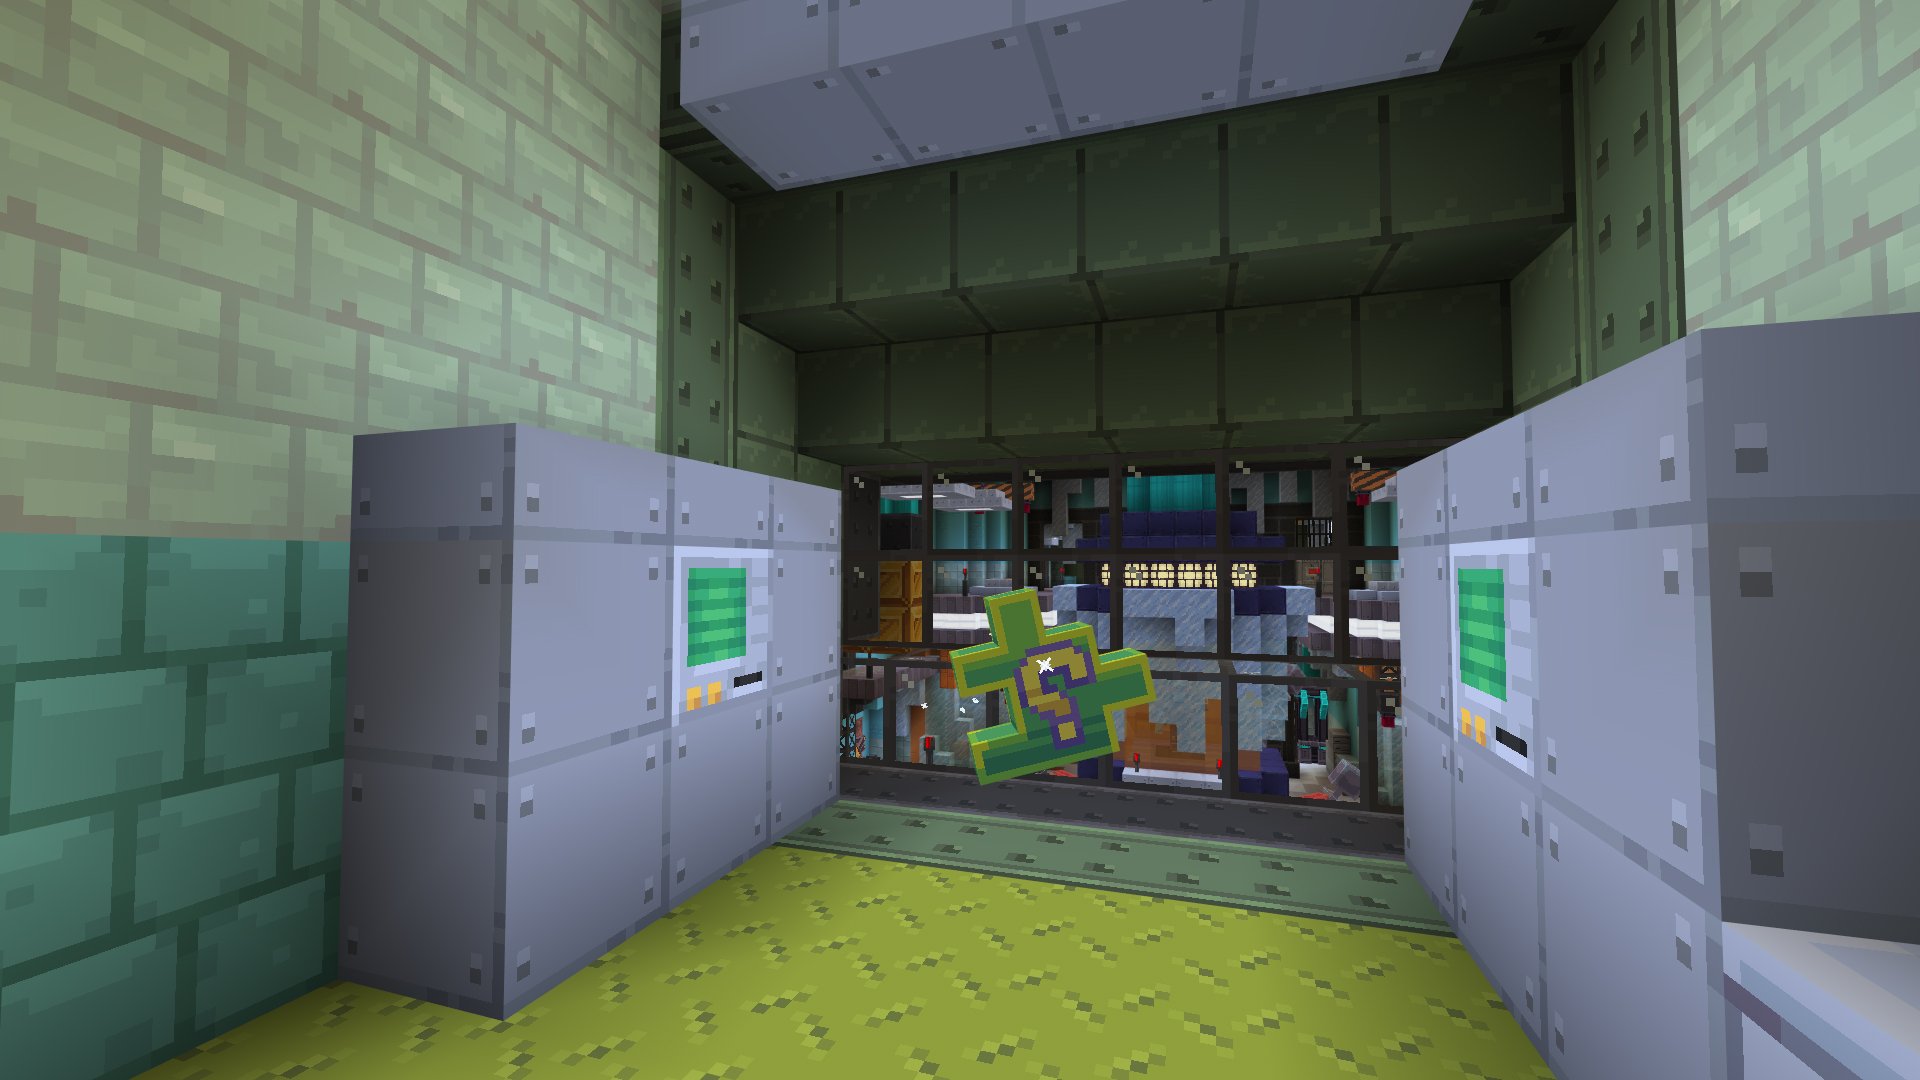
Small power station
Co-ordinates: 699, 1, 458
Tools required: Detective Vision, Batclaw, Freeze Ray, Bat Pickaxe
Grapple up through the side of the building to enter the power station. Unfortunately, it’s been flooded thanks to Mr. Freeze’s takeover, and the water is all electrified!
Destroy the wall to the left and swoop down to one of the supply pipes above the water. Using the Freeze Ray traverse the electrified water below and go around the iron bars to reach the hiding puzzle piece
Ace Chemicals Opening Room
Co-ordinates: 804, 14, 480
Tools required: Detective Vision, Batclaw, Freeze Ray, Plant Stimulant
After traversing one of the flooded rooms, redirecting heaters to prevent yourself from getting burnt, follow the clues up to the top of the scaffolding. Create a vine ladder using the Plant Stimulant to climb up the pipe above and into another flooded room filled with electrified water. Use the Freeze Ray to make a safe path across then ride the fan up the air vents and towards the puzzle piece. There’s also a shortcut back into the factory nearby
Ace Chemicals Factory Floor
Co-ordinates: 816, 7, 462
Tools required: Detective Vision, Batclaw
In the staircase after the acid room, follow the clues down into another corridor with a vent. Use a heat exhaust to melt the ice wall, then grapple over the pit of electrified water to claim the puzzle piece
Mr Freeze’s Chamber
Co-ordinates: 793, 27, 433
Tools required: Detective Vision, Batclaw, Freeze Ray
Just outside of Mr. Freeze’s chamber, there is an upper walkway for you to grapple up to using your Batclaw. Keep going up until you reach a pool of electrified water then use the Freeze Ray to cross it. Grapple over an iron gate. Grapple up some more, turn around the corner and destroy some rickety boxes blocking your path. Drop down into the room with the puzzle piece to collect it then use the heat vent to escape it.
Suit Location - Riverhouse
Co-ordinates: 685, 2, 581 [Locked until the Puzzle is solved]
Tools required: Detective Vision, Batclaw, Freeze Ray
Riddler’s hidden the suit in a place no one would suspect, a small rundown Riverhouse! The nearby courtyard unlocks when the puzzle is complete, filled with Riddler’s fiendish goons.
Once they’ve been dealt with, head inside the building, where there is a pool of electrified water you need to freeze to pass. Then it’s just some easy grappling up to the second floor to claim the Dark Knight Returns Armoured Suit
Amusement Mile
Shooting Range
Co-ordinates: 440, 1, 665
Tools required: Detective Vision, Batarang
Follow the clues to the shooting range stand. Throw your Batarang at the targets. Once all targets have been hit (no timer), then the Riddler piece will drop down as your carnival prize!
Tunnel of Love
Co-ordinates: 394, 2, 631
Tools required: Detective Vision, Freeze Ray
There’s very little romance going on in this swan ride! Follow the clues into the Tunnel of Love which is filled with electrified water around the whole loop. Use the Freeze Ray to parkour across the swan rides to the puzzle piece in the clamshell at the end.
Swing Ride
Co-ordinates: 374, 2, 655
Tools required: Detective Vision, Bat Pickaxe, Plant Stimulant
Use a Bat Pickaxe to break down the wall to enter the ride zone. Then use the Plant Stimulant on 3 trees to create platforms to parkour across into a building where the puzzle piece is hiding.
Bridge over The River
Co-ordinates: 298, 1, 552
Tools required: Detective Vision, Plant Stimulant
Follow the clues to a little cave beside the Botanical Garden, taking down any of Poison Ivy’s environmentalist goons in your way. Enter the cave, use the plant stimulant on the two plant pots to grown trees, then parkour around the cave.
Shanty Dock
Co-ordinates: 436, -1, 605
Tools required: Detective Vision, BNT Cart
Once a place where carnival-goers could ride the swan boats, follow the clues to a boarded-up house on a small dock. Head around to the back of the house and blow up the wall by sending a BNT Cart through a small hole. Once the wall is blown up, walk in and pick up the puzzle piece.
Parking Lot
Co-ordinates: 353, 1, 542
Tools required: Detective Vision, Hacker Pad
Follow the clues and parkour up a small building towards the hackable fan. Use the Hacker Pad to activate it then ride it up to the highway. Once on the highway, defeat the enemies on the highway to reach the puzzle piece.
Helter Skelter
Co-ordinates: 320, 10, 621
Tools required: Detective Vision, Batclaw, Hacker Pad
After climbing up the helter-skelter stairs to chase down Harley Quinn and Poison Ivy, turn around and grapple up to the platform. Parkour across the obstacles and avoid the laser beams to the other side, or use the Hacker Pad and turn them off. Follow the corridor to the puzzle piece and a shortcut back into the circus tent.
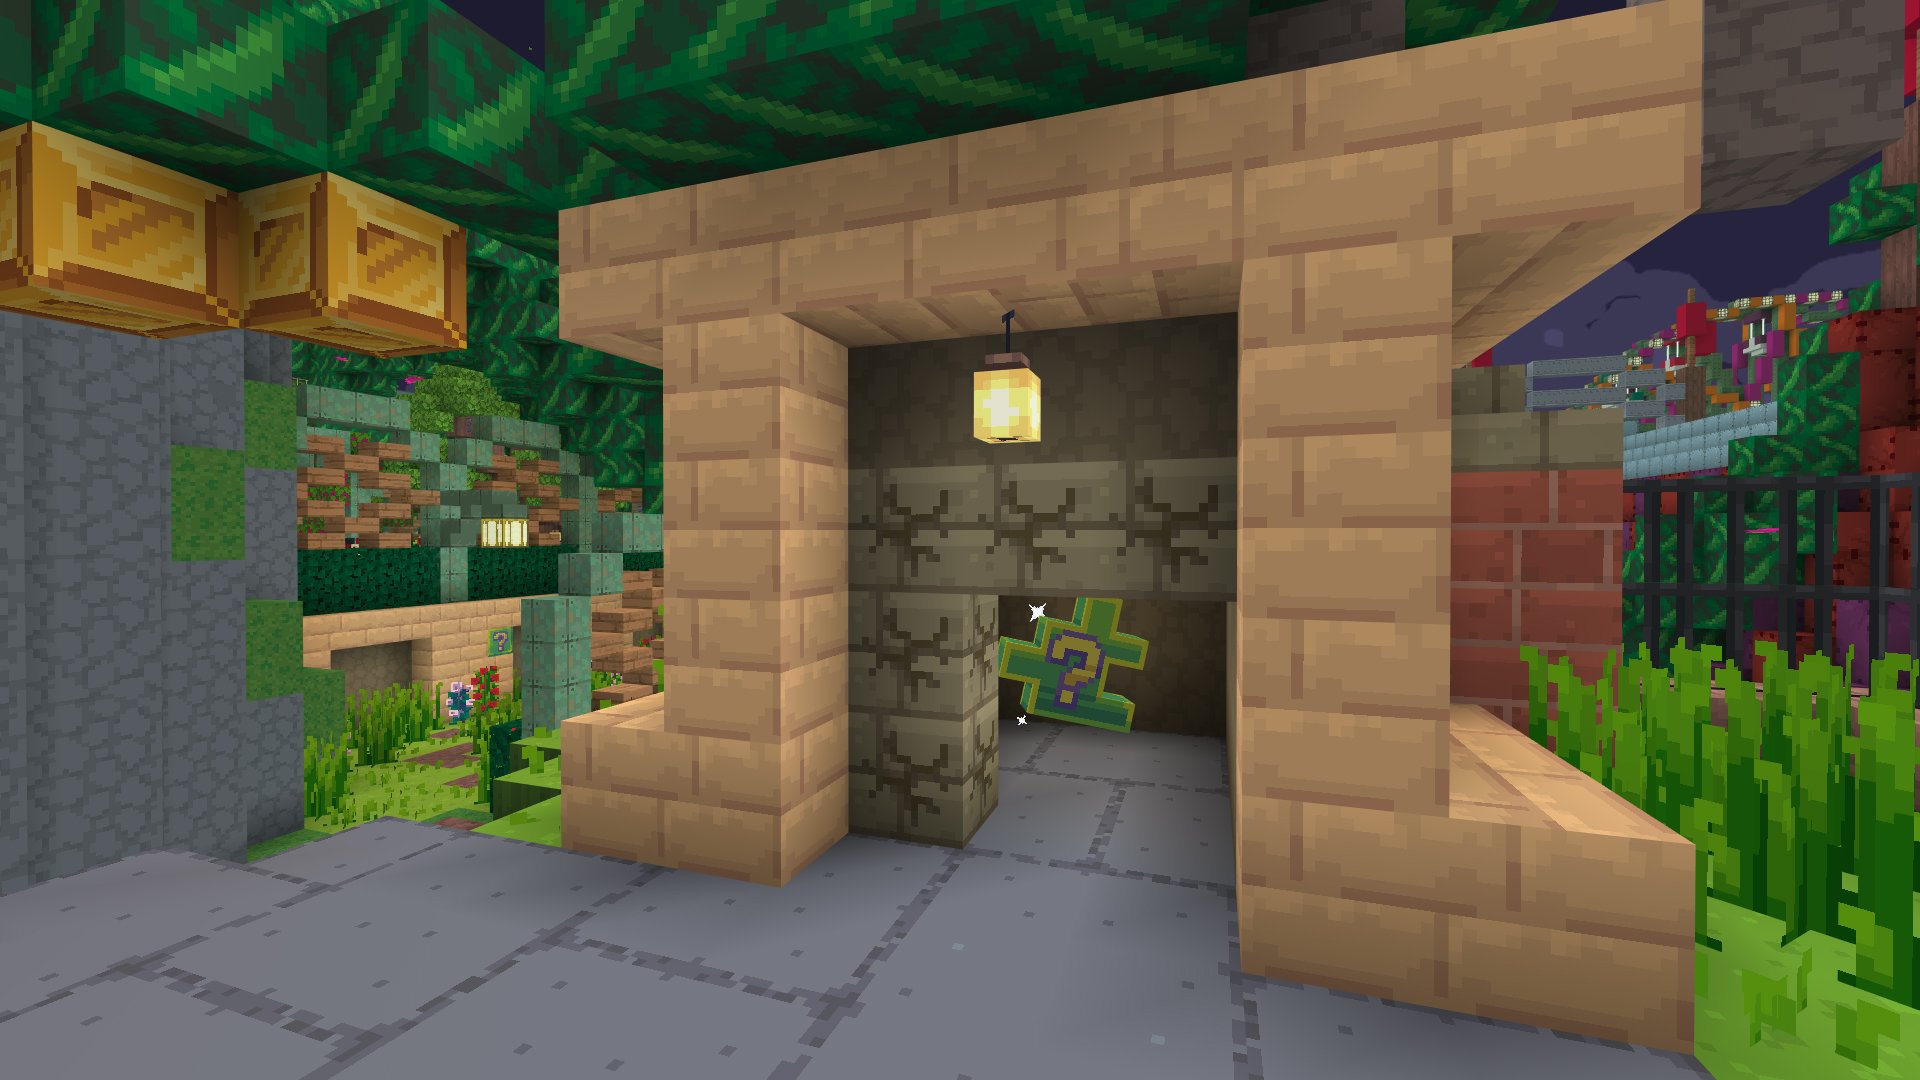
Arched gardens
Co-ordinates: 282, 15, 649
Tools required: Detective Vision, Batclaw, Bat Pickaxe
Take on Harley Quinn and Poison Ivy’s goons, then grapple across the gap. Use a bat pickaxe to destroy the wall behind which the puzzle piece is hiding.

Harley and Ivy’s Chambers
Co-ordinates: 265, 36, 639
Tools required: Detective Vision, Bat Claw, Plant Stimulant
Just outside of the main greenhouse of the Botanical Gardens, use the Plant Stimulant to grow the three trees, then jump across them to the upper platform. Grow a vine ladder, then climb up and over into the hole. Then grapple across the electrified water to reach the puzzle piece.

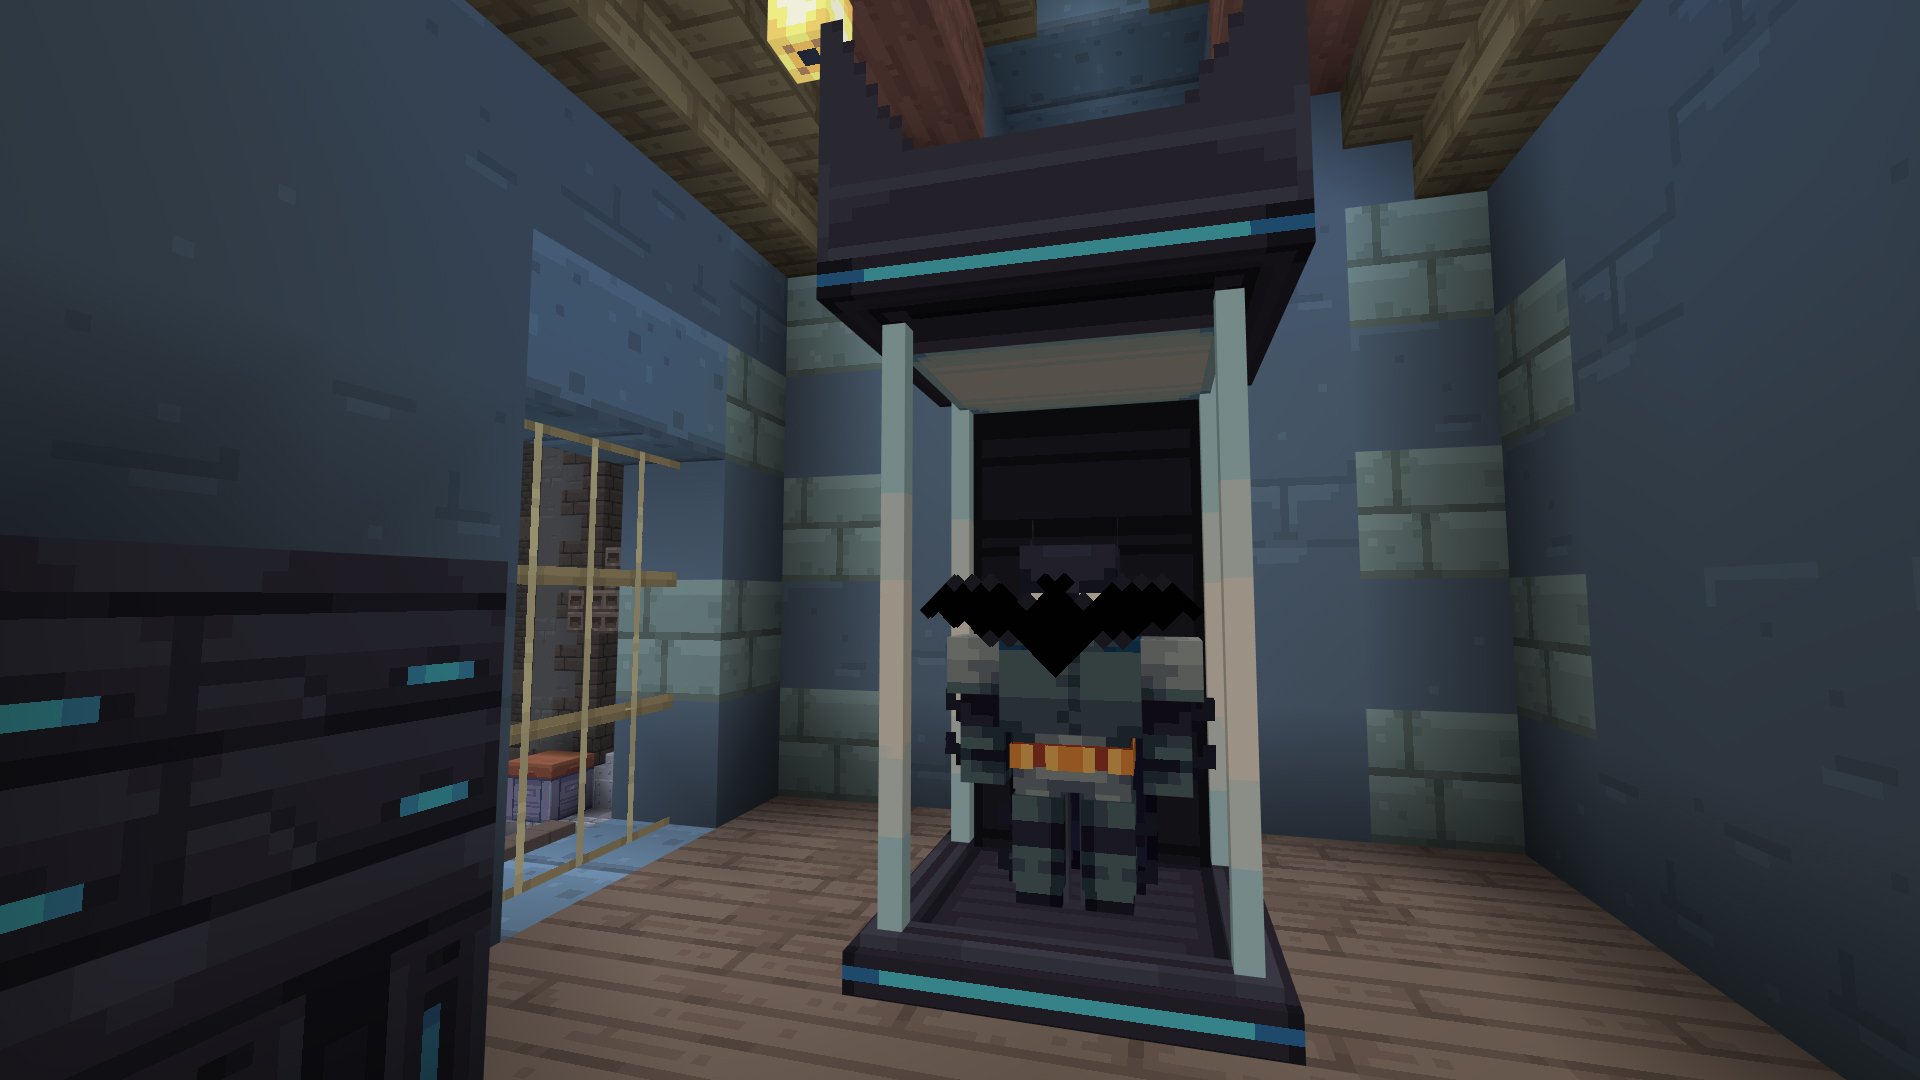
Suit Location - The Haunted House
Co-ordinates: 429, 1, 623 [Locked until the Puzzle is solved]
Tools required: Detective Vision, Plant Stimulant
The Riddler has hidden the suit in the scariest place of them all - inside the haunted house! Enter the spooky halls, battling Harley and Ivy’s goons, then use the Plant Stimulant to create a vine ladder up to the Zur-En-Arrh suit.
Industrial District

Construction site
Co-ordinates: 365, 26, 292
Tools required: Detective Vision, Batclaw, BNT Cart
One of the buildings abandoned after Gotham City’s fall from grace, grapple up to the upper levels and follow the clues through a labyrinth of BNT doors. Blow up the correct doors to get to the puzzle piece.

Foundations
Co-ordinates: 401, 2, 279
Tools required: Detective Vision, Freeze Ray
Follow the clues to the very foundation of the construction site, to a series of flooded chambers with hanging electrical wires. Use the Freeze Ray to navigate these chambers, then grapple up to the second floor and the puzzle piece. Someone should also probably get Health and Safety in to sort that out…
Textile factory
Co-ordinates: 357, 2, 371
Tools required: Detective Vision, Batclaw, BNT Cart, Bat Pickaxe
Follow the clues into the condemned building. Make your way through the building using both the BNT Cart and the bat pickaxe to break through the weakened walls until you reach the puzzle piece hidden within. Be careful you don’t bring the whole building down on you though!
Ruined building
Co-ordinates: 339, 3, 496
Tools required: Detective Vision, Batarang
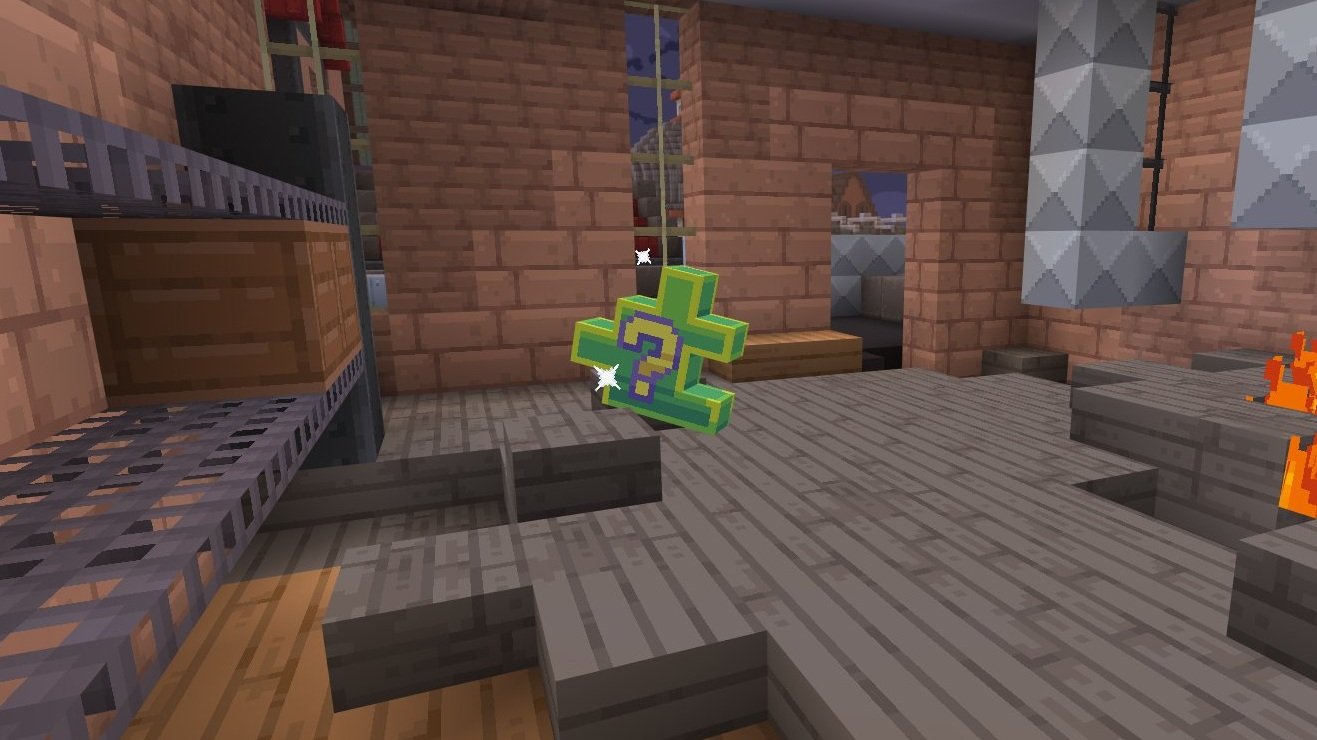
While it goes against all logic and reason, head toward the large building enveloped in fire. Put out the fire by activating the building’s sprinklers with your Batarang. Make your way through the building, putting out fires until you reach the puzzle piece.

Overgrown building
Co-ordinates: 291, 2, 448
Tools required: Detective Vision, Plant Stimulant
Follow the clues into the overgrown building then use the Plant Stimulant to grow two trees and a vine ladder to get to the second floor. Once on the second floor, parkour across the trees to get to a second vine ladder. Climb this ladder to the third floor and the puzzle piece.

Storehouse and Silos
Co-ordinates: 266, 1, 390
Tools required: Detective Vision, Batclaw
Follow the clues up the stairs around the silo, no doubt full of essential supplies for the city. Grapple across to the storehouse roof and then parkour across, fighting goons until you reach the puzzle piece at the top of the silo

Inside the Factory
Co-ordinates: 249, 8, 316
Tools required: Detective Vision, Batarang, Batclaw
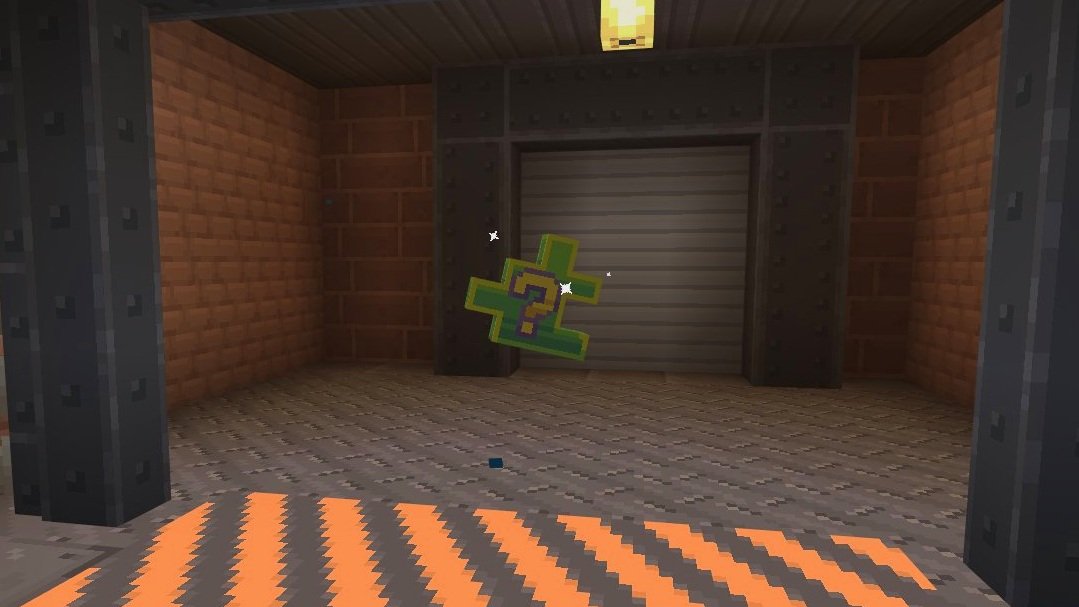
Using the clues, descend into the basement of the factory, using the Batarang to activate sprinklers and cross the lava pools until you reach the puzzle piece. Then grapple back up to return to the factory
TNT Cart Switch Station
Co-ordinates: 203, 22, 254
Tools required: Detective Vision, Batclaw, Hacker Pad
Follow the clues to a side room avoiding the TNT carts, then use the Hacker Pad to activate the fan. Once you’ve done that, grapple up onto the second floor, then glide across to the upper platform and the puzzle piece.
Firefly and Clayface’s Chamber
Co-ordinates: 238, 23, 344
Tools required: Detective Vision, Batclaw, Batarang, BNT Cart
Just past the heart of the factory, follow the clues down into the depths
Blow up the first wall with the BNT Cart. Once in the room, shoot down some rickety boxes and grapple up to the ledge it creates. Hit the sprinkler with a Batarang to put out the fire, then blow up another wall. The puzzle piece is hidden behind it, as is the way back to the start of the factory.

Suit Location - The Sewers
Co-ordinates: 314, 1, 253 [Locked until the Puzzle is solved]
Tools required: Detective Vision, Plant Stimulant
Who would think to look for a specialised super suit in the Sewers?!
Once the mound of dirt blocking the entrance has been cleared, drop down into the depths, deal with Clayface and Firefly’s goons, and then blow up the wall with your BNT Cart. Follow the cave around to the Hellbat suit
Fashion District

The Mall
Co-ordinates: 522, 1, 382
Tools required: Detective Vision, Batclaw, Batarang
Grapple up to the second floor of the mall avoiding The Penguin’s henchmen. Once there, head to the ventilation unit at the very top and hack the door using the Hacker Pad. Throw a Batarang at the heater to turn it around and melt the ice chandelier. This will reveal a puzzle piece which will then drop to the ground floor.

Submarine
Co-ordinates: 482, 0, 301
Tools required: Detective Vision, Freeze Ray, Bat Pickaxe
Follow the clues to The Penguin’s submarine, moored by the dock, surrounded by electrified water. Use the Freeze Ray to cross the water to the submarine, head inside, and use the Bat Pickaxe to get to the control panel and the puzzle piece.

Laser Tronic building
Co-ordinates: 552, 2, 274
Tools required: Detective Vision, Bat Pickaxe
Enter the Laser Tronic building, the hub of laser technology in Gotham City, thought I don’t think they wanted them used like this! Make your way through the deadly laser maze, or break through the walls, to get to the puzzle piece.

Wonder Tower
Co-ordinates: 491, 2, 272
Tools required: Detective Vision, Hacker Pad
Using the Hacker Pad, hack the various fans to scale the Wonder Building and reach the puzzle piece, hiding on a precarious edge

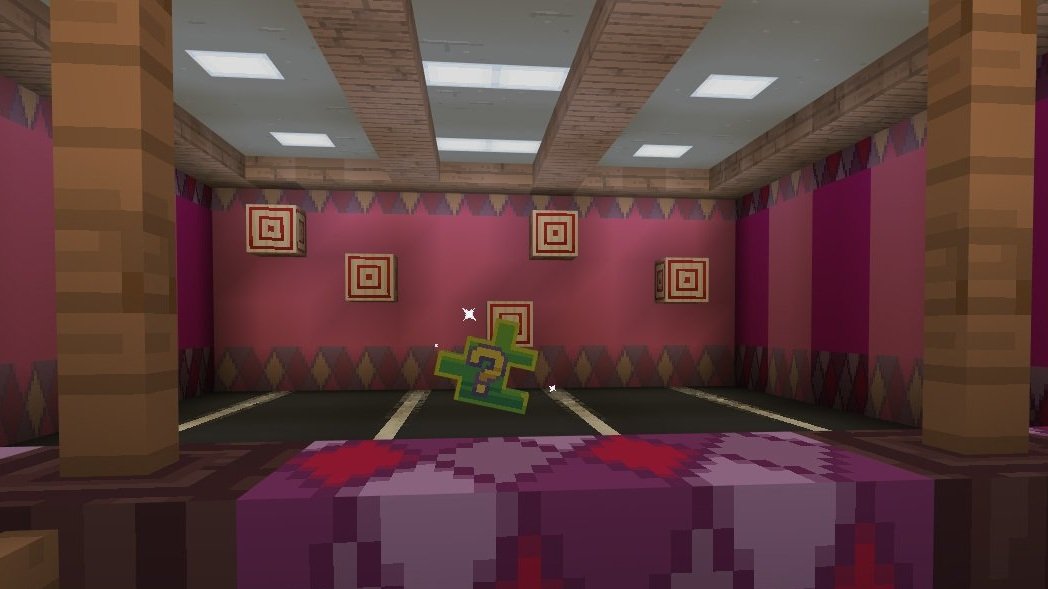
Fancy Bar
Co-ordinates: 477, 12, 402
Tools required: Detective Vision, Bat Pickaxe
Enter one of the fanciest bars in Gotham City and make your way to the back. Break through the wall, interrupting a nefarious deal in progress with a load of Penguin’s henchmen!
Take them down, then break down the second wall into the bathrooms, where they’re hiding the puzzle piece.

The Pier
Co-ordinates: 591, 2, 332
Tools required: Detective Vision, Batclaw, Batarang
Using your Batclaw, grapple across to the ledge, then climb the ladder to the platform.
Knock down the 2 AC units with your Batarang to cross onto another platform. Drop down to the courtyard, then defeat the mobs guarding the puzzle piece.

Iceberg Lounge Lift
Co-ordinates: 522, 57, 231
Tools required: Detective Vision, Bat Pickaxe, Hacker Pad
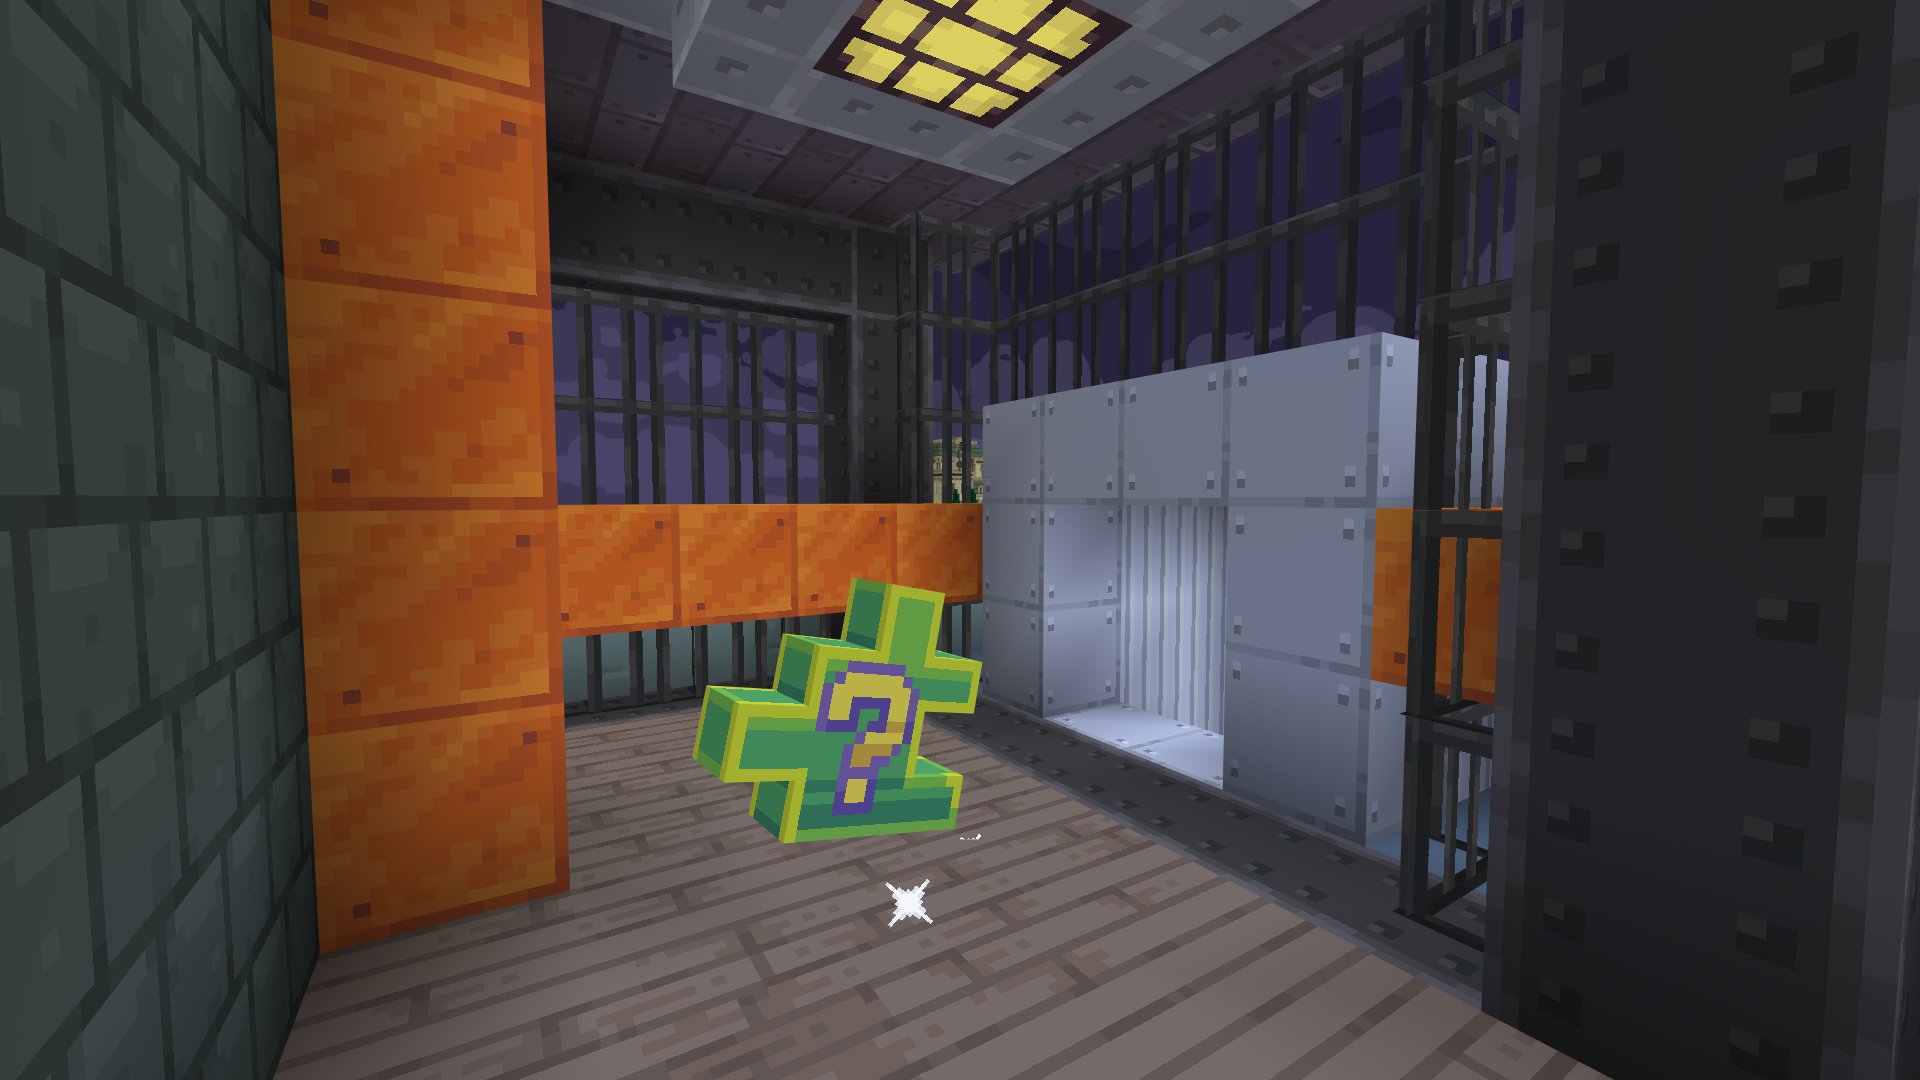
Jump down the lift into the AC room then climb inside the thankfully frozen fan and break down the back wall. Use the Hacker Pad to activate the fan then ride it up to the upper platform where the Puzzle Piece is hiding behind the very unsubtle green question mark

Iceberg Lounge Freezer
Co-ordinates: 505, 88, 177
Tools required: Detective Vision, Bat Pickaxe
After climbing the ladder following the Boss Actor battle, head through the doorway into the freezer. Parkour across the ice to the very back of the room, then use a bat pickaxe to break the wall into an outer corridor. Follow it around and break down another wall to reach the puzzle piece

Penguins Quarters
Co-ordinates: 517, 133, 193
Tools required: Detective Vision, Hacker Pad
Rather than check out The Penguin’s luxury suite, turn around and follow the clues to the fan, then use the Hacker Pad to activate it. Walk across the vents, using the pad to turn off lasers and turn on fans to reach the platform with the puzzle piece on it.

Suit Location - Crematorium
Co-ordinates: 598, 0, 357 [Locked until the Puzzle is solved]
Tools required: Detective Vision, Hacker Pad
Looks like The Riddler was trying to burn the suit!
Quickly make your way to the unblocked ash suite and use the Hacker Pad to activate the fan. Ride it up to the funeral parlour, where some of Penguin’s toughest goons are holding a service right before the burning.
Take them down and claim the Rainbow Suit before it can come to any more harm.