
How to set up Realms
Realms are a quick and easy way to set up private servers and play with up to 10 players at a time, with as many friends linked to it as you want! The server is entirely under your control, allowing you to add maps, textures and commands to play your way.
Also, being hosted by Microsoft’s servers, your Realms server remains online even if you aren’t, meaning that any of your friends can play at any time!
Only the host needs to pay for the subscription, making Realms a cheap and reliable option to get all your friends together and enjoy the world of Minecraft!
Realms - Bedrock Edition
1. Open Minecraft and sign into your Xbox live account
This will ensure that your realms is connected to your account and you can invite your friends to join it.
2. Press play, then create new
3. Select new realm
You may have the option for a 30 day free trial on your account, click this option and continue with step 4 using the recommended features.
4. Select the type of Realm you want to create
You’ll then be faced with two options, one that creates a Realm for two players, plus the owner or 10 players plus the owner. Select the one you want to create; the cost will vary depending on the size of the tier and is shown in-game.
5. Create your Realm!
To change the size of your Realm after you’ve created it, cancel the current subscription, wait until the remaining days expire then purchases a subscription to the desired size.
Done!
Once your Realm is created you can invite any player from your Xbox friends list from the player settings menu. Click the pencil button next to the server to manage players, world settings, server backups, and your subscription.
Realms - Java Edition
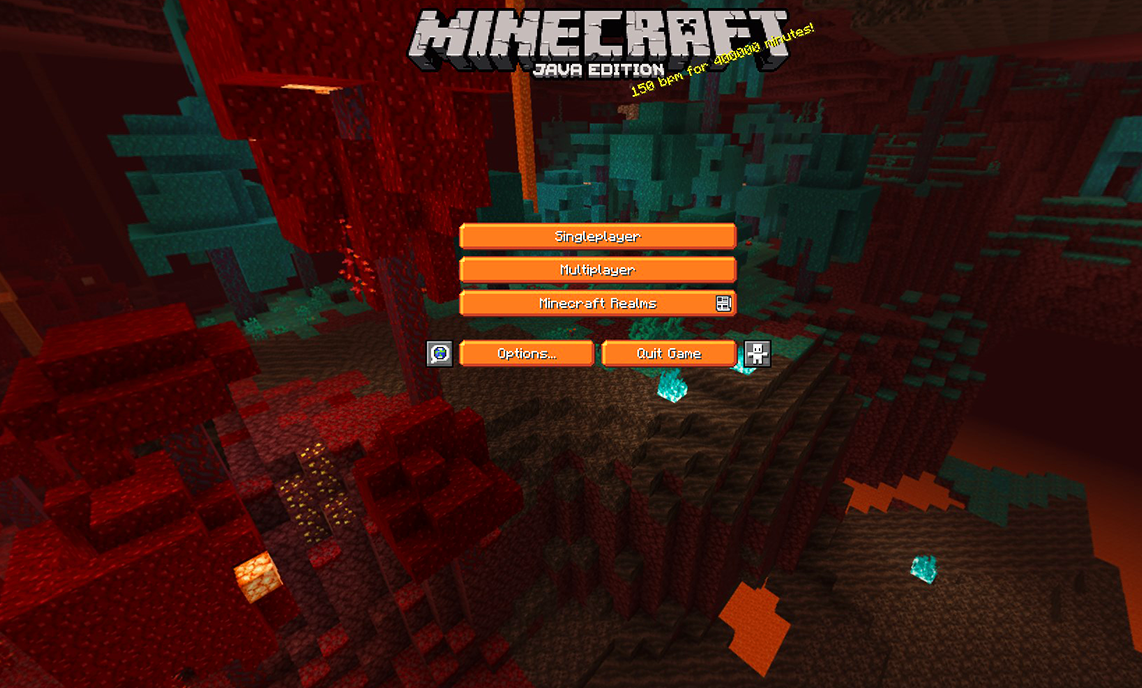
1. Launch Minecraft and click Minecraft Realms

2. Click Start your new Realms
This will direct you to the Minecraft website. You will need to log into your Java account on the website to proceed.
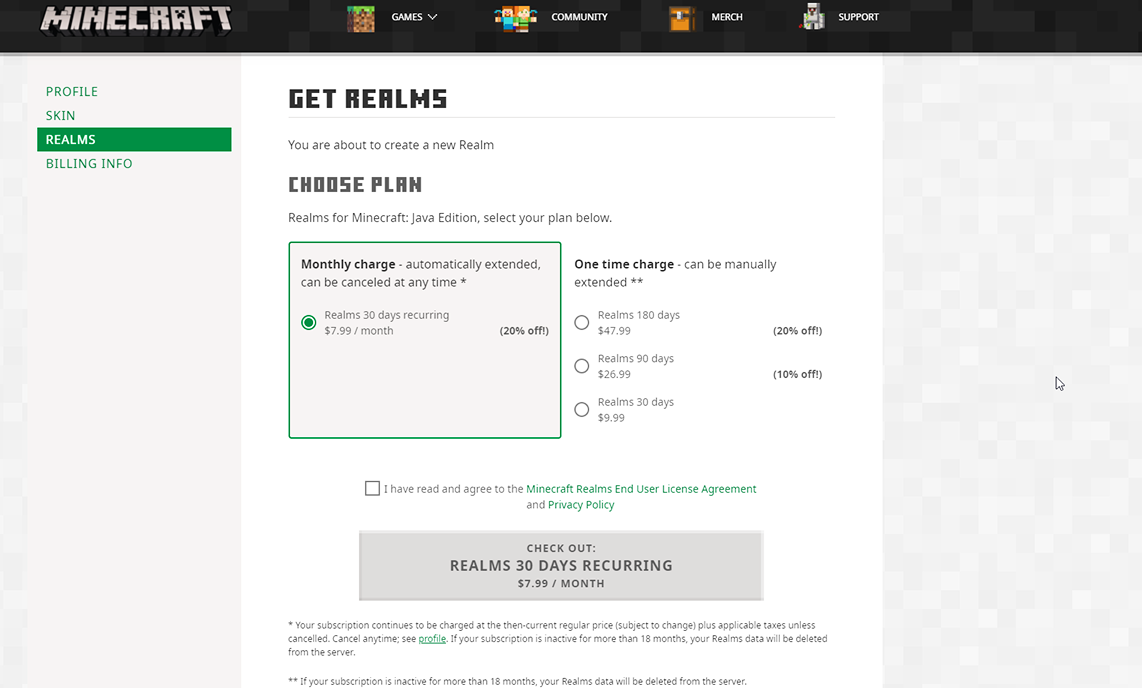
3. Select the type of Realm you want to create
You’ll then be faced with two options, one that charges monthly and a one time charge. Select the one you want to create; the cost will vary depending on the plan you select and is shown in-game. This will not affect the maximum amount of players allowed on the server.

4. Return to Minecraft and create your Realm
Each Realm comes with 3 worlds that you can customise however you like. You can upload existing world files, install games, even go on community created adventures! There are loads of ways for you and your friends to shape your Realms to fit whatever play style!
Done!
Once your Realm is created you can invite any player by adding their Java username to the whitelist by clicking the Players tab in the Realms settings.